Roubo Legs: Squaring End-Grain
There’s a bit of stigma when it comes to squaring end-grain. It really isn’t all that difficult. Just follow the same rules you do for long-grain and make sure you have a sharp plane iron. The real trick is ensuring exact, crisp layout.

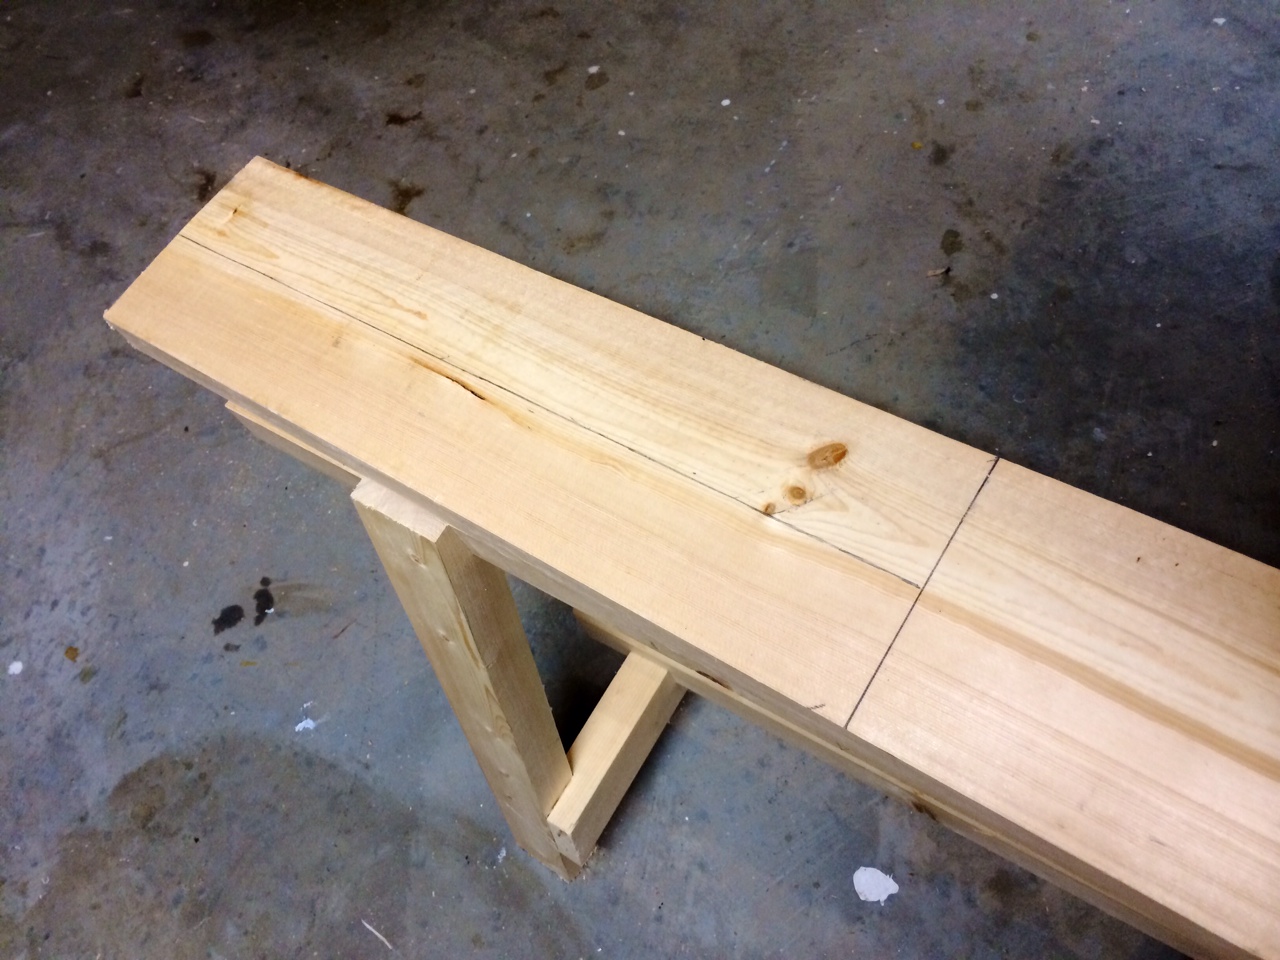
Knifing in the line
Start by knifing in your line using an accurate square. Assuming your board is 4-square, your line will be perfectly perpendicular. Here are some tips to ensure your layout lines meet perfectly as you move around your board:
- Always reference your square against your true face or true edge.
- Ensure that you’re holding your square securely against your stock. I like to place my thumb in the center of the square stock and a finger on the blade.
- Start your knife line with two very light passes, followed by one or two heavy passes. This will ensure that you establish your line without applying too much lateral pressure to your square.
- Ensure that the bevel of your knife is towards the waste side of your board.
- As you move from one face to another, place your knife in the previous line and slide the blade of your square up to the knife.

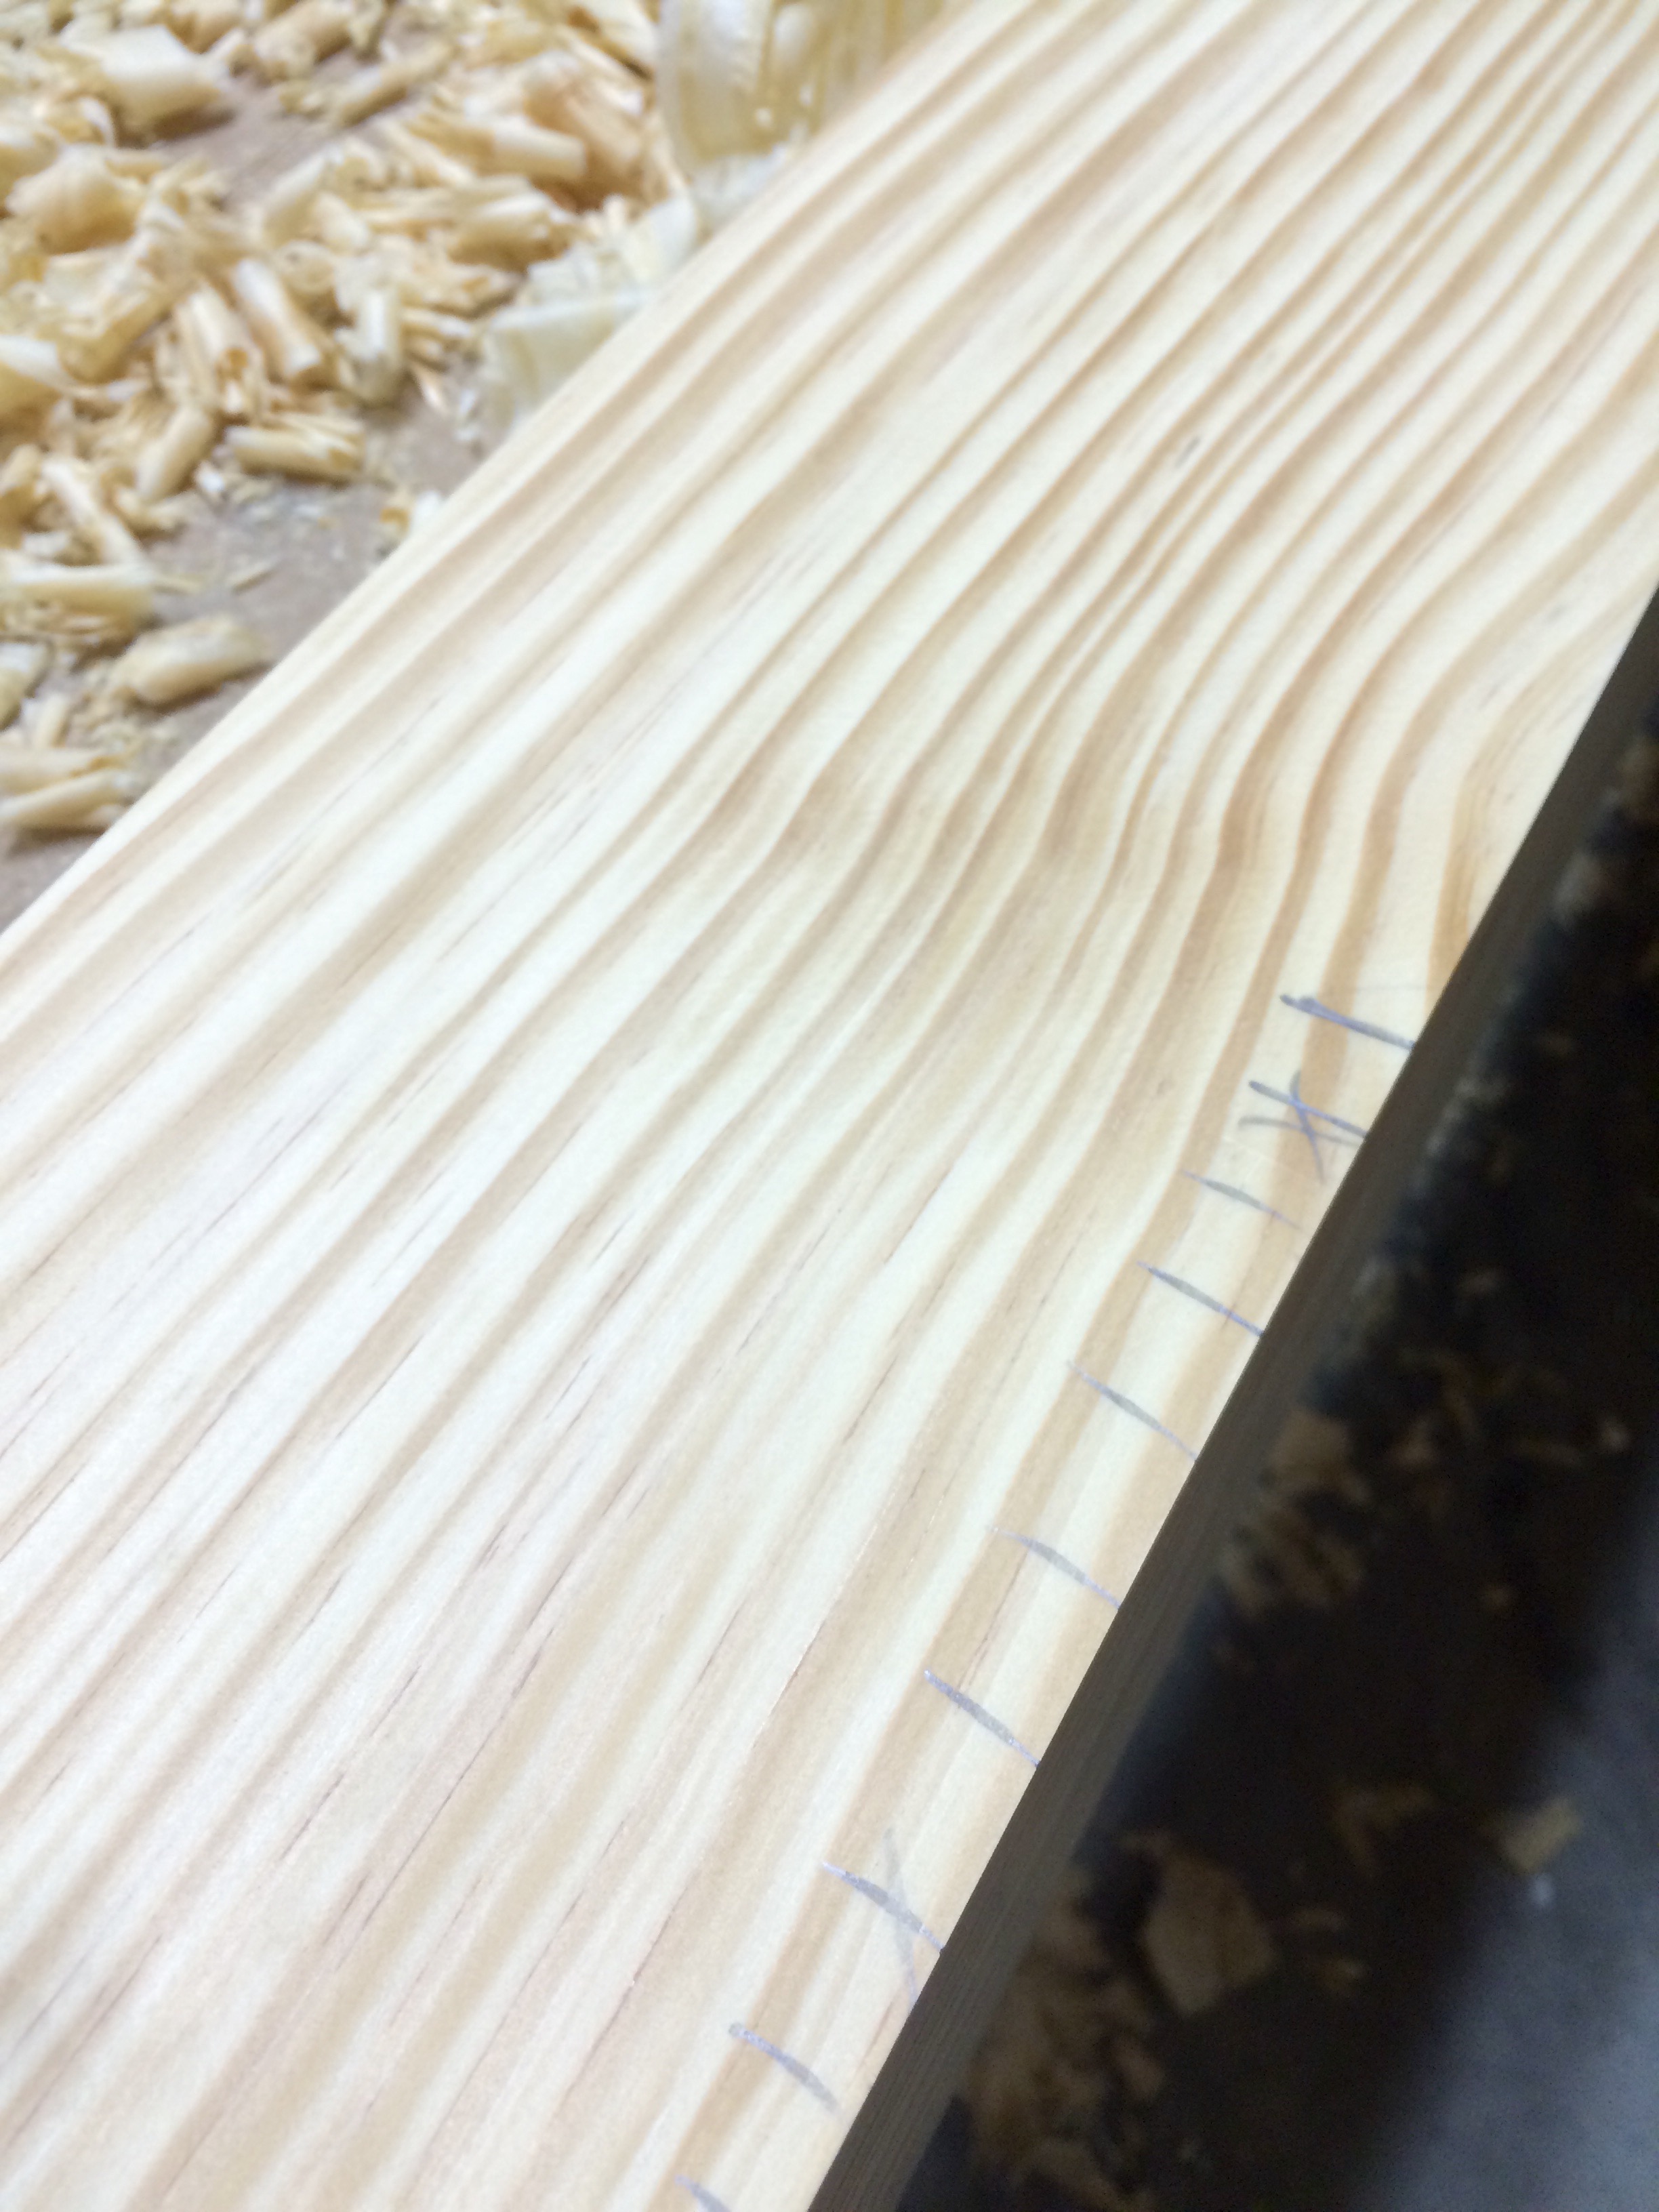
Increase visibility with a mechanical pencil
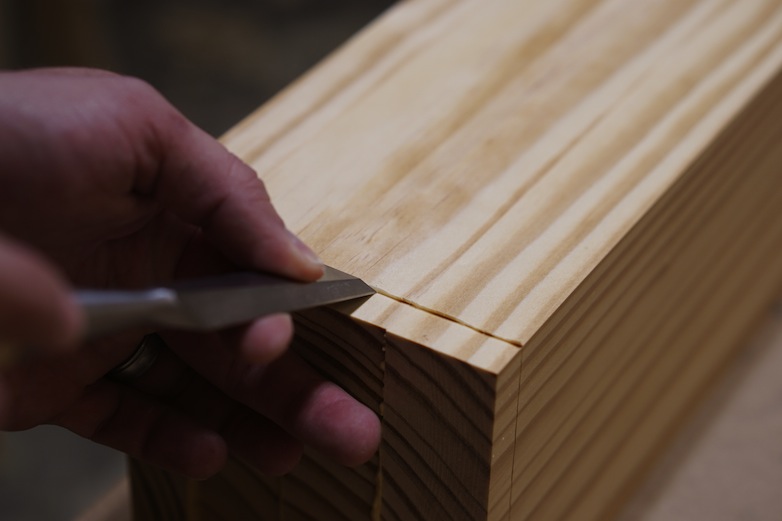
Create a trench using a chisel
Once I’ve established my knife line, I like to go back over it with a fine mechanical pencil. The effect is subtle, but makes the line more visible. I then follow up by chiseling out a small grove on the waste side of my line. This will give my saw a small groove in which to ride, and makes the cut easier.

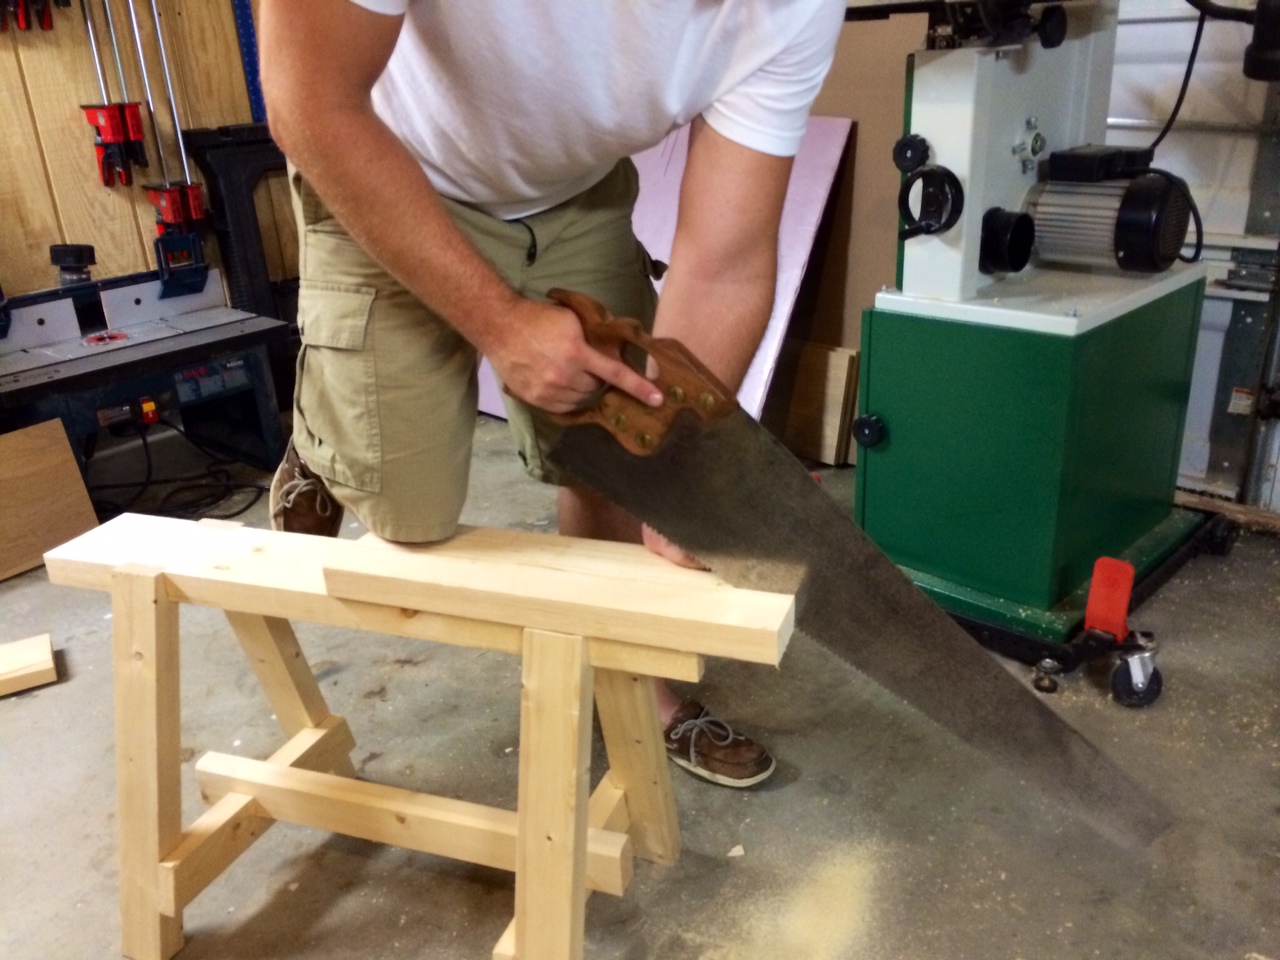
Kerf in your line with a small back saw
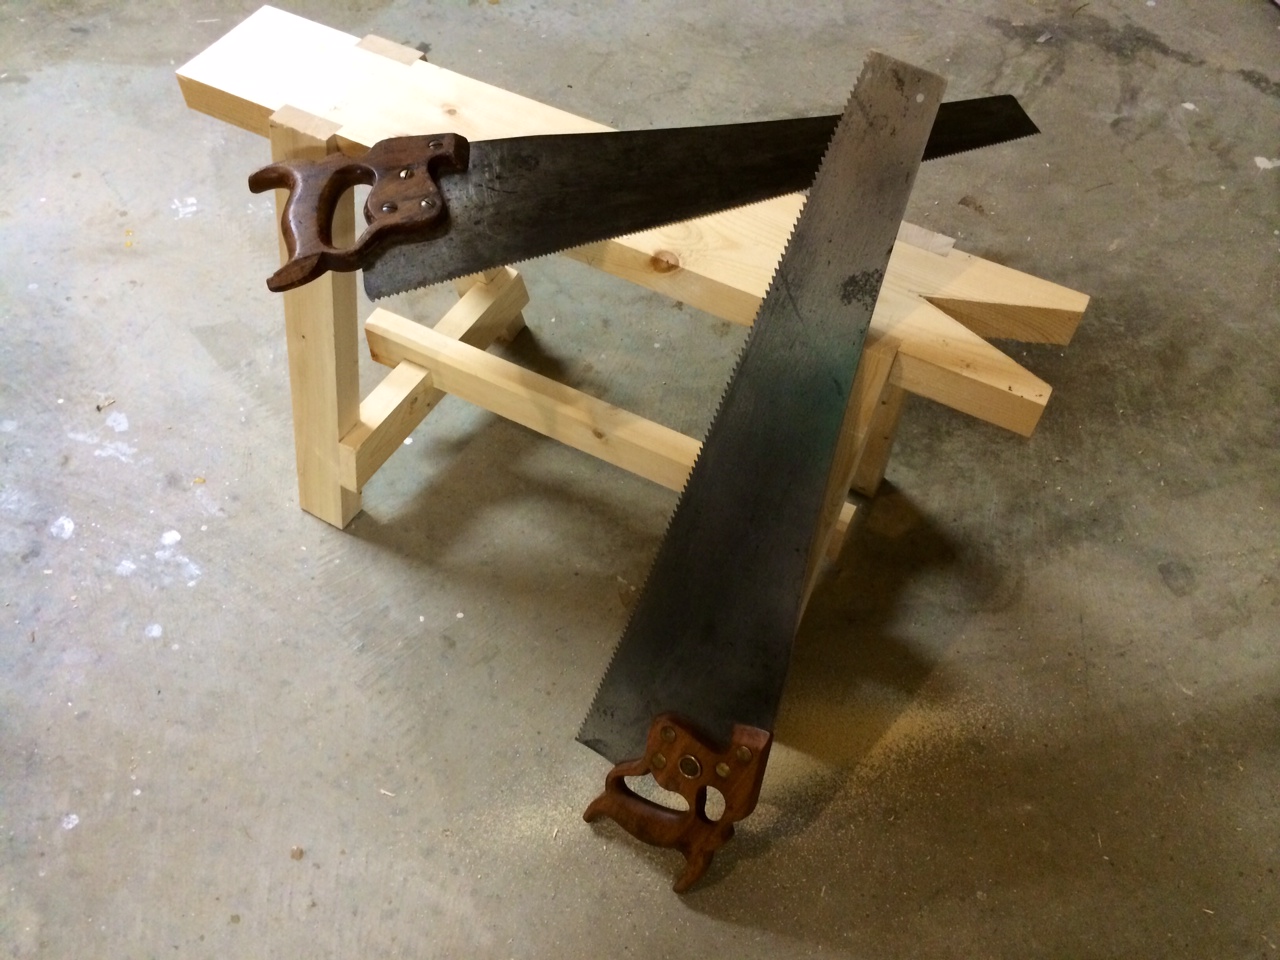
Once, I’ve chiseled out a groove, I establish a saw kerf all the way around the stock with a fine backsaw. This will help keep the cut square when I move to a more aggressive panel saw. From there, I complete the cut on my sawbench with a panel saw.

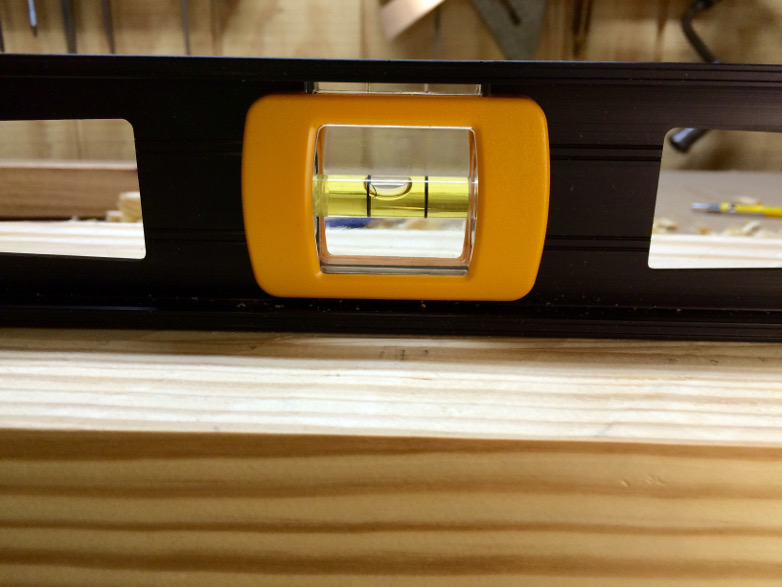
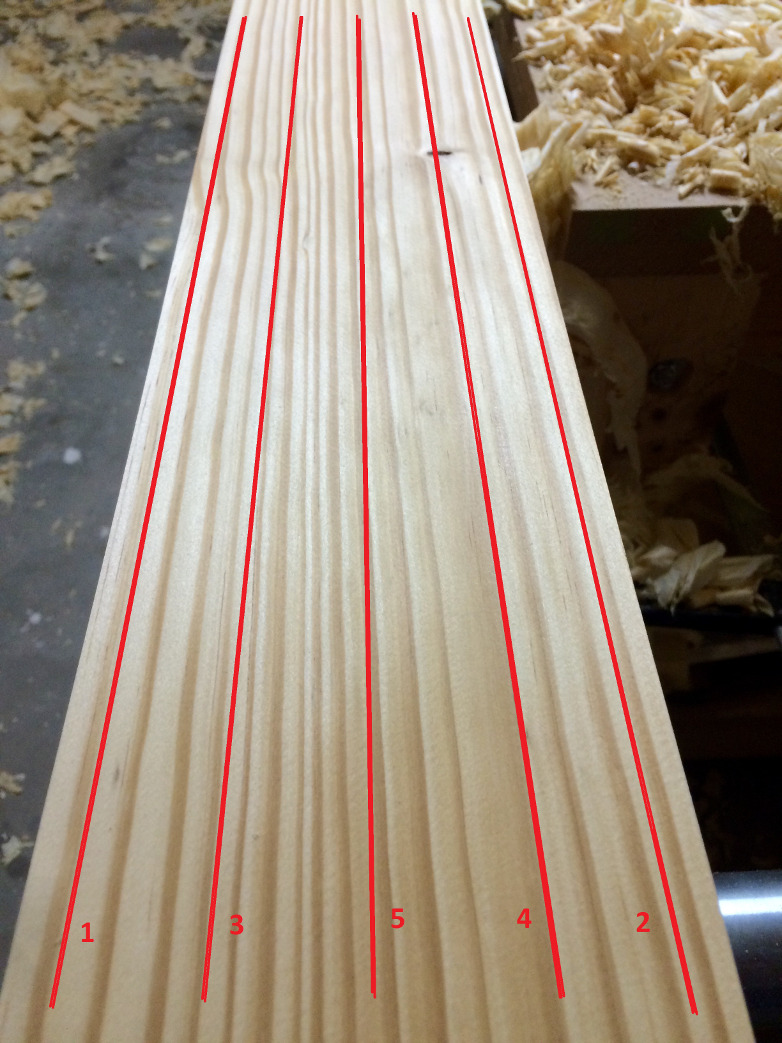
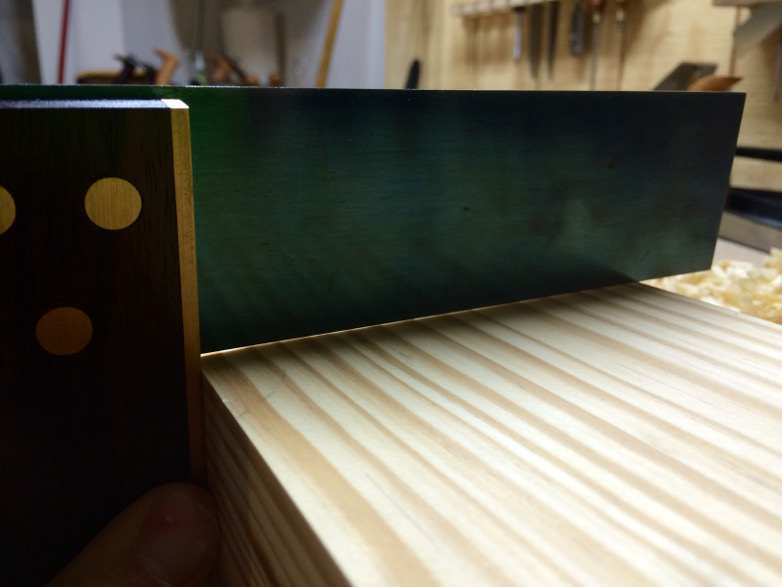
Squaring the end-grain with a low-angle jack
With the waste removed, I start truing up the end-grain with a low-angle jack plane. I work in from the outsides to avoid tear out. I approach this exactly like I would long-grain. I check everything with a square, mark the low spots, and plane the high spots. I repeat until satisfied. Once I’ve squared up one end, I mark the leg to final length, and repeat on the other end.

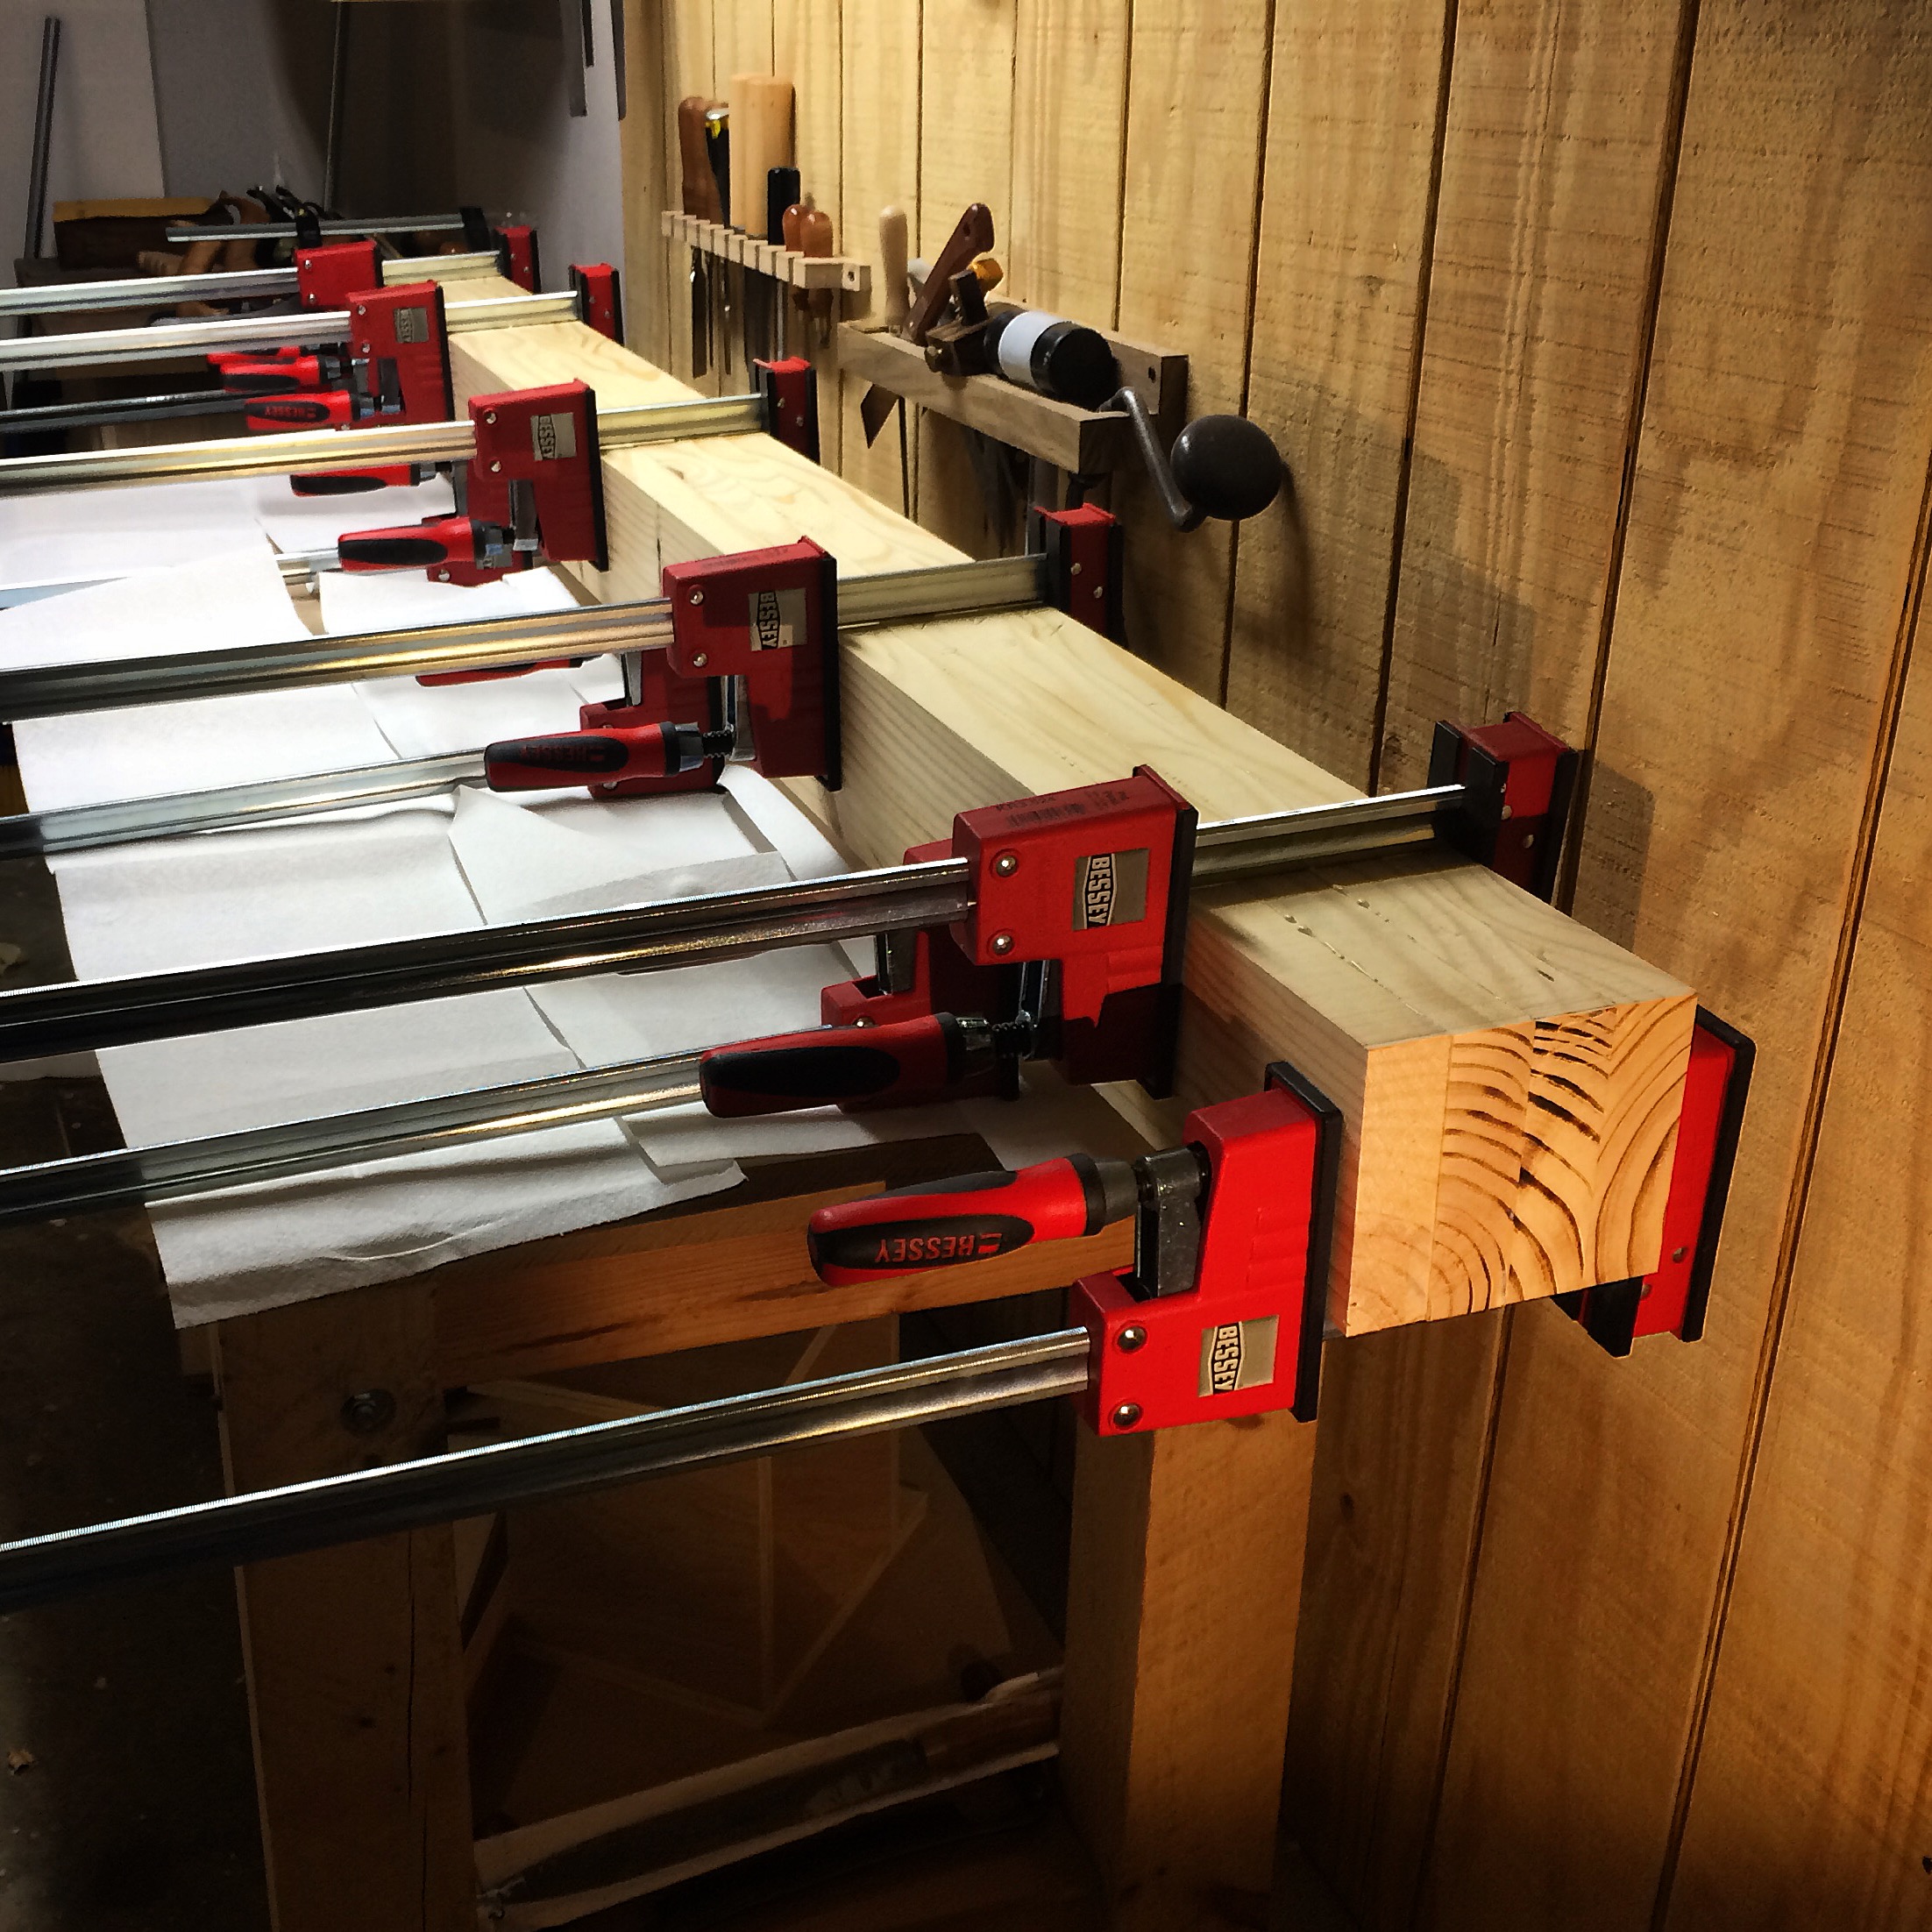
A good glue joint should break along the grain, not the glue line
I like to test my offcuts for a good glue-joint. The offcut should never break at the glue-line.
Next up, I will cut the tenons for the legs. I will show you how to do this two different ways.
You can find links to my other Roubo posts here: Project Index