Blood, Sweat, and Sawdust

Going against the grain

Category: Tables

Finishing the Farmhouse Table

I love working on big projects like the farmhouse table.  However, my shop is small and the table is large.  It takes up a lot of space, and I am unable to work on anything else.  So, I was anxious to finish the farmhouse table and deliver it to the customer.

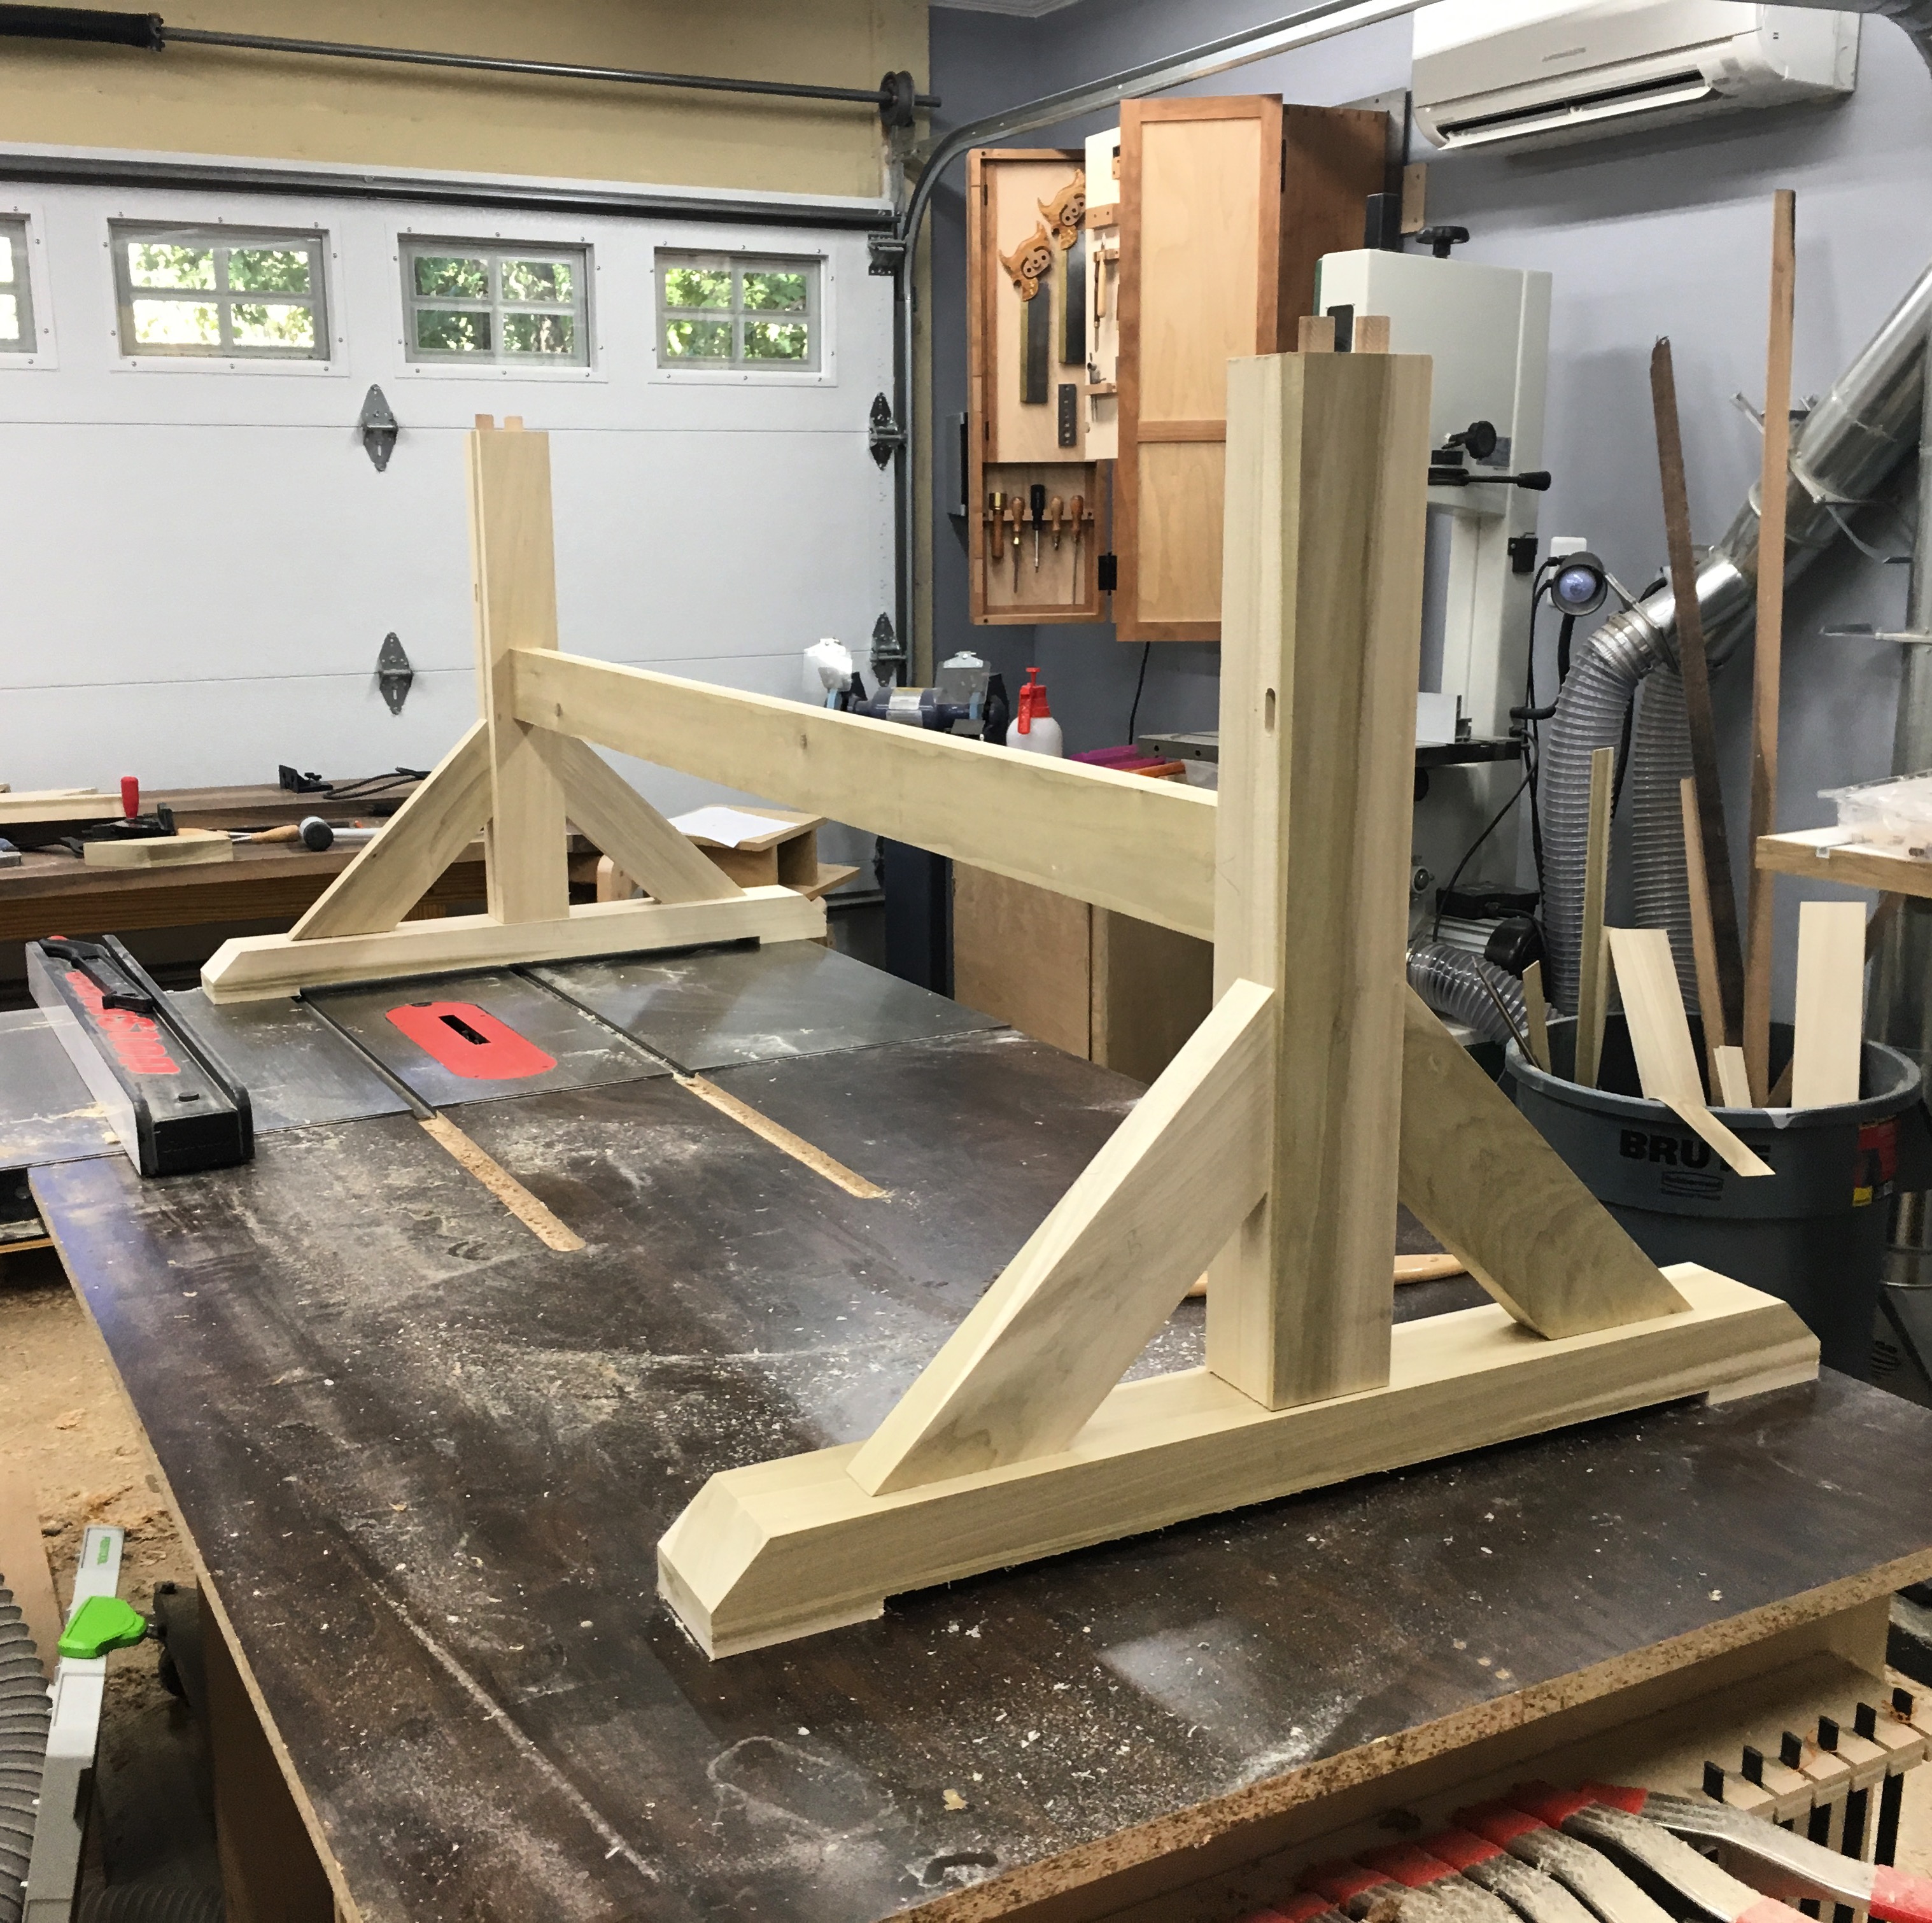
The customer wanted a white base.  So, the base received three coats of white paint.  Due to all of the nooks and crannies, I found that a paint brush was the easiest way to apply the paint.  Unfortunately, this was quite time consuming, but it got the job done.

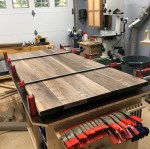
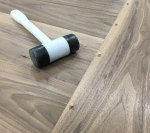
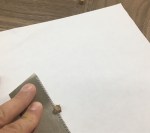
A dining room table not only needs to be attractive.  It also needs a durable finish.  Consequently, I applied three coats of poly-urethane.  I used a simple wipe-on poly, that could not have been easier to apply.  Each coat only took a matter of minutes to apply.  If only I didn’t have to wait 2-3 hours between coats.

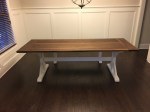
With the finish applied, I delivered the table and bench to the customer.  I kept the table top and table base separate.  This allowed us to move it through the front door quite easily.  Once in the customer’s dining room, I assembled the table and took a few pictures.  I think it turned out great and the customer was very happy.

I really enjoyed this project, but I’m glad to have my shop back.


Making the Farmhouse Table Base

The client wanted the farmhouse table base painted white.  As a result, I didn’t feel that expensive lumber was necessary.  However, I didn’t want to deliver them something made from construction lumber.  After some contemplation, I decided on poplar.

Poplar is inexpensive and my lumber yard carries many wide, knot-free boards.

I assembled each end of the base with dominoes.  This allowed me to assemble each end quickly and accurately.  Unfortunately, I only have access to the DF 500.  As a result, I wasn’t able to easily create the large mortises for the long stretcher to join each side.  The center column of each end is 3 1/2-inch by 3-inch and the DF 500’s fence just isn’t large enough to center a mortise on such a large piece.

In the end, I cut the mortises with a router jig.  I cut the tenons for the long stretcher on the table saw and trimmed them up with hand tools.  I’m not used to cutting tenons on pieces this long.  Consequently, I moved a few tools around to create enough clearance for the stretcher as I ran it across the table saw.

Before gluing anything up, I test fit everything together.  You don’t want to run into any issues after you’ve applied glue.  Then, I cut bevels on the short stretchers and use the dado stack to cut “feet” for the bottom stretcher.

Next, I glued each end together.  I ended up only needing a single clamp per end.

Finally, I glued up the complete base assembly.  Unfortunately, I don’t have any clamps long enough to secure the base.  So, I drove everything together and ensured that everything was square.  Then, I kept everyone away from it for the next hour.  The base is stable enough to stay put unless someone bumps into it pretty hard.

With the farmhouse table base complete, the only thing left to do is secure the top to the base and apply finish.  Into the home stretch!…

Click here for more on the Farmhouse Table Series


The Walnut Table – A Tabletop with Breadboard Ends

The concept of breadboard ends fascinate me.  Not only do they add style, but they also add stability to any wooden table top.  Despite their simple appearance, designing breadboard ends takes some consideration.

Breadboard ends prevent the end of the top from cupping by restricting its movement via tenons.  Unfortunately, standard mortise and tenon joiner won’t do.  Wood expands and contracts more a long its width than a long its length.  Consequently, you can’t glue all of the tenons in place.  Otherwise, the top would pull itself a part.  So, how does one allow the wood to move while keeping the breadboard ends secured?  You simply pegs the tenons.

For this table, I made a total of five tenons at each end.  Only the center tenon is glue.  I draw bored the outside tenons with an elongated hole on the tenons (I wrote about draw boring in detail, here).  The elongated hole will allow the wood on the top to expand and contract, while the draw bore pegs keep the breadboard ends tight.  Unfortunately, I forgot to take a picture of the tenons.  Please, forgive me.

Driving the draw bore pegs always makes me nervous.  There’s a chance that the peg could split the breadboard end or break out the end of the tenon.  Fortunately, neither have ever happened to me.  In the end the risk is worth it.  The bread board ends look great, and keep the top nice and flat.

Stay tuned.

Click here for more on the Farmhouse Table Series.