How to Use the Kell Honing Guide and Quickly Produce Keen Edges
Realizing that the Kell honing guide was a bit tricky to use effectively, I thought it would be good to write a follow up to my recent review, found here: A Review: The Kell Honing Guide
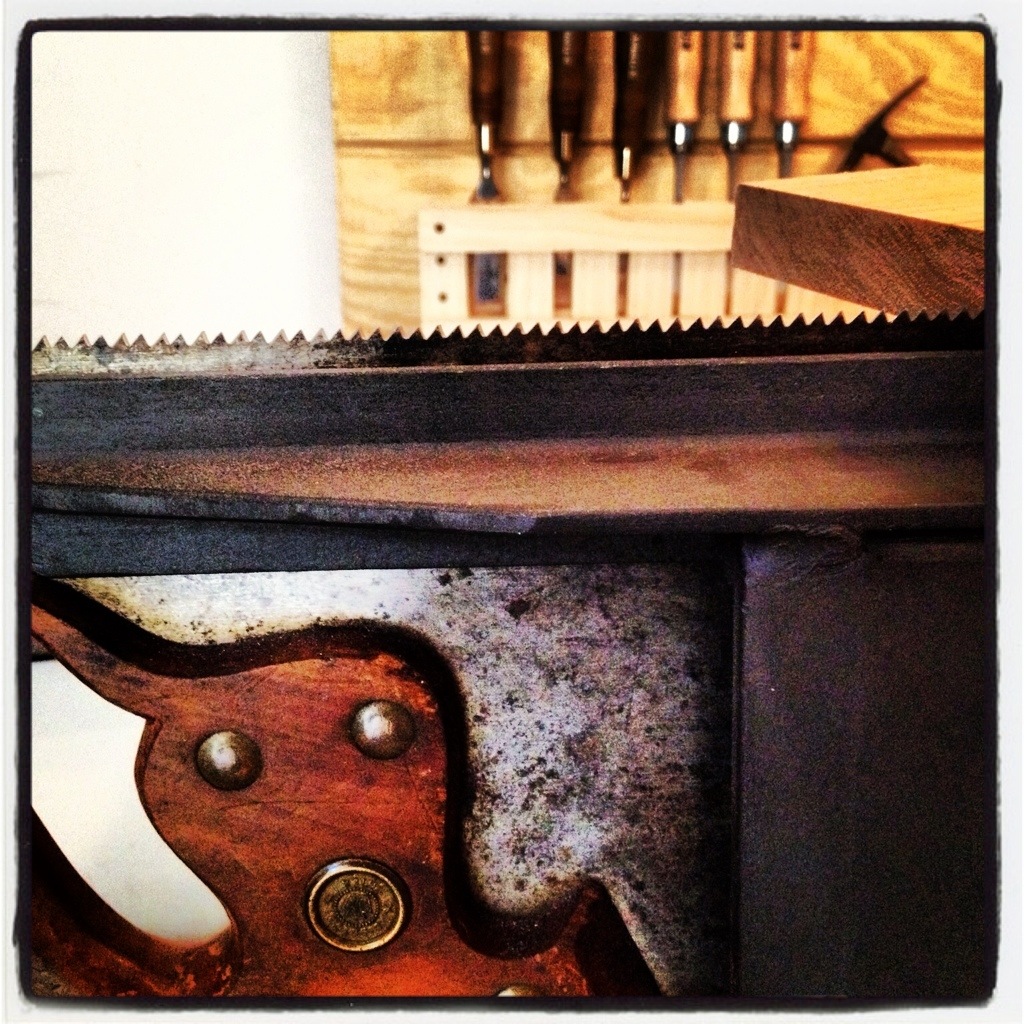
A registration jig makes setting angles a breeze for the Kell honing guide.
The first thing to note is that making a registration jig will make this tool much easier to use. The instructions include a list of measurements to achieve a desired honing angle. The measurements are taken from the edge of the blade to the first registration bar. My registration jig is nothing more than a simple piece of scrap, slightly thinner than my narrowest chisel. This allows me to register the edge in one of two notches I cut, and slide the jig back until it touches the registration bar on the honing guide. Each notch represents a different honing angle.

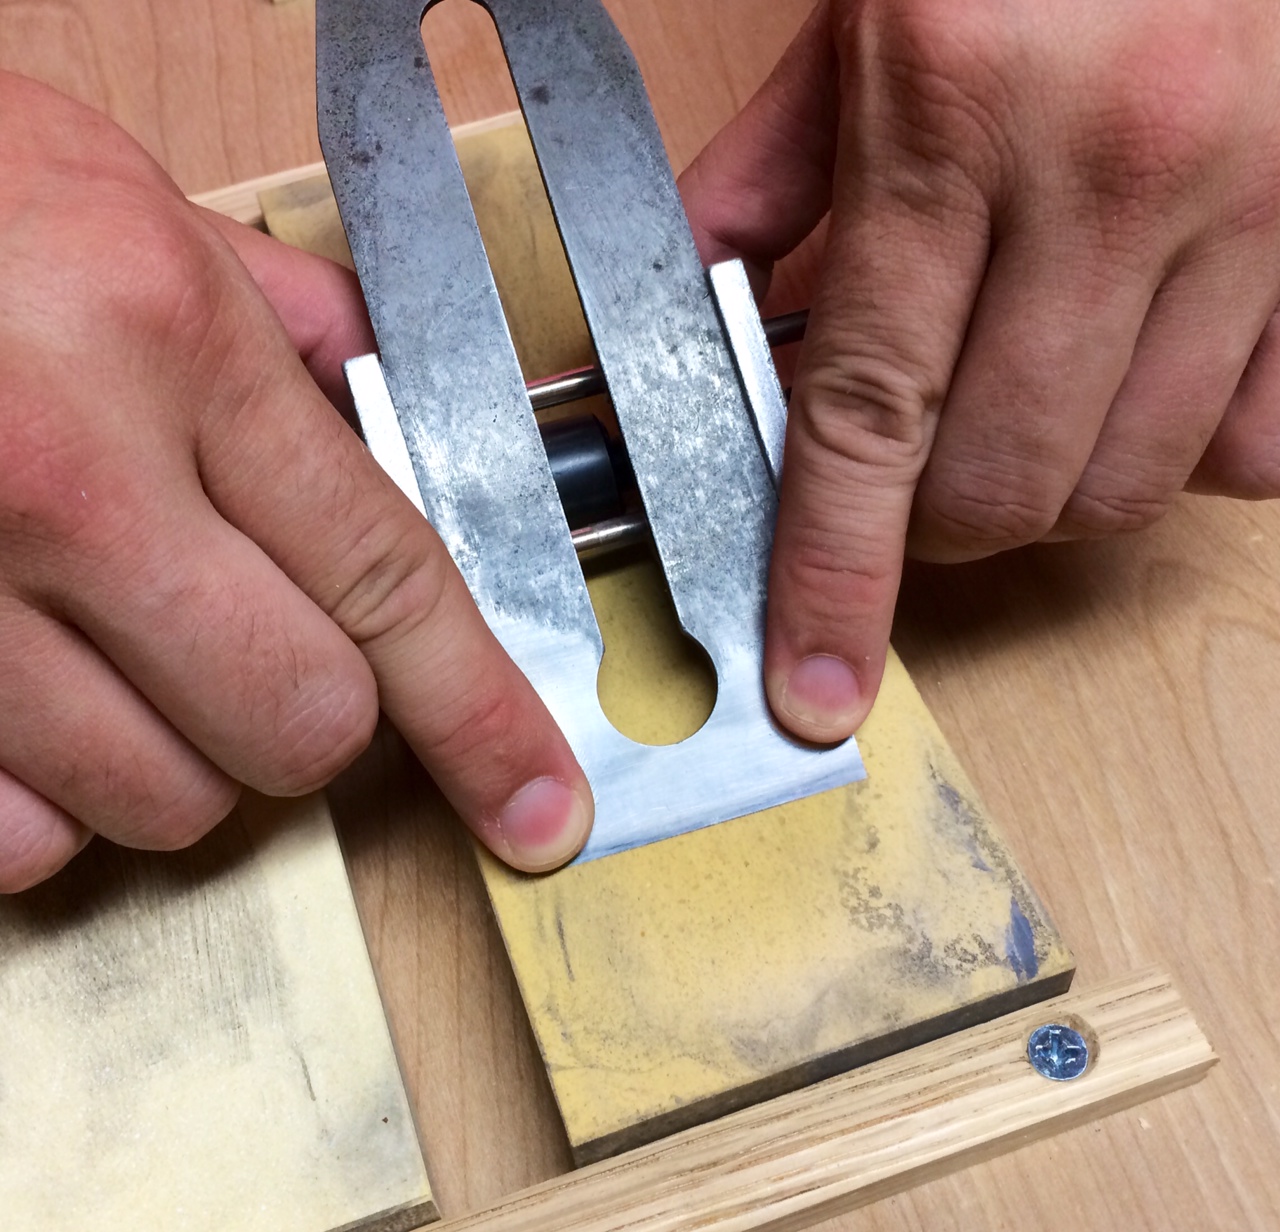
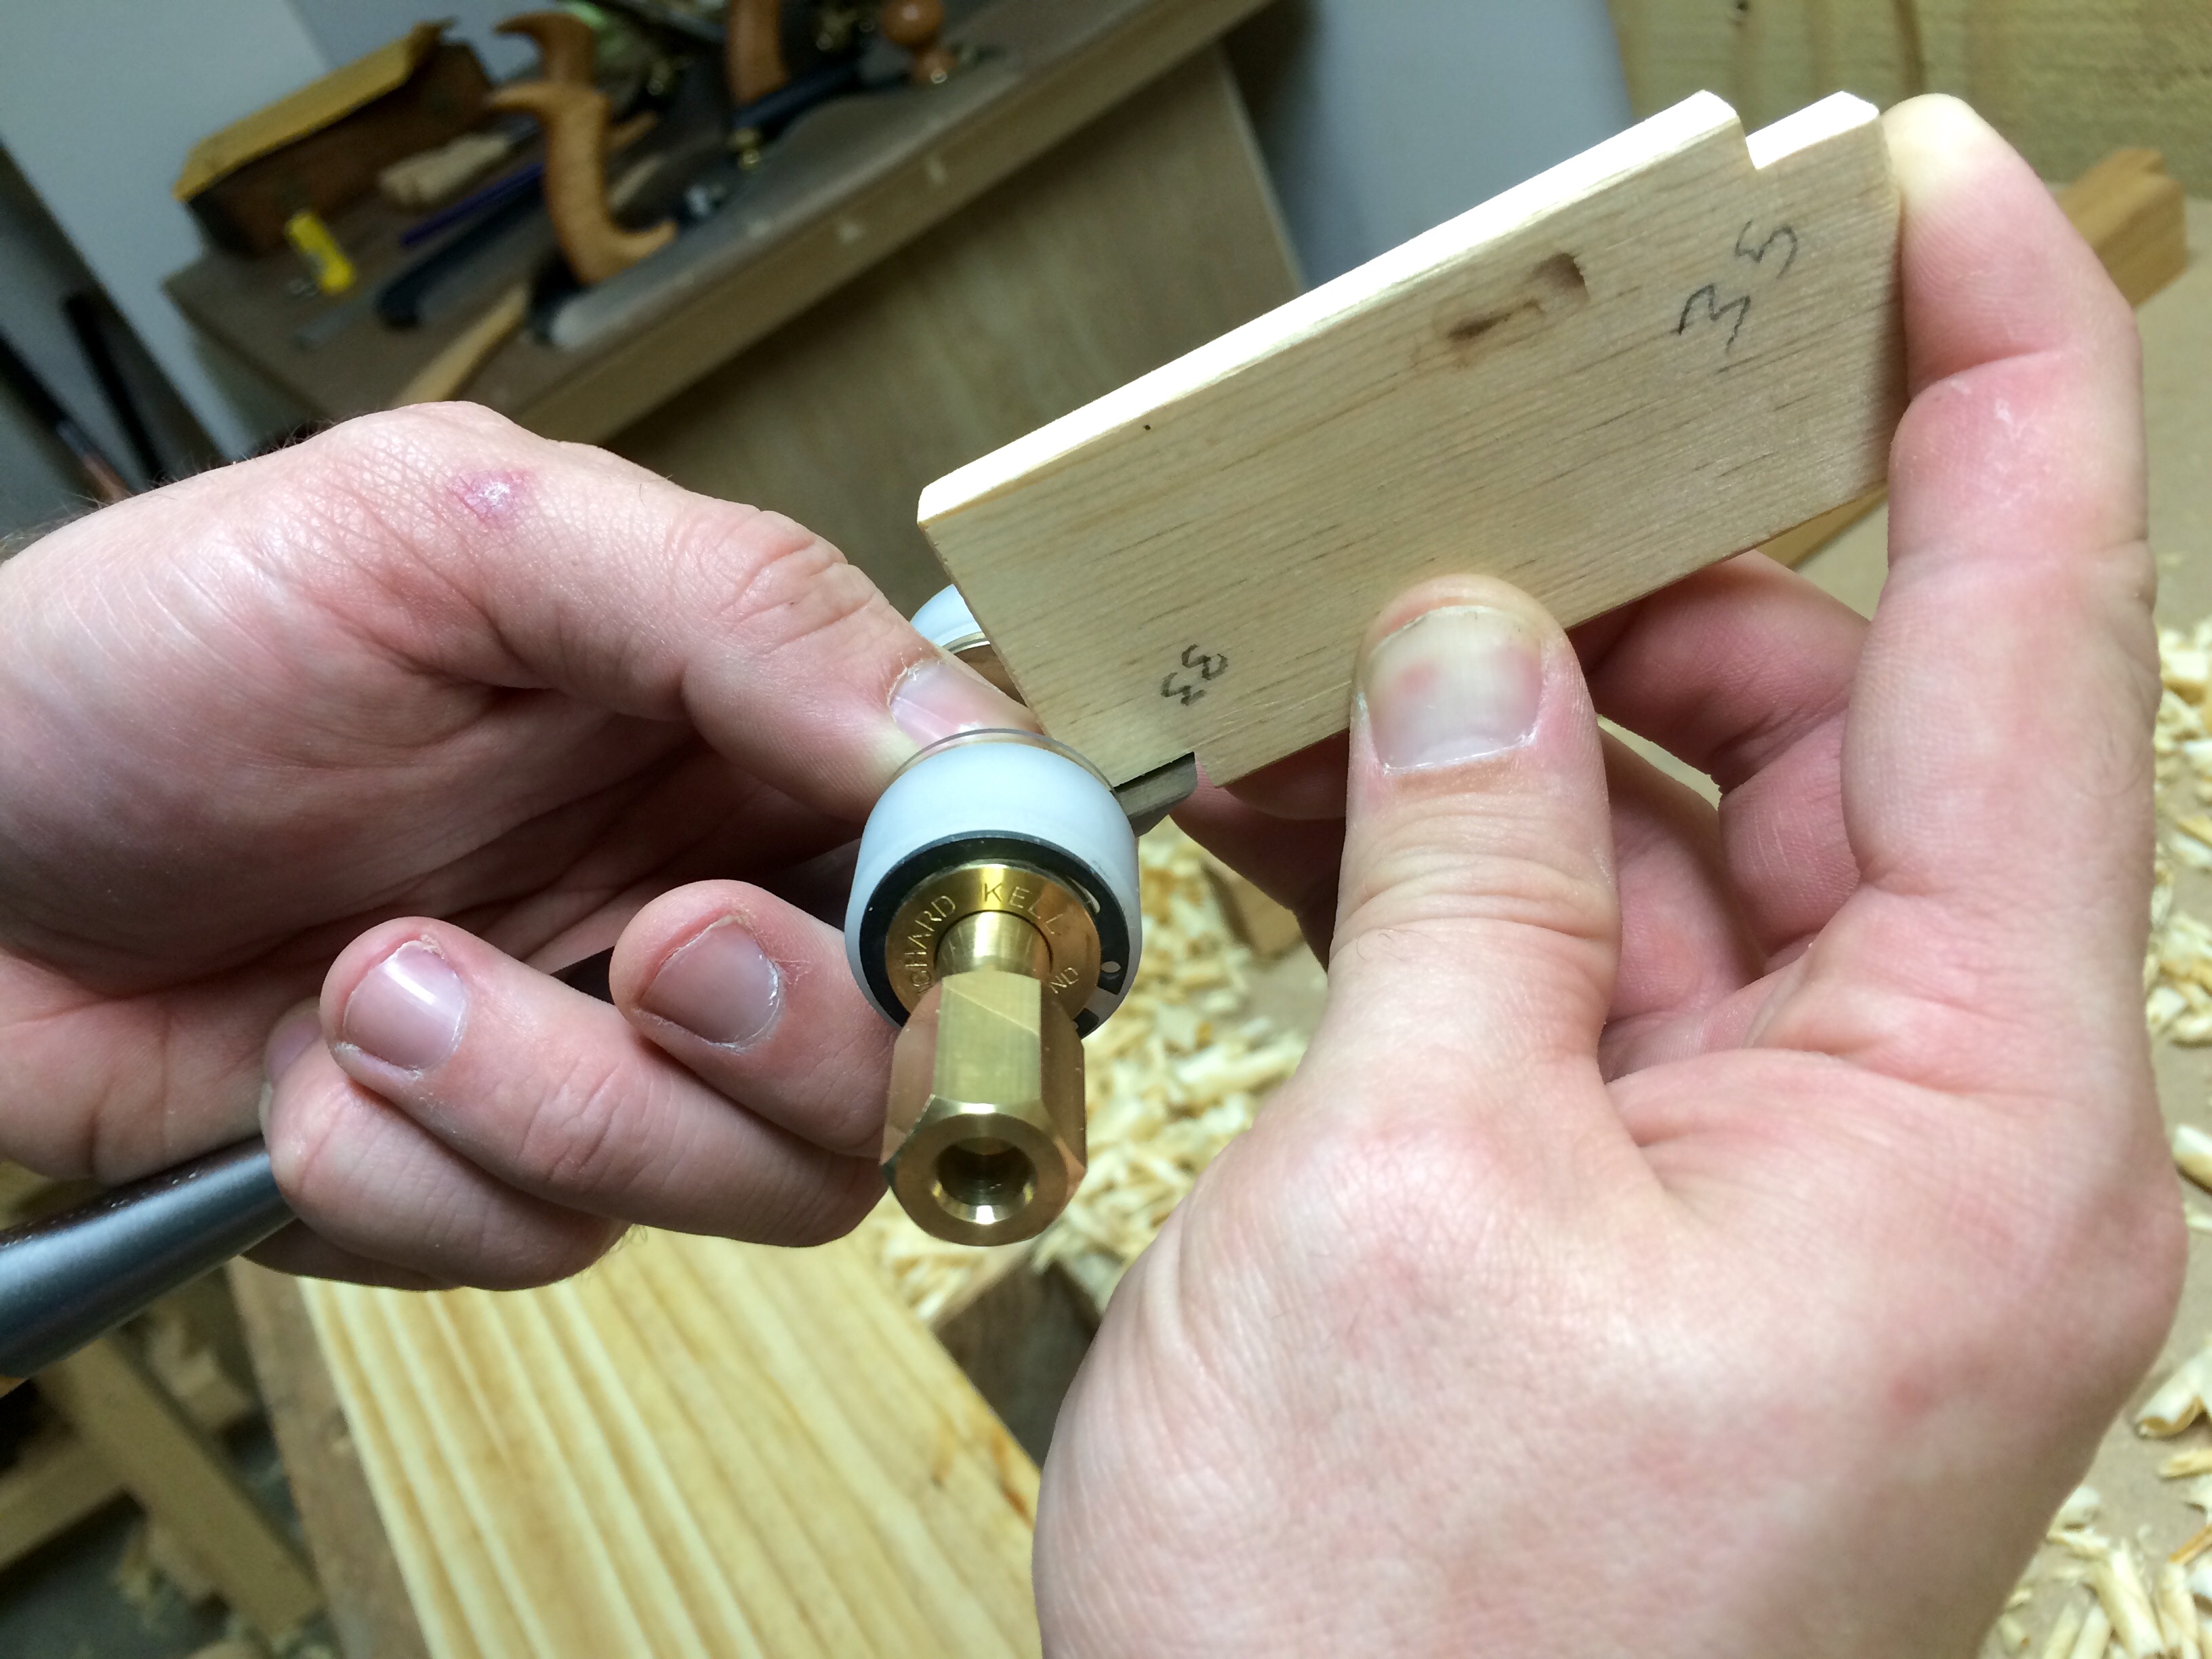
Holding the guide for small chisels

Red arrows indicate where to hold guide.
To hone my narrowest chisels, I am able to hold on to the end of the registration bars to the left, and the adjustment knob on the right. I apply pressure to the edge using on finger and draw the entire guide back.
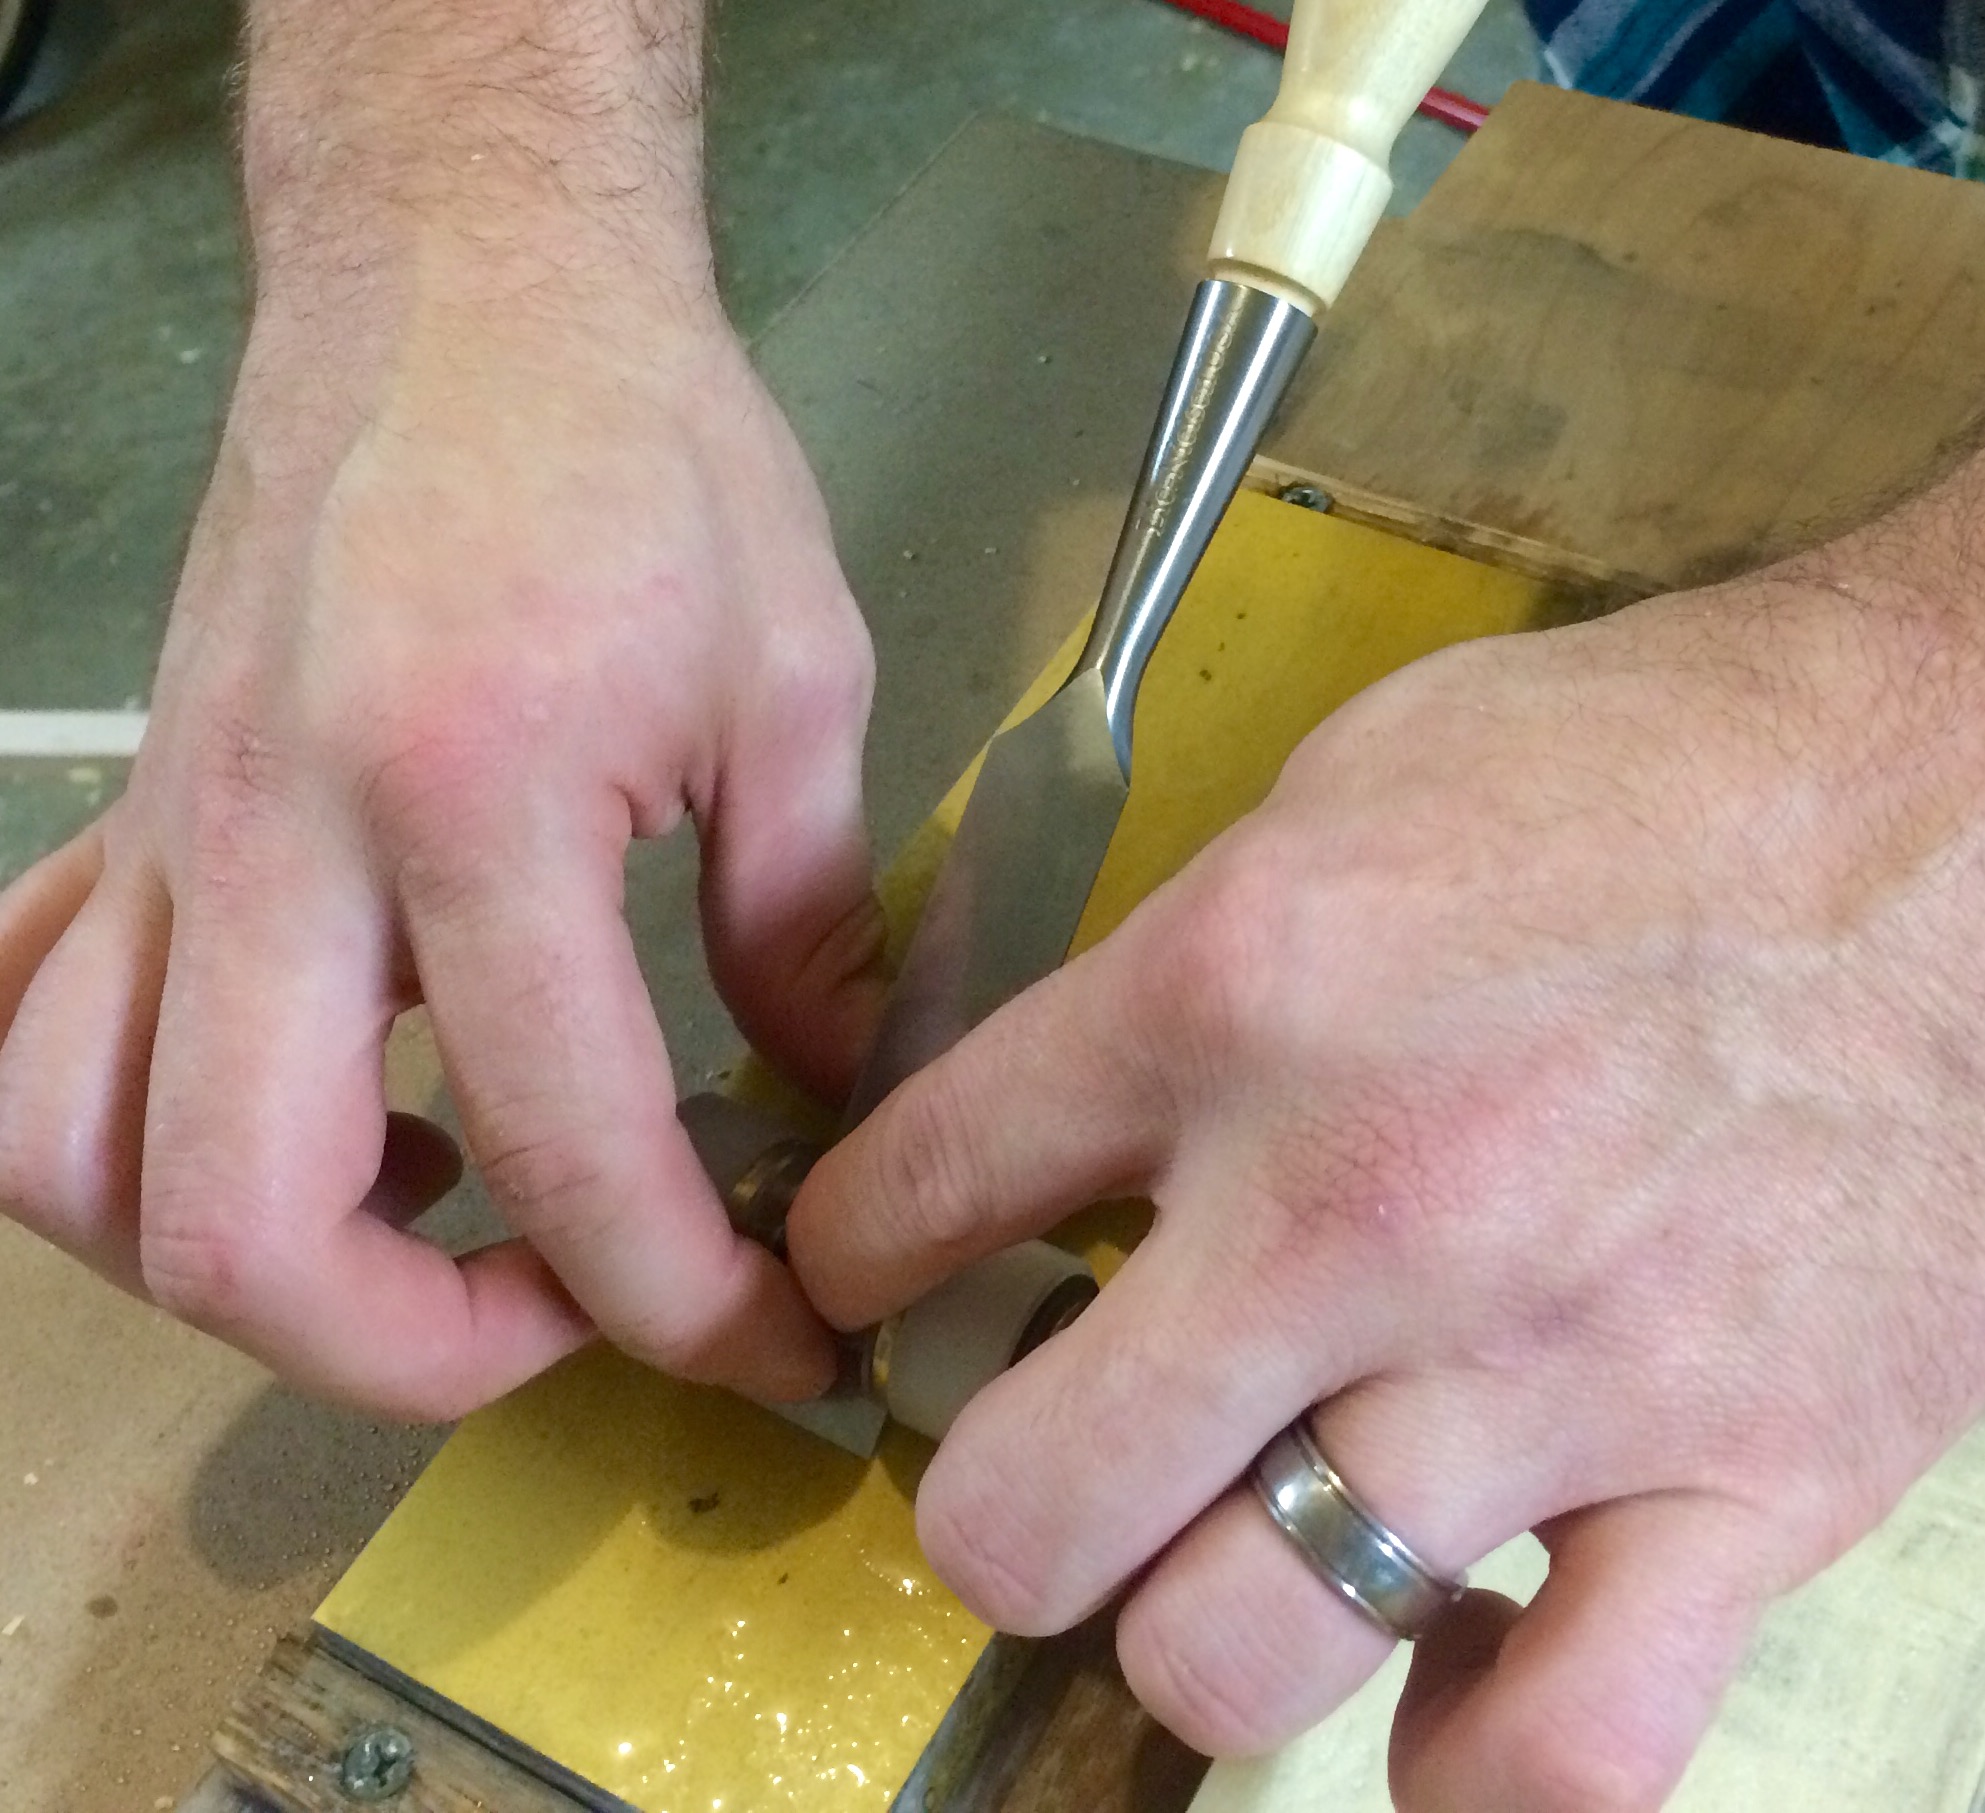
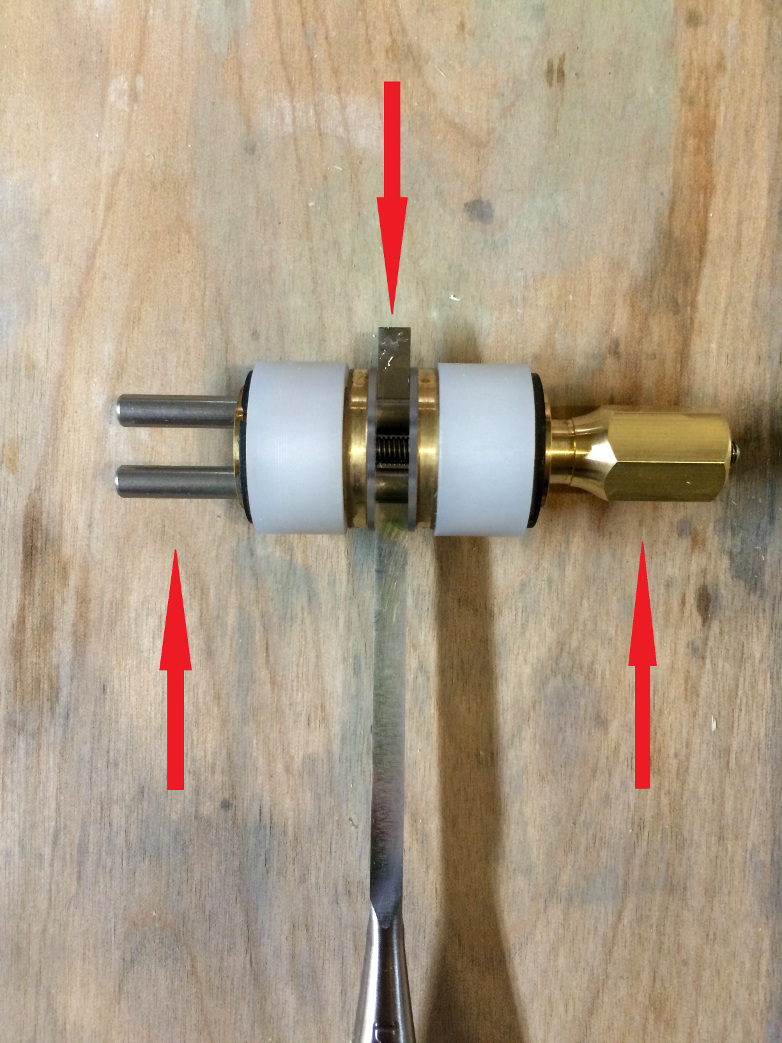
Holding the guide for wide chisels
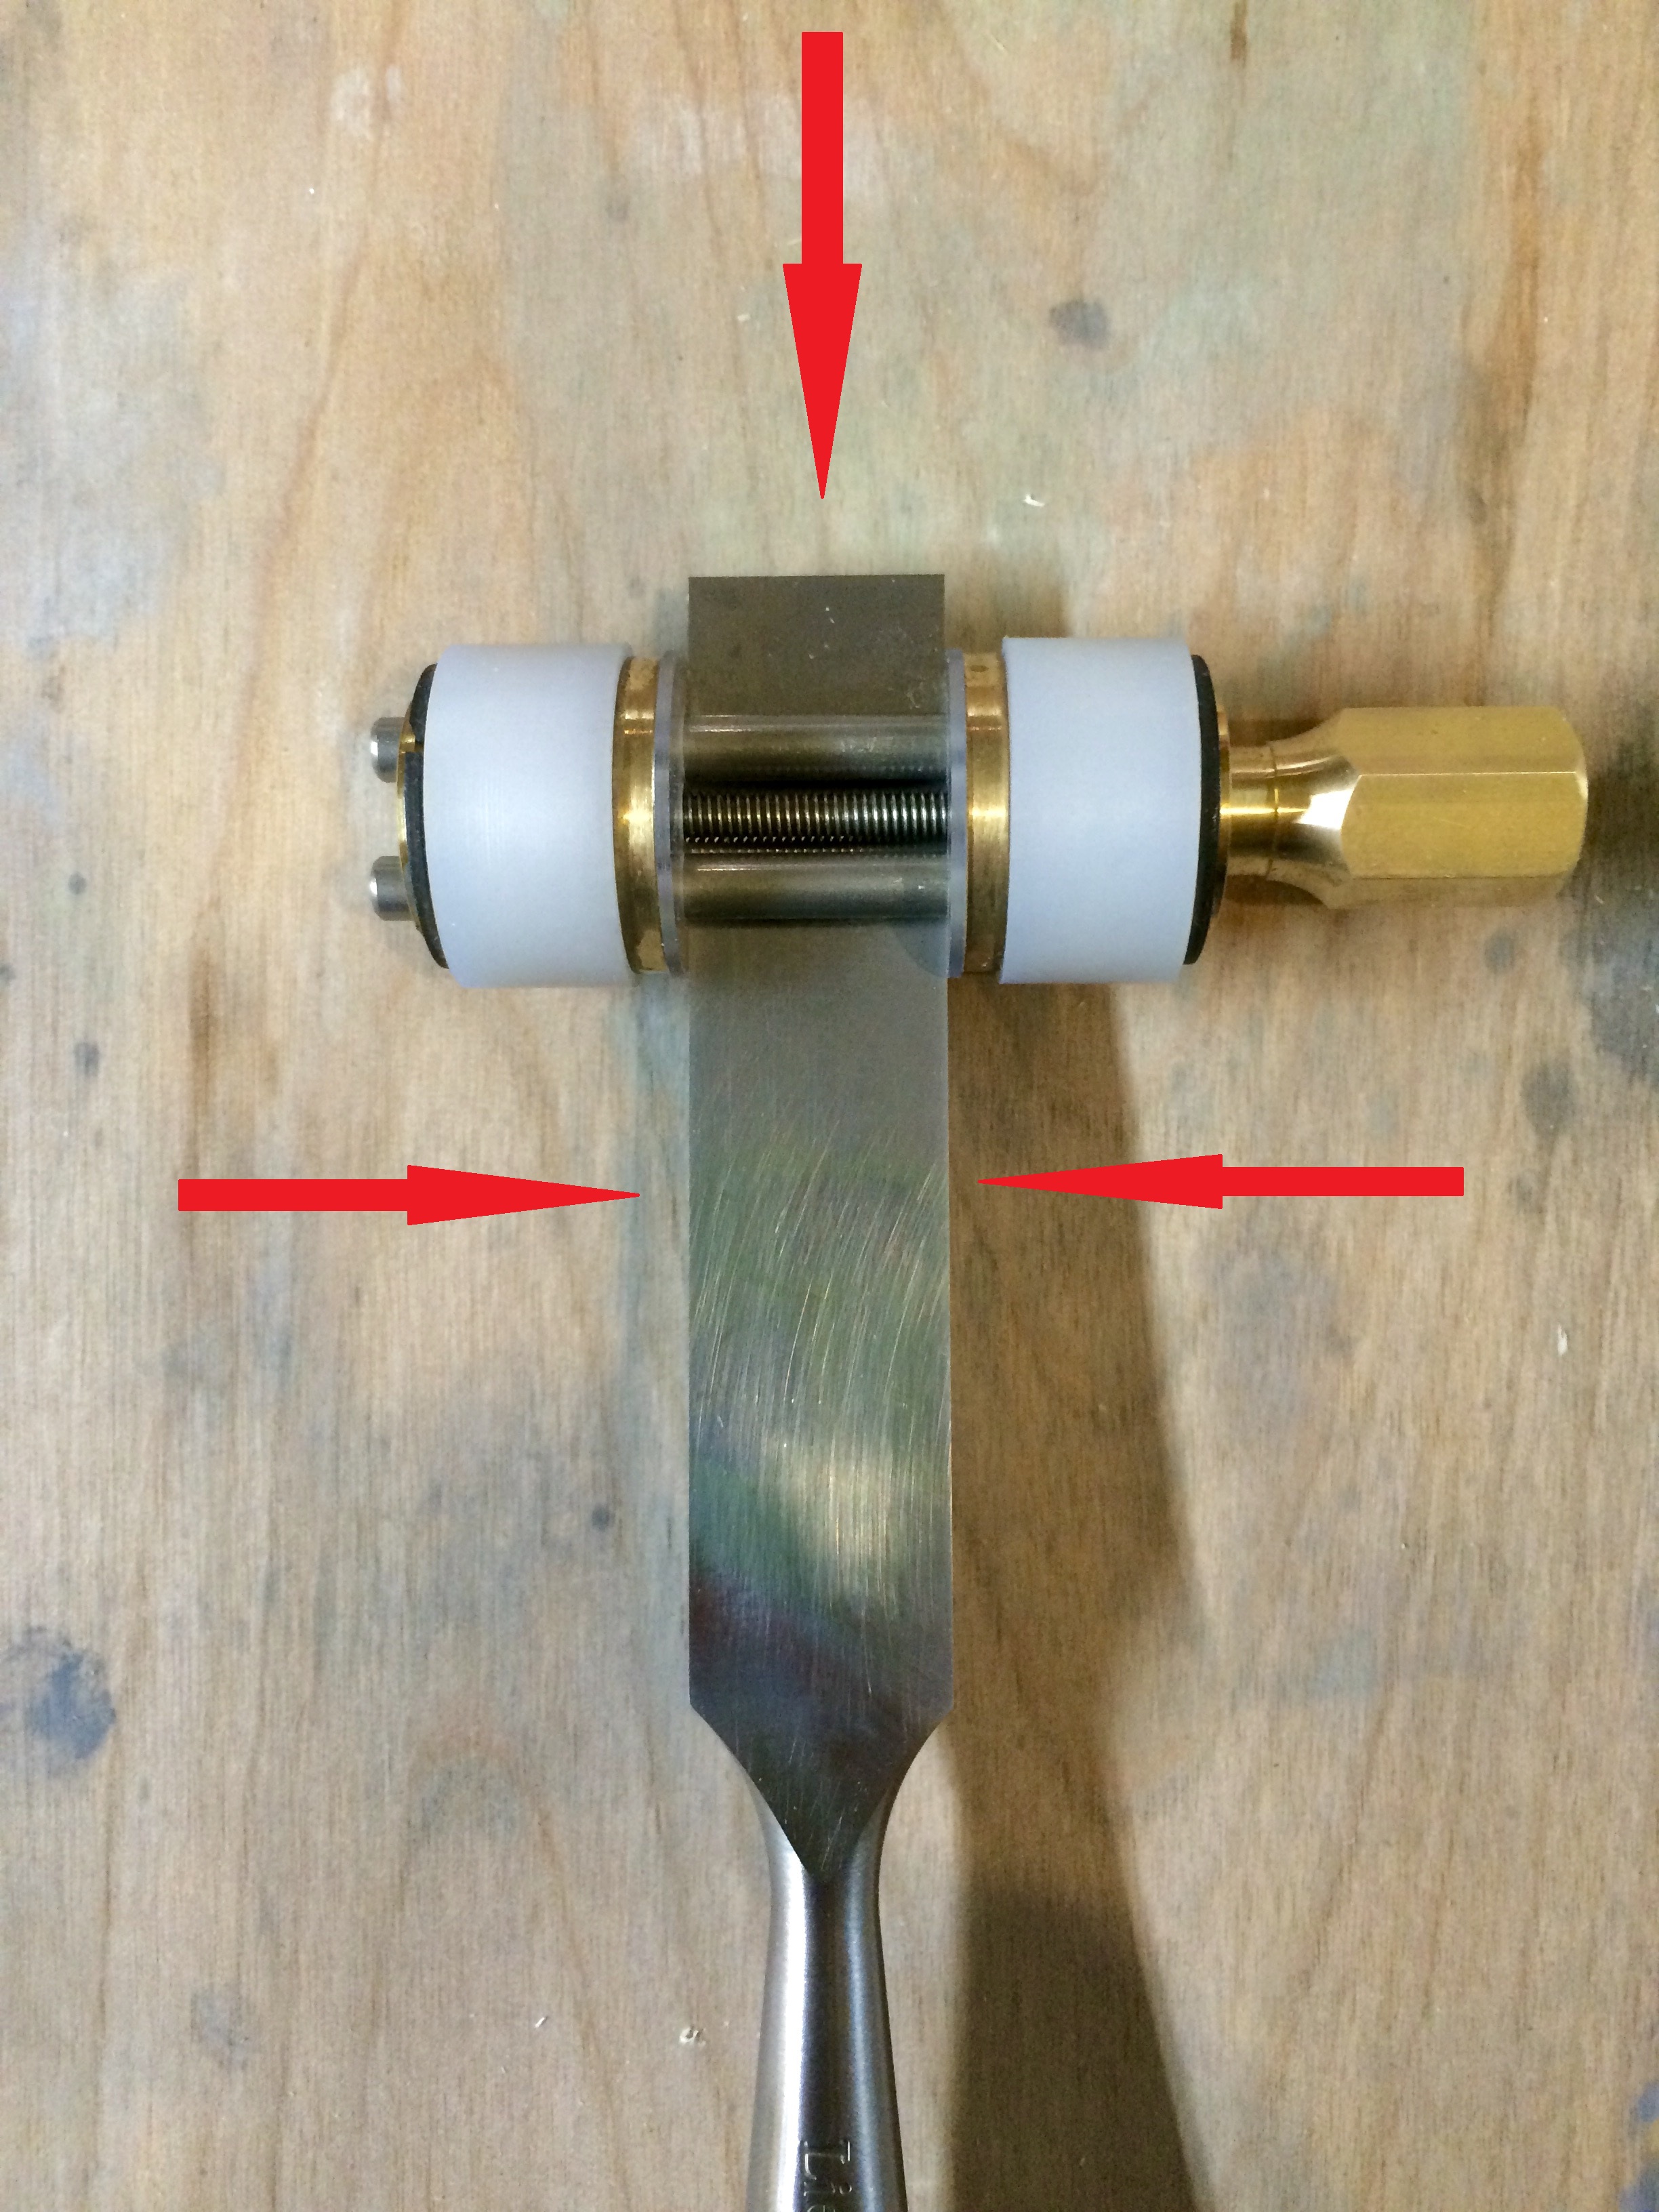
Arrows indicate where to hold the guide
On my widest chisels, the registration bars aren’t available to grasp. Instead, I apply pressure to the edge with my index fingers, and pressure to the back of the blade (just above and behind the honing guide) with my thumbs. This locks the whole assembly in place, despite not really touching the guide itself. Chisels in between, are even easier to deal with.
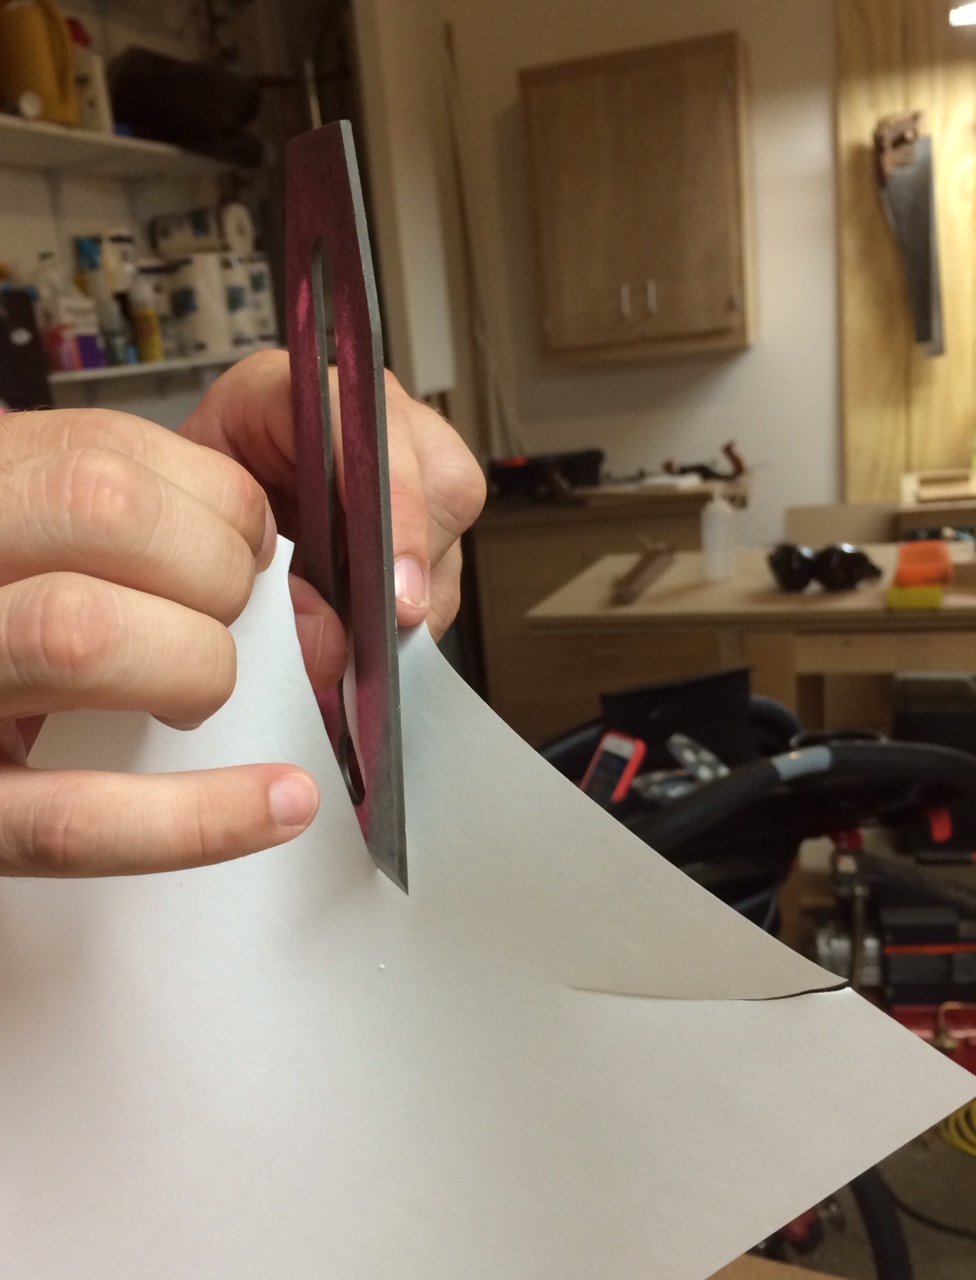
I didn’t find it too difficult to get used to these modified techniques and would still highly recommend the Kell honing guide for chisels. It may look odd to hold in the pictures, but it is actually quick, easy, and comfortable. In both cases, I simply draw the guide back towards myself. I lift sightly on the return to prevent gouging. In most cases it only takes 10 or so swipes to produce a burr. This, in part, is owed to the fact that the Kell guide makes it easy to produce consistent swipes across the stone and holds the chisel dead square.