Blood, Sweat, and Sawdust

Going against the grain

Category: Uncategorized

Roubo Build: One Stout Bench Top

One Stout Roubo Bench Top

One Stout Bench Top

Everything I’ve done for the past 6 weeks has built to this bench top completion.  It isn’t easy milling up 8 ft long sub assemblies that weigh over 50 lbs apiece.  However, the wisdom gained was worth the effort invested, and the rest of the Roubo build to should go more quickly.

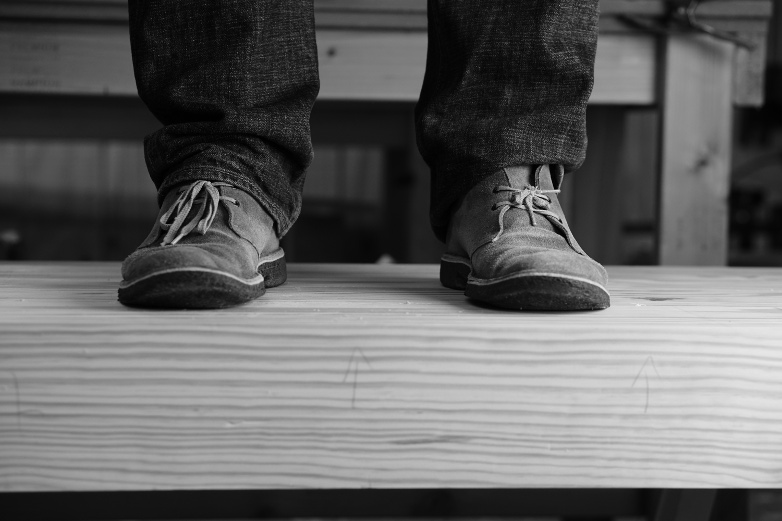
I can’t believe the stability of the Roubo bench top.  There’s zero flex, even with my 190 lb frame down bearing directly over the center.  It don’t think it would have a problem with a Buick parked on top.  At nearly 200 lbs and 4 1/2 inch thick, it shouldn’t have any problems with the modest amounts of abuse it will see over its lifetime.  Overall, the build has gone smoothly, but it hasn’t been without its lessons.

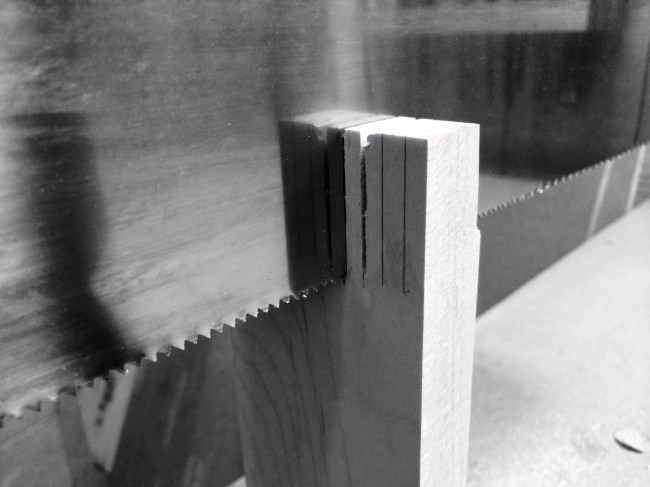
The biggest lesson I’ve learned is to take your time. I sped through the early stages and ended up with some small gaps in the sub assemblies.  This is likely due to small amounts of snipe from the planer, which I didn’t initially notice.   I don’t expect this to affect bench top durability, but it is a constant reminder of my impatience. The seams between the sub assemblies are virtually gap-less. I will mask the gaps with some epoxy, unless anyone can give me a better solution.

Roubo Bench top clamped web

Bench top clamped web

If you attempt a build like this take your time, plan, and don’t hesitate to ask for help.  The legs are already in progress.  I have already ripped, jointed, and stickered the boards.  With any luck, I will have the blanks glued up by the end of the weekend.  Stay tuned…

You can find links to my other Roubo Build posts here:  Project Index


Blog Maintenance

I will be migrating my site to a stand-alone host over the weekend  All subscriptions, comments, etc, should migrate without incident.  However, if you do subscribe, check back Monday and make sure you maintain that subscription.  Thanks all, and have a great weekend.

Shop Cabinets Finished…well mostly

I feel like I’ve been working on these since the dawn of time, but they’re finally complete. I ended up with two base cabinets (once with drawers, one with doors), and two rolling carts. I have a bit of plywood left over, so I may knock out a hanging cabinet. I still have a little trim work to do, but I have so much more room to do activities!


photo 2

photo 1

Only Perfect Practice Makes Perfect

Image

Some say that practice makes perfect. A wiser man will tell you that only perfect practice makes perfect. So if you’re having problems with any of your hand tool skills, get out there and practice perfect practice. Now, say that three times fast.

Don’t wait until you start a new project to attempt a new skill for the first time. Find some scrap lumber and practice first. Take your time, focus, and perfect your technique before putting it to use on exotic lumber.

Where did I put that Chisel?

One of the biggest hurdles I’ve faced in my small garage shop is finding where I’ve left things.  My second biggest hurdle is clearing the clutter off my workbench while working on a project.  Needless to say, the solution was something that goes against my very nature.  You see, I’m not a very organized person.  However, I believe one of the keys to experiencing joy in the workshop is having everything in its proper place, and having everything within easy reach.

So, I set on what I believed would be a long and frustrating journey to get my shop organized.  I was immediately pointed towards Tom Clark’s Practical Shop Cabinets.  What I learned reading his book was nothing short of miraculous.  I didn’t have to spent months getting organized.  Neither did I have to spend a small fortune.  All that was needed was a few tools and some inexpensive birch plywood.  

The construction methods Tom lays out are easy to learn and provide for very sturdy cabinets.   He lays out a few simple plans and provides you with the knowledge to design cabinets that match your specific needs.  I decided to start with a small sharpening station on casters.  In the future, I plan to make a miter station with several banks of drawers and a mobile assembly table.  If you have ever wanted to make your own custom shop cabinets, I highly recommend his book.  It will you the confidence you need to get started.  

Check back for updates.

20140308-092850.jpg
Here is my nearly finished sharpening station.

20140308-092859.jpg
This is another mobile cart I’m working on for my miter saw.

Use a Batten when Face Planing

I picked up this little gem from The English Woodwoorker. When face planing, use a thin batten with a notch cut into it to hold the corner of your work piece. The batten should be held diagonally by a clamp or hold fast. This will secure your work piece when you plane diagonally and cross grain. No need for an end vise.

20130929-161541.jpg

Tip: it helps to have a bench dog engage the piece at the opposite corner. This will act as a pivot point to engage the batten.