Blood, Sweat, and Sawdust

Going against the grain

New Toy

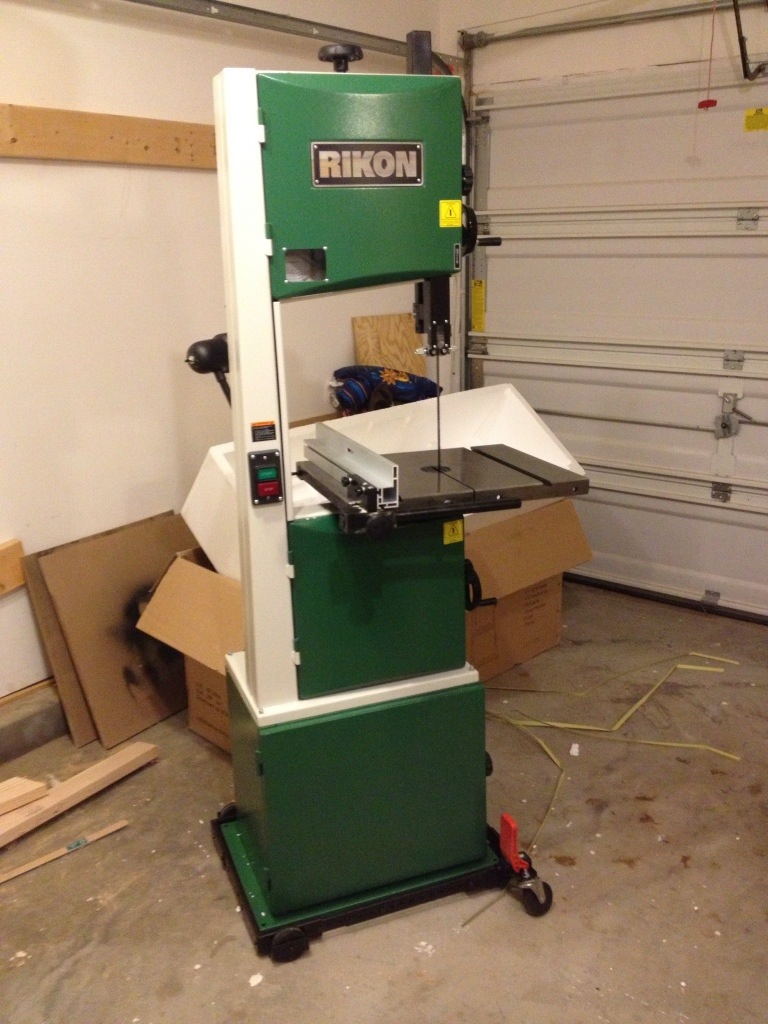
After months of deliberation and daydreaming, I finally picked up my first bandsaw. I chose the Rikon 10-325 14″ bandsaw for several reasons. There is a dealer near by (Highland Hardware). It meets all of my current needs. It seems to be well liked by the community. And, it has a 5 year warranty. I spent much of the weekend assembling the saw, but haven’t yet been able to start her up. The instructions are somewhat lacking, but assembly was rather straight forward.

20130904-170320.jpg

This is the box in which the saw arrives.

20130904-170440.jpg

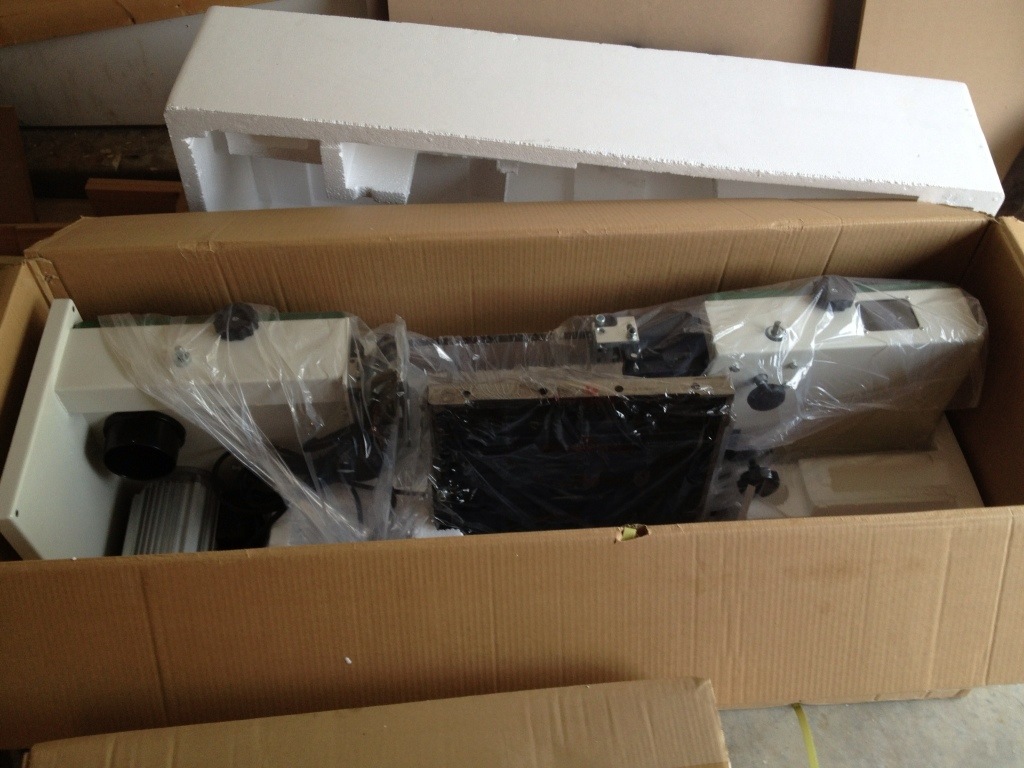
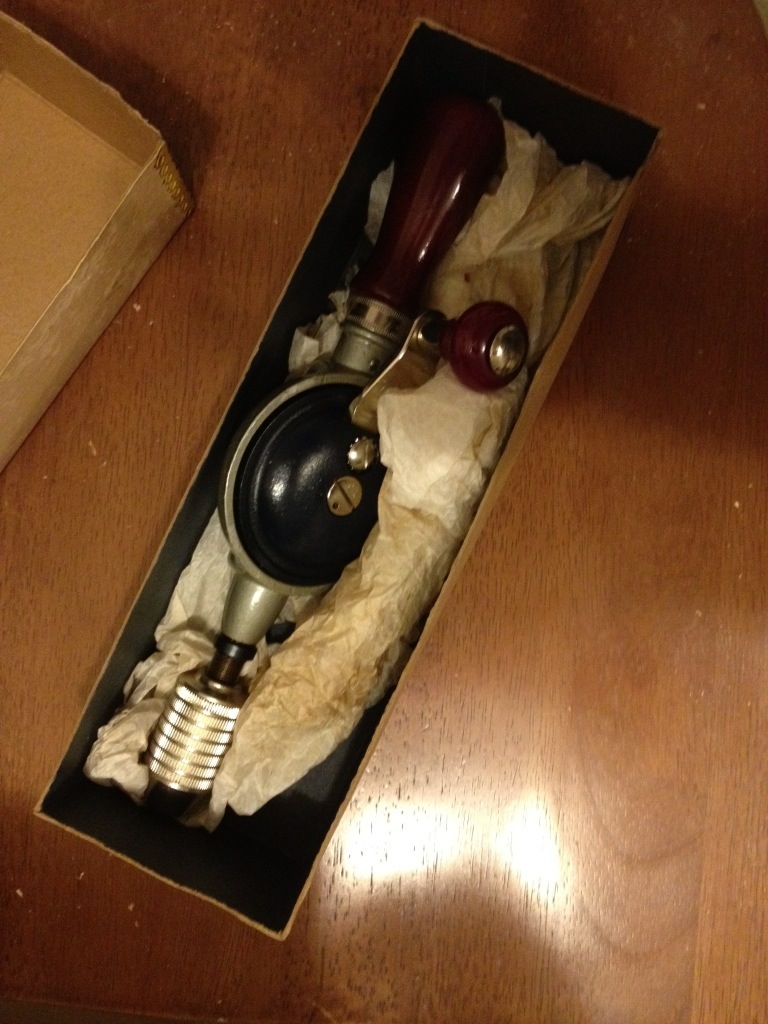
Here are the contents, after opening the box.

20130904-170540.jpg

You first assemble the base, fastening the supplied bolts hand-tight. I choose to use a mobile base that I picked up from Wood Craft. I placed the assembled saw base on the mobile base before things got too heavy. Unfortunately, it slipped my mind to take photos of this step.

You’ll definitely need a friend to lift the saw onto the base. The instructions weren’t very clear on how to mount the saw to the base. Rikon supplies four bolts, each with a hex nut, nylon locking nut, two large washers and a small washer. After consulting Dr. Google, I decided to install the bolts from below the base in the following order: bolt, large washer, base, larger washer, hex nut, saw, small washer, nylon nut.

20130904-170823.jpg

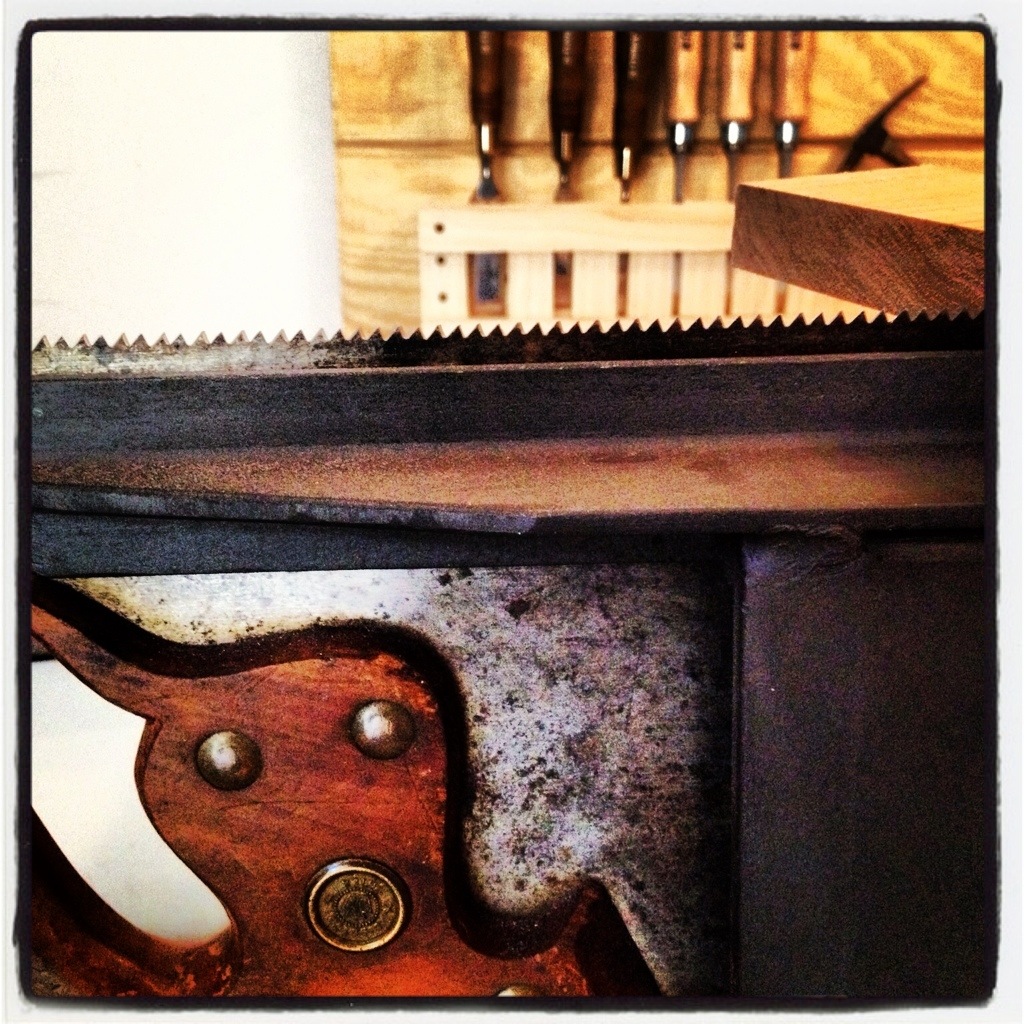
Here is a close up of the bolt installation.

20130904-170638.jpg

The rest of the assembly is pretty simple. You simply install the table using four hex bolts, and then install all of the accessories. I still need to level the table and set the blade tracking. I plan to have a full review sometime in the following weeks.

Curious Stanley Hand Drill

I was given this Stanely “Egg-Beater” style hand drill over the weekend. I don’t believe it’s very old; possibly from the 60’s or 70’s. What’s interesting about it is that it was built for Southern Bell. It’s never been used and was given to me in the original box. The chuck and the action both seem to work great. Unfortunately, I wasn’t able to dig up any information on this particular model. So, if you have any more information, leave a comment.

20130903-161621.jpg

Bench Hook Progress

Yesterday, I started work on my bench hook. I am borrowing from a design used by Bad Axe Tools. The fence and hook are made from 1 1/2″ square stock and mate to the work using a bullet-proof dado joint. The entire thing will be 6″ wide by 10 1/2″ long. I am using hickory because it’s dense, and I had stock on hand. I found squaring up the fence and hook to be a real challenge due to the short length. I ended up doing a lot of the work with my block plane, because I found it too difficult to balance my bench planes on the stock. I thicknessed and planed to width using an old Dunlap no. 4. This plane worked remarkably well. Does anyone have any tips for squaring up short stock?

20130828-175114.jpg

All squared up.

20130828-175158.jpg

Here’s a friendly reminder to take care when using your marking tools.

The Venerable Bench Hook

I’ve been spending the past few days working on plans for a bench hook. A bench hook is a simple, shop-made tool that aids in making accurate cross-cuts by hand. It consists of a flat board with a simple hook and fence. The hook catches on the side of your workbench and the fence holds the work piece. It’s a dead simple device. However, it has afforded me the ability to work on some of my lagging hand-tool skills as well as learn some new software. I’ve been hearing some good things about SketchUp, so I thought I would give it a try. I think I’ll be using it a lot more in the future.

bench hook2

Handsaw Sharpening 101

It should be noted that my love of the old ways runs deep. With that in mind, I felt it was important to learn how to dimension boards completely by hand. To do that requires a fundamental knowledge of how to sharpen various forms of iron and steel. From plane to saw, your tools need to be sharp. To send them out requires too much time and money. It also results in feeling less connected with the tools I work with.

I picked up plane iron and chisel sharpening fairly quickly. Saws have been another matter entirely. For the uninitiated, saw sharpening requires using a tapered, triangular file to bring each tooth to an equal sized point. The point is the easy part. The “equal” thing is the challenge. My first few attempts resulted in tooth sizes that were all over the place. After putting in a lot of sweat equity, I am starting to get the hang of things. The payoff is being able to rip a board down using a 100+ year old Disston handsaw.

20130819-201541.jpg

Children’s Picnic Tables

I got this idea from the husband of one of my wife’s friends. After making one for my son and seeing how much he loved it, I decided to start offering them to others. They are made from solid pine and should last for years if properly treated. Contact me for more information.

20130814-195643.jpg

About me

I’ve always considered myself to be a unique person, and woodworking is one avenue by which I can express that individuality. My love for the craft started when I was very young, in my grandfathers cramped basement workshop. I fondly remember the smells and sounds as he crafted items from bird houses to porch swings. Two and a half decades later, and I find myself wanting to follow in his footsteps. I am writing this blog in hopes that I can inspire others to creatively express their own unique talents.