Blood, Sweat, and Sawdust

Going against the grain

Tag: Shop Cabinets

You Can Never Have Enough…

Knowing that you can never have enough storage, I wondered if there was anything I could do with the plywood I had leftover from my other cabinet projects. I was able to scrounge up just enough to build this nice little hanging wall cabinet. I am going to use it to store wood finishes and glue. It’s not much more than a face-framed box with doors, but it works. It was hung using French cleats, so that it would easily be moved to a different location in the future.

photo 1


Here’s the finished cabinet.  As you can see, it’s a very simple design.

photo 2

Here’s a closeup of the french cleat.  I secured the bottom piece to the wall using 4 x 3″ screws.


photo 3


I just need to clean up a few edges and install a shelf our two.

A Nickel for Your Thoughts

One of the most frustrating things I discovered while building my shop cabinets was getting the drawer faces aligned correctly.  Every time I got the drawer front aligned side-to-side, I’d discover that the vertical alignment had shifted.  It was a humbling exercise in patience building.  Who would have guessed that the solution to my problem could have been a handful of nickels?  

It turns out that the thickness of a nickel provides aesthetically pleasing drawer gaps.  Simply place a couple below the drawer face, one on each side (trim if necessary), then clamp and nail your front in place.  Don’t forget to retrieve your change afterwards.

20140322-074605.jpg

More on Shop Cabinets

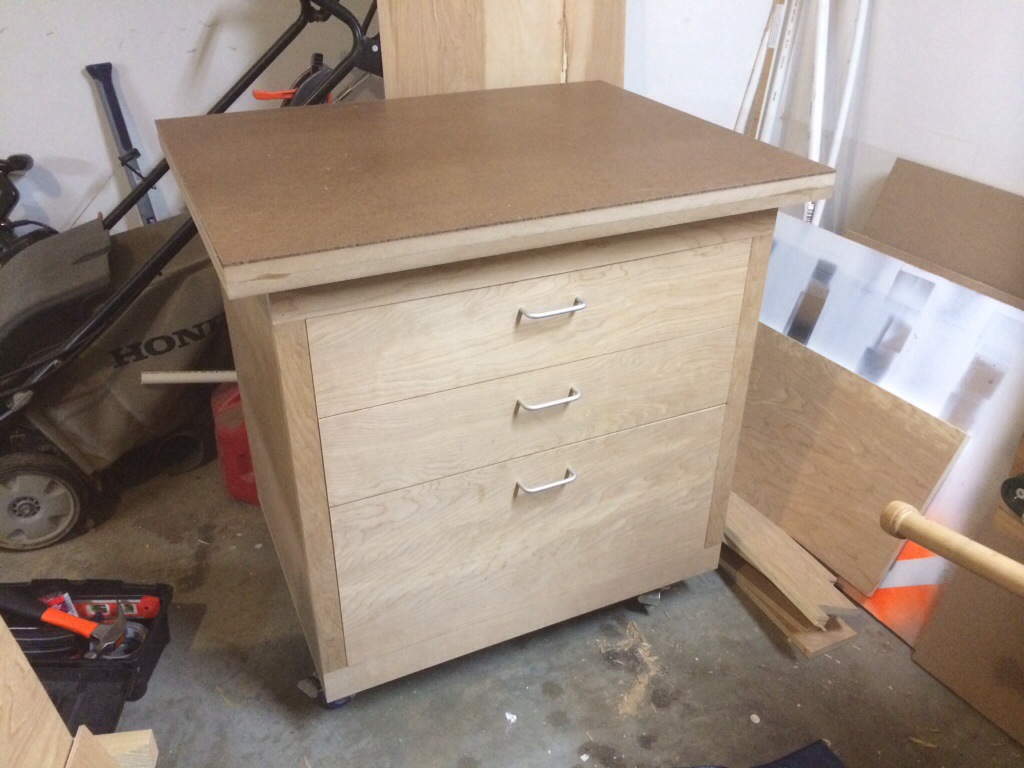
I am currently finishing up my second set of shop cabinets.  This build is definitely more complex than the last.  It will include two base cabinets and a rolling cart for my miter saw.  The miter saw cabinet will sit between the two base cabinets, with the top of the miter saw flush with the top of the base cabinets.  Eventually, I will build a custom router table that can be swapped out for the miter cabinet.  By far, the most complex cabinet in this set will be the base cabinet that will sit on the left-hand side.  Below I will detail the build of this cabinet.

This base cabinet will be 48 inches wide and 30 inches deep.  It will be about 35 inches high and include levelers at the base.  It will have a total of 8 drawers in two equal banks.

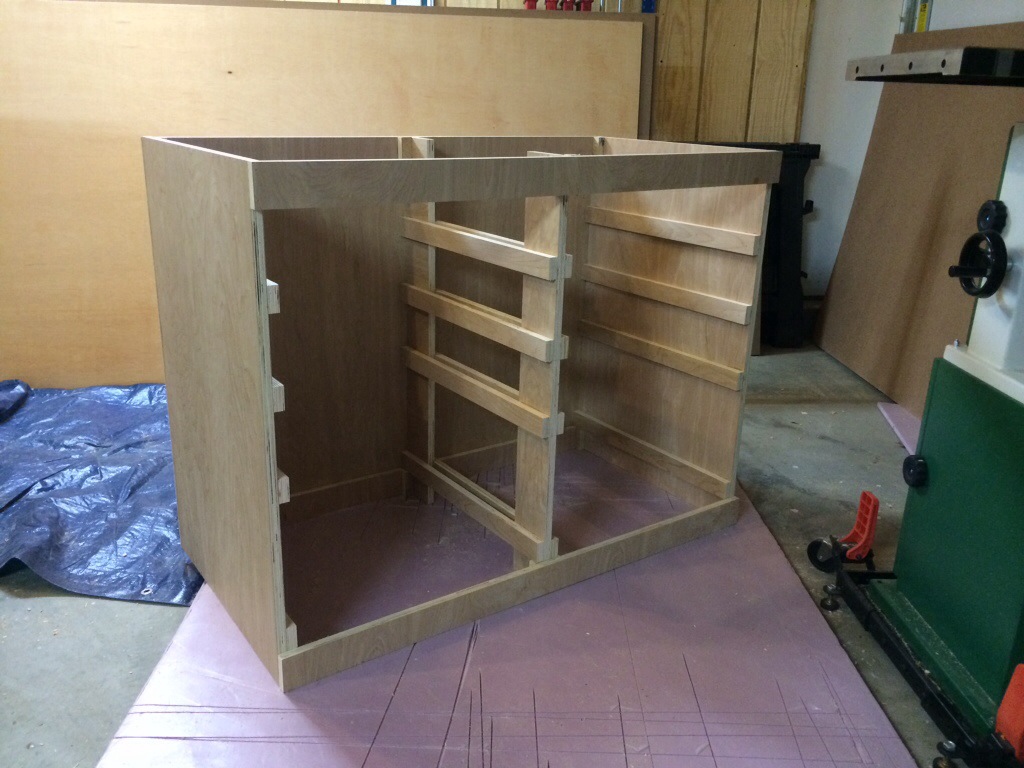
The first thing I did was cut most of my parts.  It’s critical that the sides, back, and face frames are dead square.  After the parts are cut, I glue and nail my doublers to the inside of the sides.  I mark the sides to identify the inside left and right.  It’s important to get the doublers level and parallel to one another, because this is where your drawer slides will mount.

20140315-074811.jpg

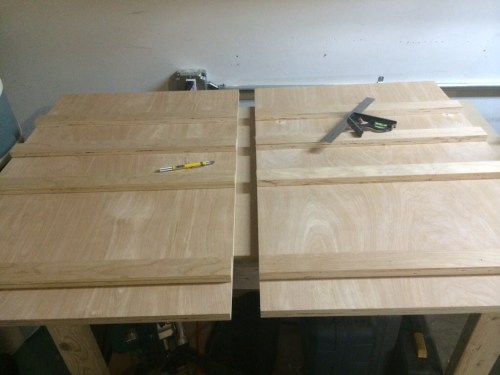
Once the glue has dried, I use the sides to mark the location of my doublers on the center supports.  It really helps to clamp things down.  Once, you have transferred your marks, go ahead and nail/glue your doublers.  

20140315-074824.jpg

20140315-074838.jpg

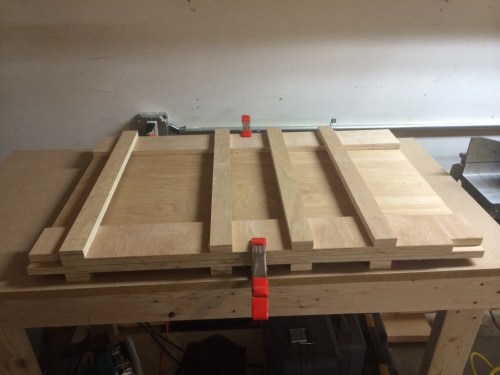
Next, I carefully marked the center of my face frames and rear supports, and added two scrap pieces to help strengthen and position the center, vertical supports during assembly.  Once, you have these done, you are ready for assembly.

20140315-074849.jpg

Check back for more updates.

Where did I put that Chisel?

One of the biggest hurdles I’ve faced in my small garage shop is finding where I’ve left things.  My second biggest hurdle is clearing the clutter off my workbench while working on a project.  Needless to say, the solution was something that goes against my very nature.  You see, I’m not a very organized person.  However, I believe one of the keys to experiencing joy in the workshop is having everything in its proper place, and having everything within easy reach.

So, I set on what I believed would be a long and frustrating journey to get my shop organized.  I was immediately pointed towards Tom Clark’s Practical Shop Cabinets.  What I learned reading his book was nothing short of miraculous.  I didn’t have to spent months getting organized.  Neither did I have to spend a small fortune.  All that was needed was a few tools and some inexpensive birch plywood.  

The construction methods Tom lays out are easy to learn and provide for very sturdy cabinets.   He lays out a few simple plans and provides you with the knowledge to design cabinets that match your specific needs.  I decided to start with a small sharpening station on casters.  In the future, I plan to make a miter station with several banks of drawers and a mobile assembly table.  If you have ever wanted to make your own custom shop cabinets, I highly recommend his book.  It will you the confidence you need to get started.  

Check back for updates.

20140308-092850.jpg
Here is my nearly finished sharpening station.

20140308-092859.jpg
This is another mobile cart I’m working on for my miter saw.