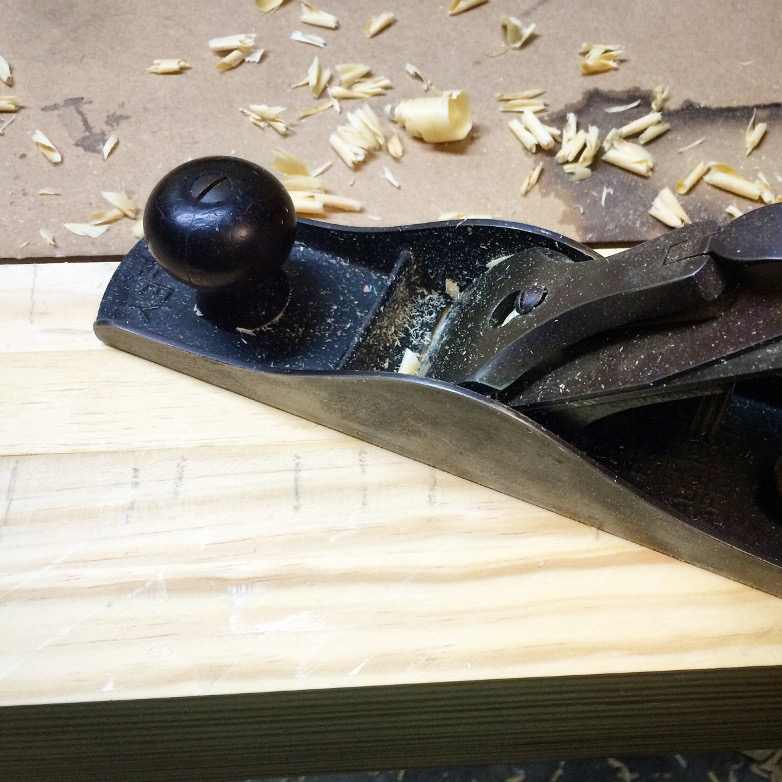
My trusty Type 11 Stanley No. 5, made quick work of milling these beams by hand.
Milling large beams by hand, can be very intimidating. I had a few boards slip during glue-up and was afraid it would take forever to correct. Fortunately, a sharp jack plane with a cambered iron made quick work of the rough milling for the Roubo bench top.

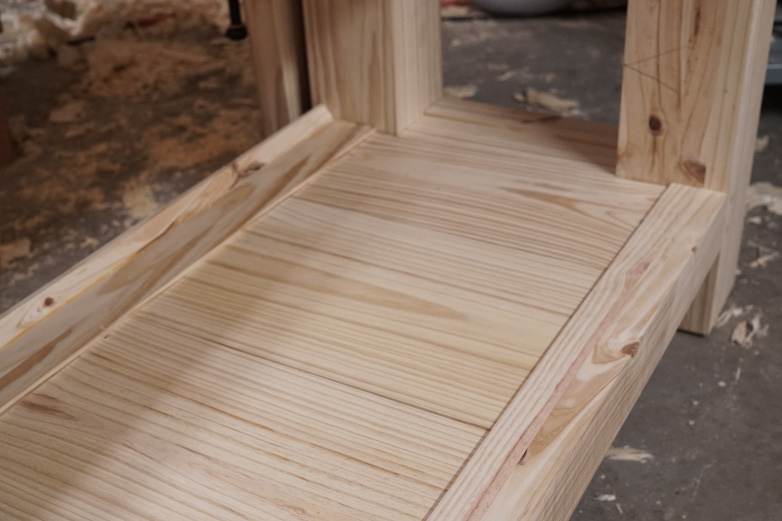
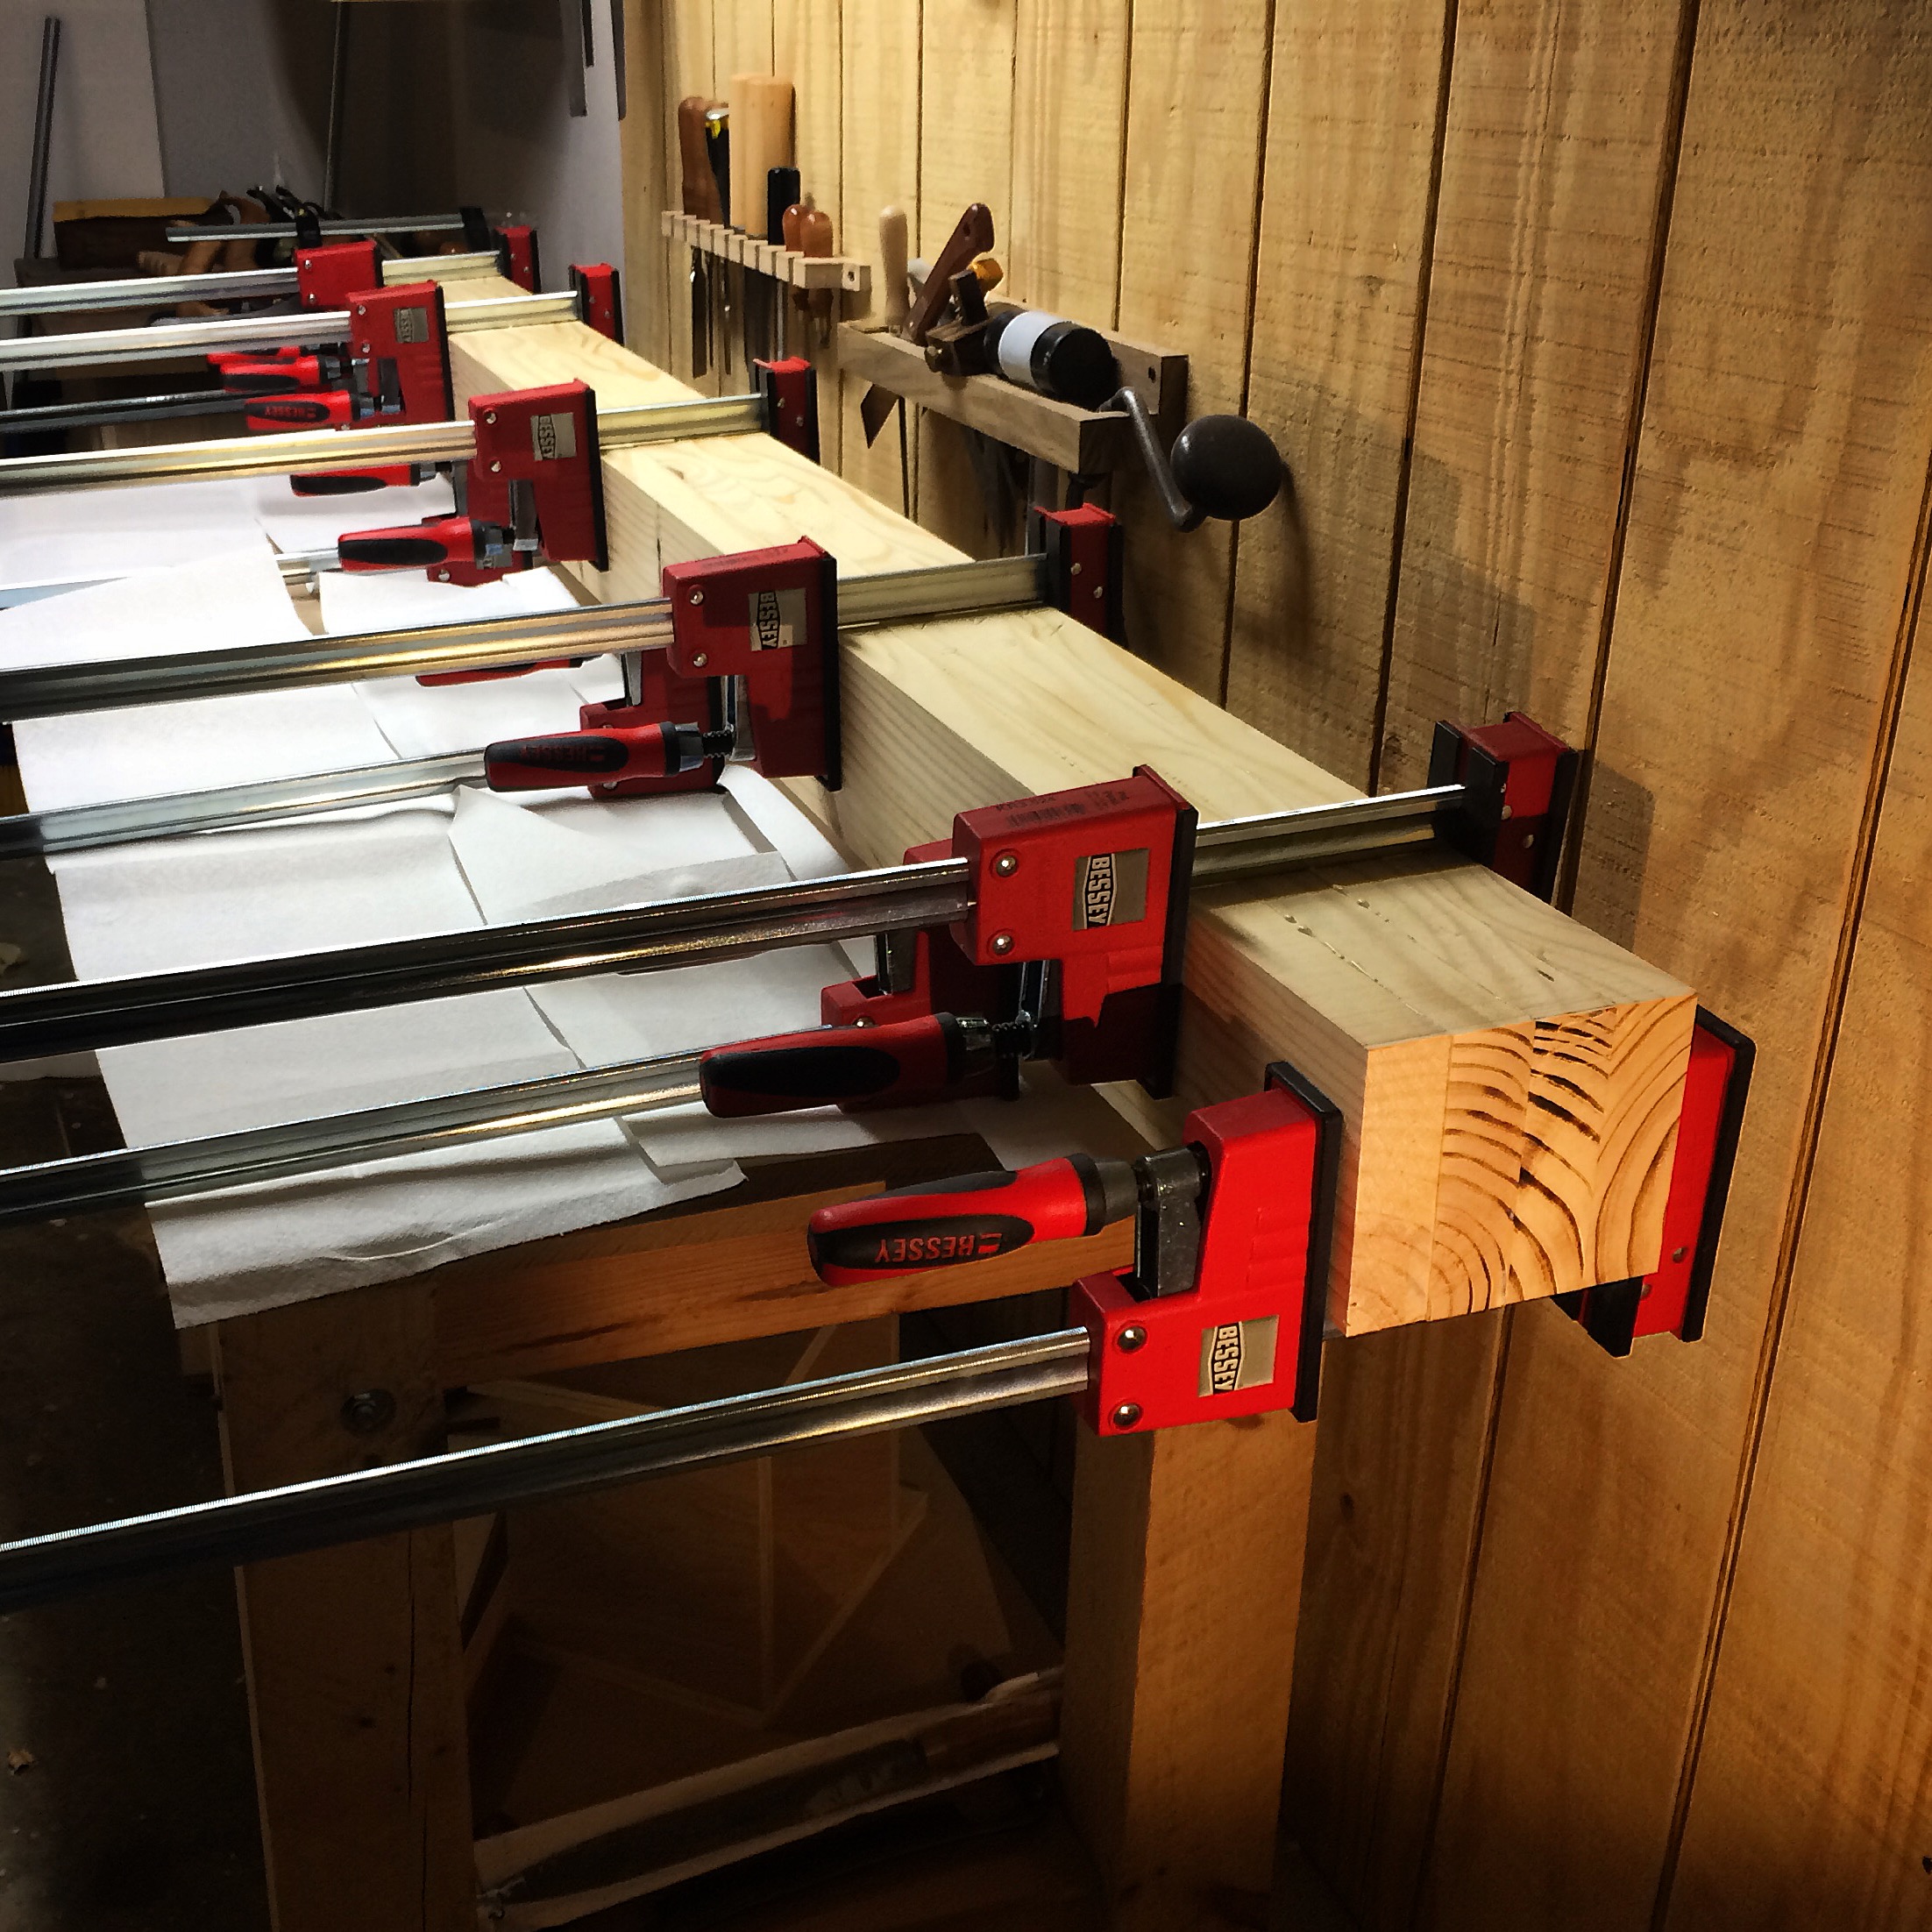
These boards slipped during glue-up
I started by planing with the grain until I leveled out any misaligned boards. I would usually start planing across the grain, but in this case I could remove the same amount of material in one long pass with the grain as I could several short strokes across the grain. In the picture above, you can how some of the boards slipped during glue up. I should have taken more effort to keep the boards properly aligned during the glue up.

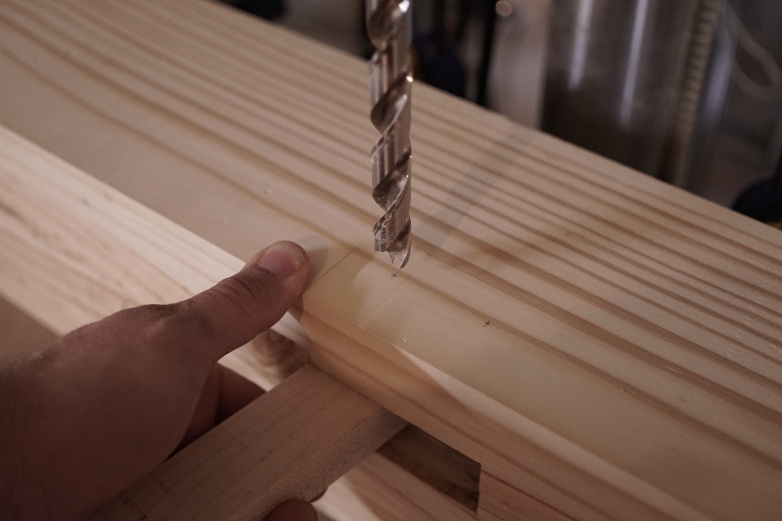
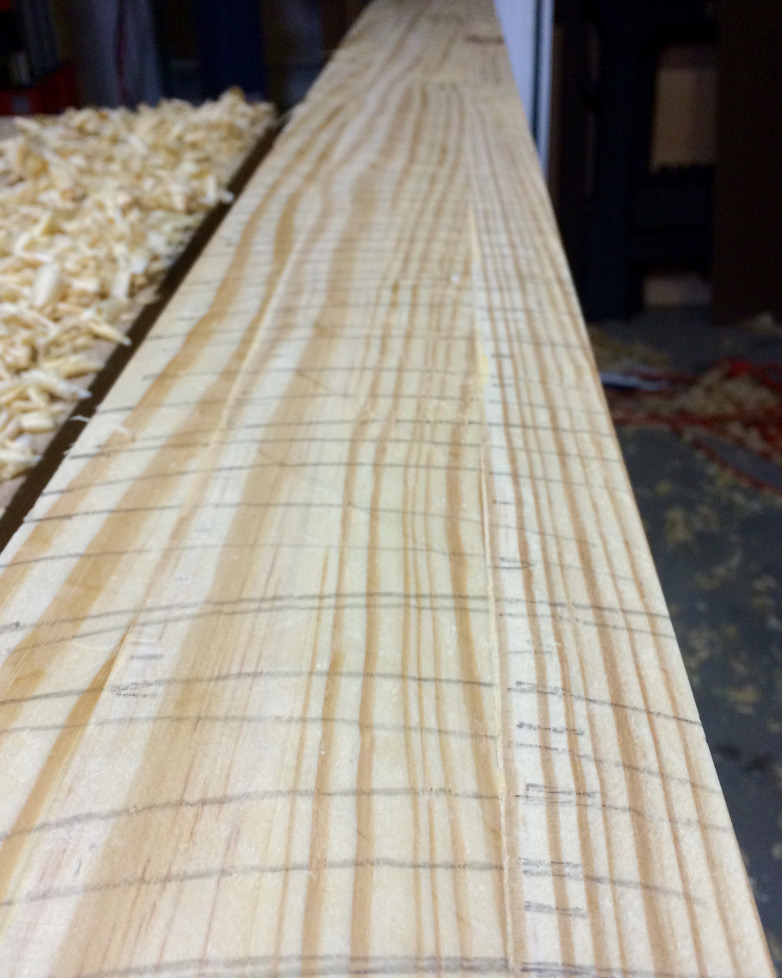
Marking out your work, allows you to track your progress
Once I had leveled out the high boards, I marked out the entire beam with pencil. This will allow me to track my progress. Be sure to mark from edge to edge. Now it was time to get to work. I hope you ate your Wheaties!

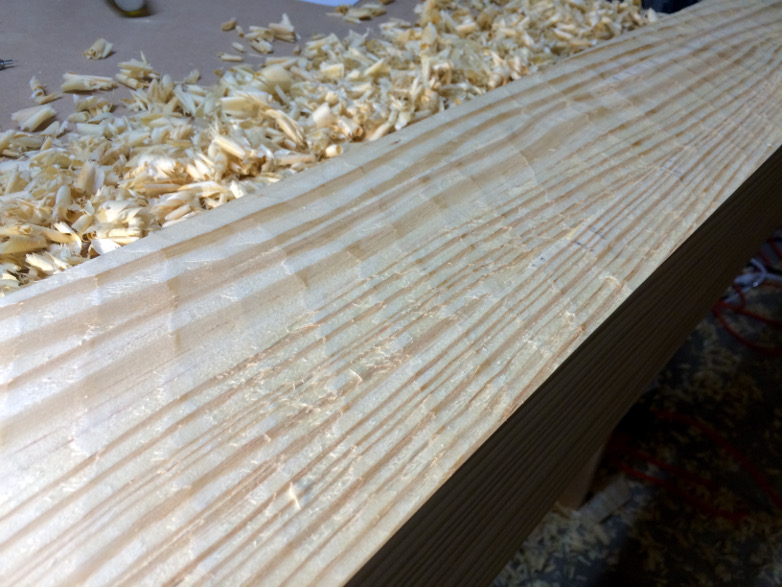
Planing cross grain will flatten the board. It’s particularly good at remove cupping.
Next, I start flattening the beam by planing across the grain. This is particularly good at removing cupping. These beams are just over 5 inches wide, so it would be easy to round over the edges planing 90 degrees to the grain. Instead, I planed down the length at 45 degrees one way, and back down the other way. My iron is heavily cambered and leaves a visibly scalloped surface. That’s okay. All I am shooting for is a face that’s flat and straight enough to run through the planer. It does not need to be super smooth. I continue until all of my pencil marks have been removed.
Ultimately, I just want to make sure that the surface is straight and free of any bumps. You can check for any bumps along the length of your plank by using a straightedge or the blade of a square.

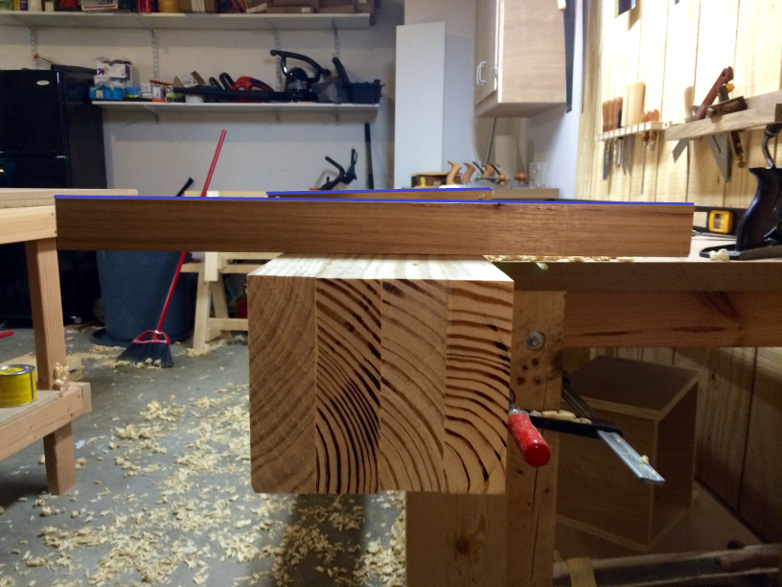
The winding sticks are showing a fair amount of twist
The next task is to check the beam for twist using a pair of winding sticks. The winding sticks will exaggerate the twist and tell you where your high spots are. I like to keep one stick stationary at one end of the board, and run the other down the length, checking in 3 or 4 places. In this case, I noted that the rear stick read high on the right for the entire length of the board. Instead of removing material from the entire length, it was easier to remove a small amount of material from the front left, to match the rest of the board.

No twist

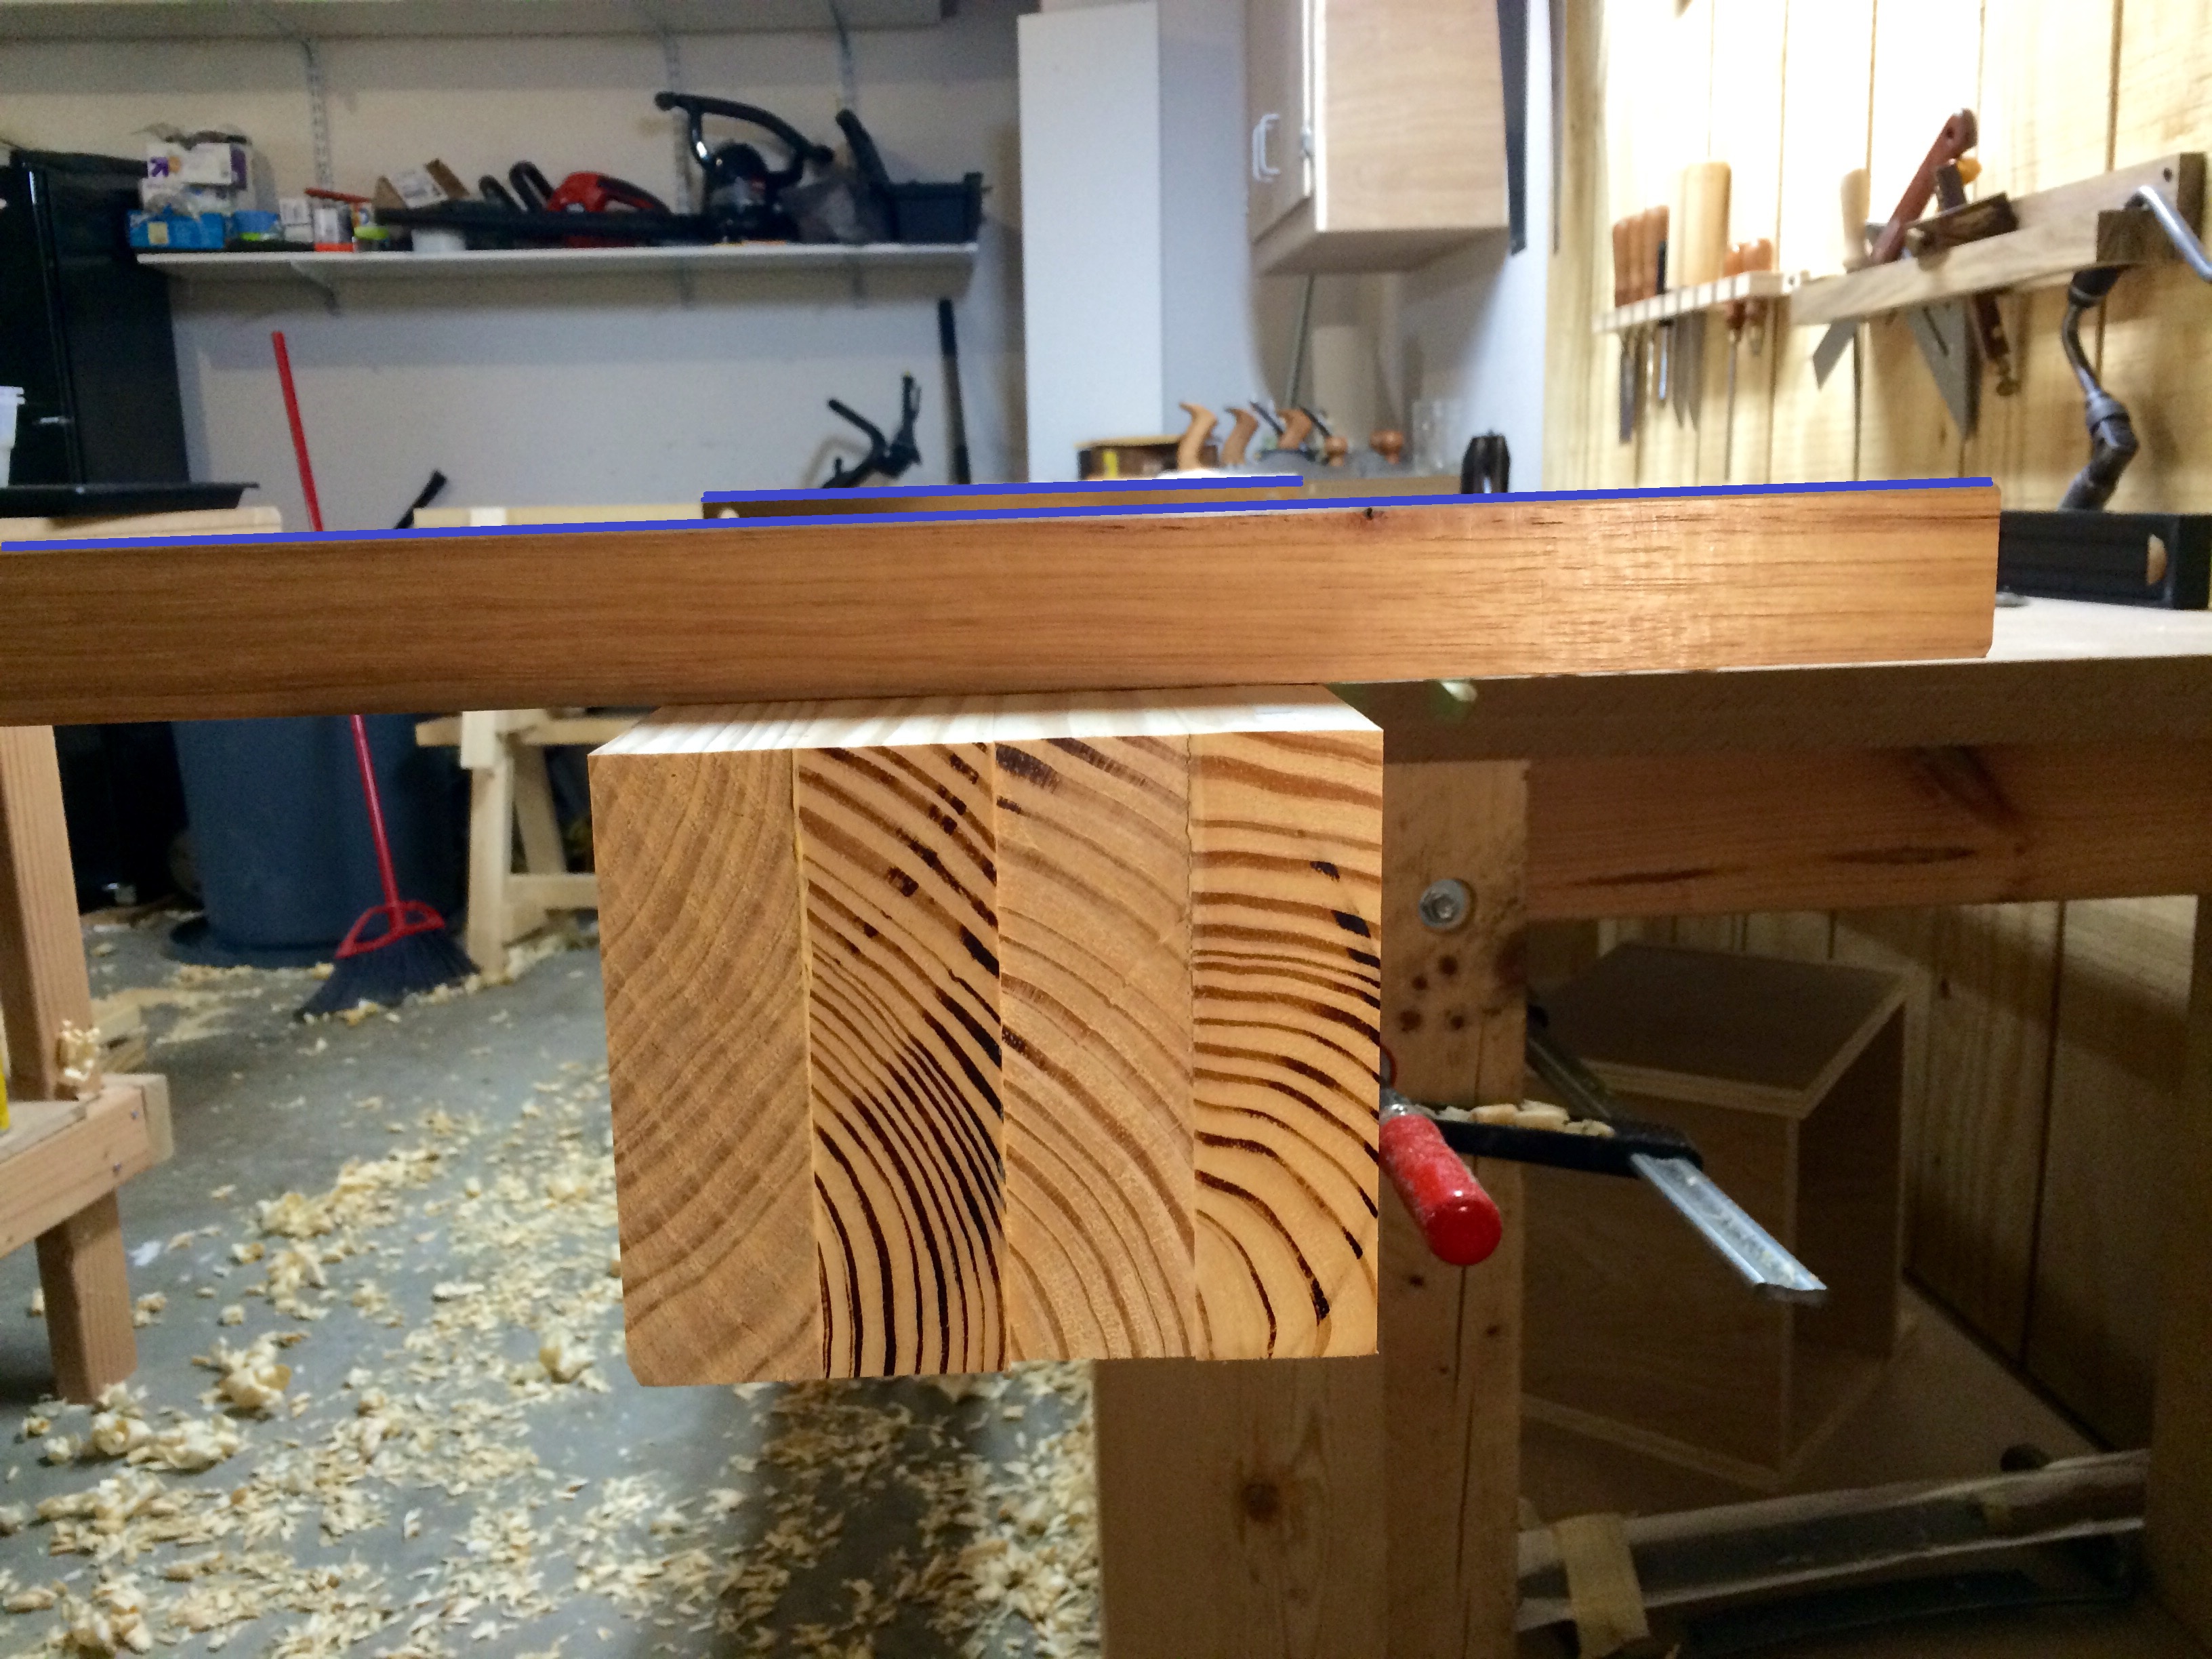
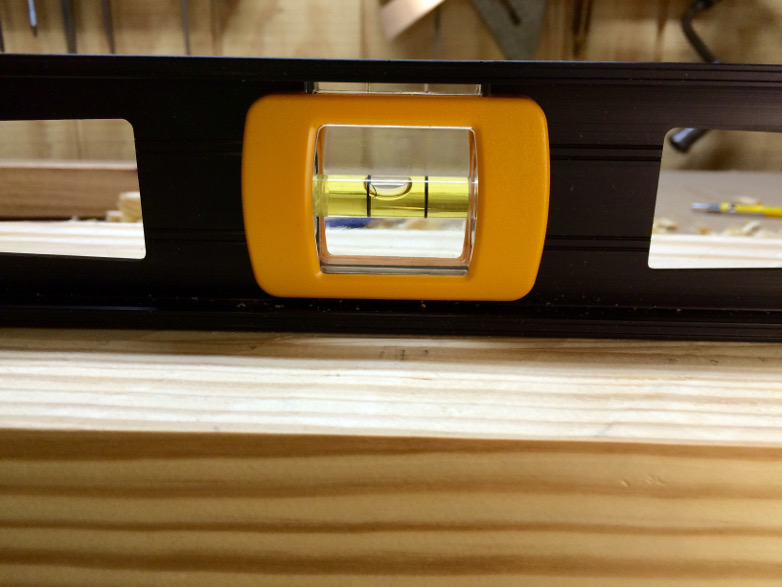
Checking for bow
Once you have your plank flat and free of twist, you need to ensure that it’s reasonably straight. I do this, by using the longest straight edge I have. In this case, it was a 4 foot level I know to by reasonably straight. Be sure to check in several places. I was lucky. This board was nearly dead straight. However, if you have a bump or concavity, it’s just a matter of marking and removing the high spots.
I didn’t feel the need to break out the No. 7 for this task. Running the beams through the planer will produce an parallel surface that is straight, free-of-twist, and smooth. It’s just a matter of flipping the board over and getting the other side smooth. The No. 7 will come in handy when flattening the bench top after the final glue up.
Please, let me know if you have any questions. I will cover the rest of the milling process and the final glue up of the top in a future article. Don’t miss it.
You can find links to my other Roubo posts here: Project Index