
Finishing up the Roubo Workbench Base
by Patrick Harper - Blood, Sweat, and Sawdust
Completing this workbench has taken more time than I expected. I believe that is a common theme of life. Today, I hit a major milestone. I completed the base for the Roubo workbench build.
With all the tenons cut, I just needed to chop the mortises and fit everything together.

Marking Mortise Ends
I started by clamping my stretcher between two legs, using the spacers I created. Then, I used the stretcher to transfer the mortise ends.

Setting Marking Gauge
Next, I used the stretcher to set my marking gauge. Then, I scribed the sides of my mortise on the leg. Be careful. Make sure that you transfer your lines to the correct face of each leg. I used a 1-1/8 inch forstner bit to create the thickness of my tenons. As a result, I will be able to use that same bit to bore out perfect mortises.

Scribing the mortise walls on the leg.
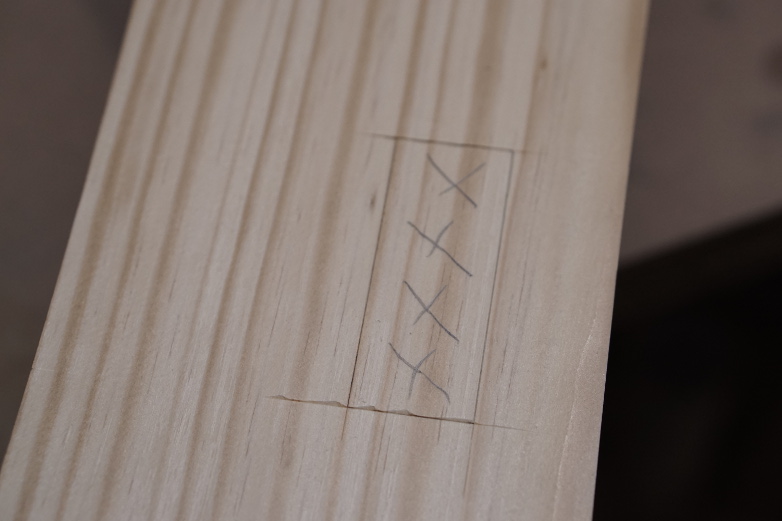
Don’t forget to mark your waste areas.
With each of my mortises marked out, I made a makeshift table for my drill press. I jointed the edge of some scrap to use a fence. I carefully aligned the fence and started boring. I started with the ends of each mortise and worked inwards.

Boring the waste with a forstner bit

Make over lapping passes to remove the waste in the middle
With the waste removed, I used my knife lines to clean up the mortise walls. I used my widest bench chisel for the sides, and a mortise chisel for the ends. Once close, I started test fitting the joint. Everything went together fairly easily, and I’m happy with the results.

Completed base
I’m still working on my vise chop. I need to get it finished so that I can transfer the lines for my vise hardware from the leg. Then I can install the hardware in the leg and draw-bore the base together. It will be easier to install the vise before the base is permanently attached to the top. The 2015 Roubo Workbench build is almost complete.
You can find links to my other Roubo posts here: Project Index

Great progress. I think you might beat me to the end. I always think about getting a step done, then realizing that it has 3 or 4 little pieces.
Not so sure about that. You’ve been moving very quickly!
Nice! Great progress.
Thanks John.