I did a lot of research while designing my Roubo workbench. There are many ways to bring everything together. However, my favorite approach was draw boring the mortise and tenon joints. There is no need for any glue, and the joint should stay tight for ages. As of my last post, I didn’t think I would be able to do this, but I found a way to work my issues.
For the unaware, a draw bored joint is when you drive a peg through a mortise and tenon to pull everything together. The tenon hole is offset slightly towards the shoulder so that the peg pulls the shoulder tight when you drive the peg through the hole.

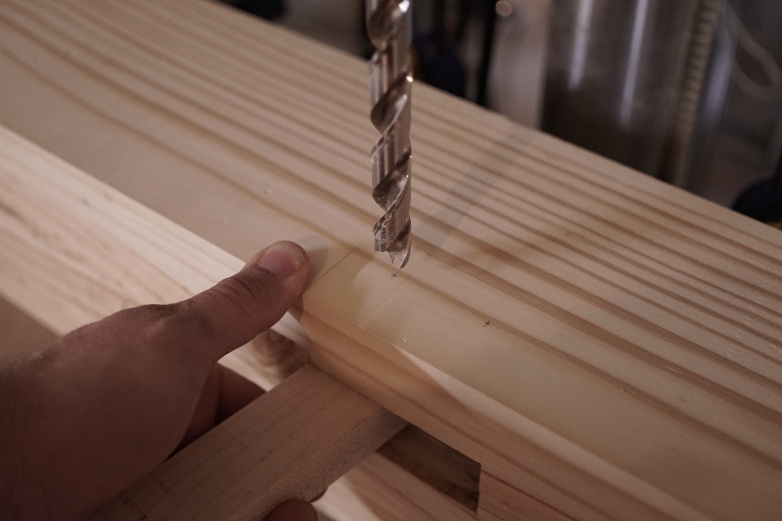
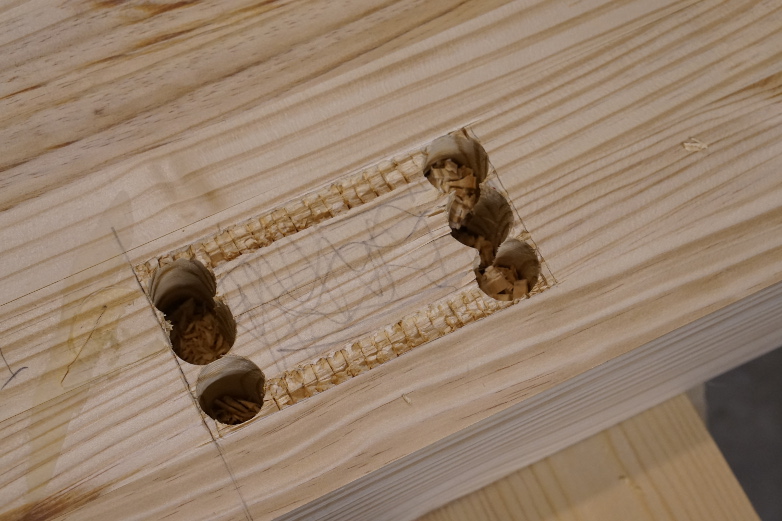
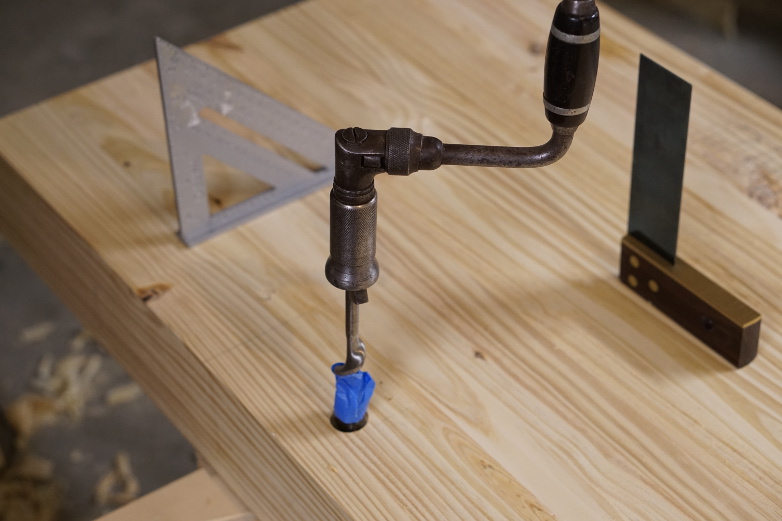
Bore your holes, using a piece of scrap to prevent blow-out.
First, bore holes through the mortise walls. It helps to use a piece of strap to prevent blow out on the other side. I bored my holes to go at least one inch through the far side of the mortise.

Reassemble the joint

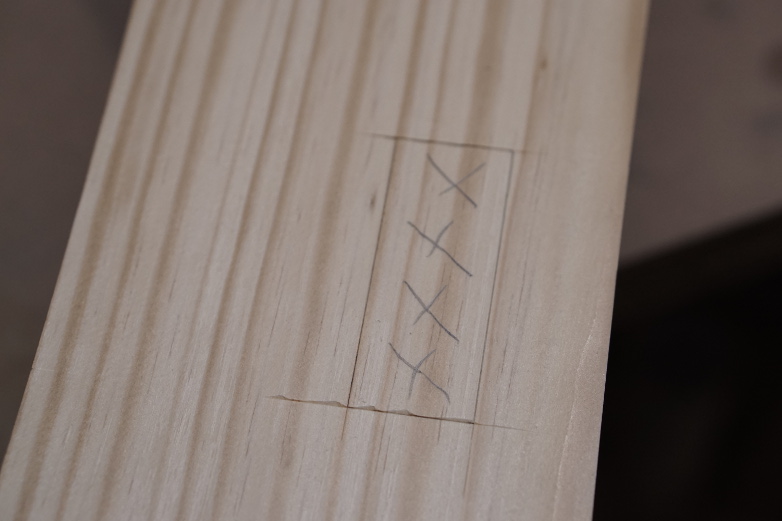
Mark your tenons
Next, reassemble the joint and mark your tenons. I used the same brad point bit, that I used to bore through the mortise walls.

Offset the holes on your tenons by about 3/32
Offset your marks towards the shoulder. I used an offset of about 3/32 of an inch. Bore your holes in your tenons and assemble the joint.

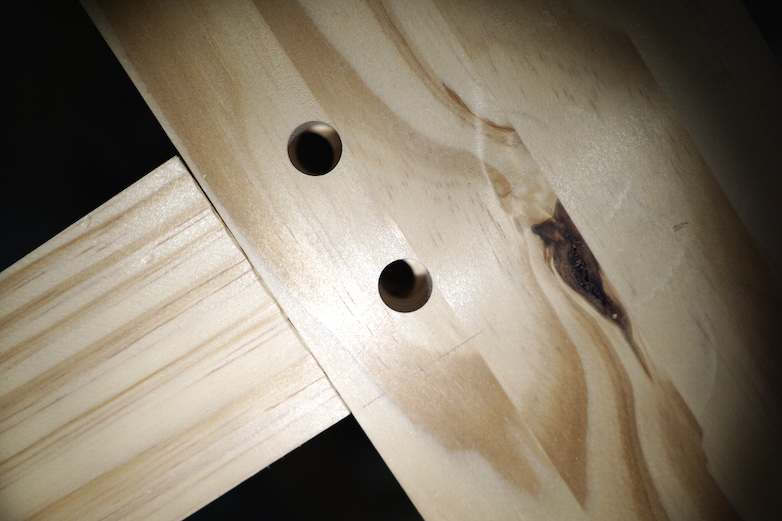
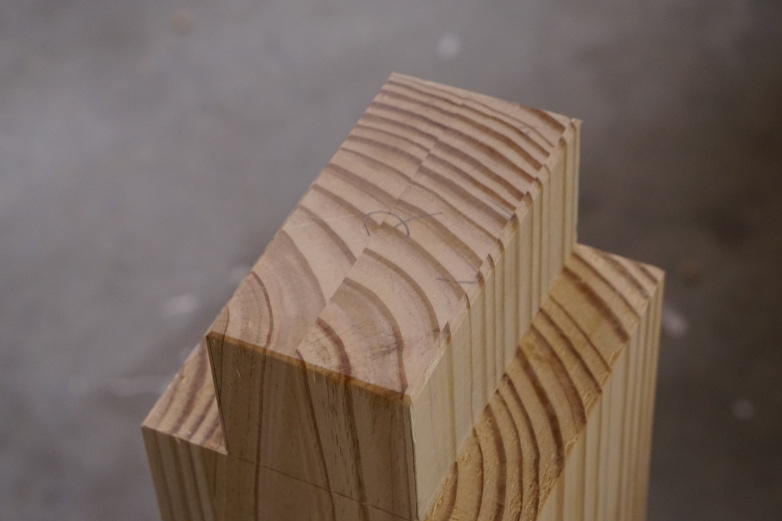
A close up of the draw bore offset
Here, you can see the offset holes. When you drive the pegs, they will pull everything tight. The pegs will actually deform and act as a spring.

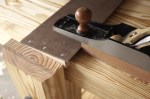
Tapering the pegs help them start more easily.
I tapered the ends of all of my pegs to help them follow the correct path through the joint. I also cut all of my pegs about an inch long, so that I could cut them flush later.

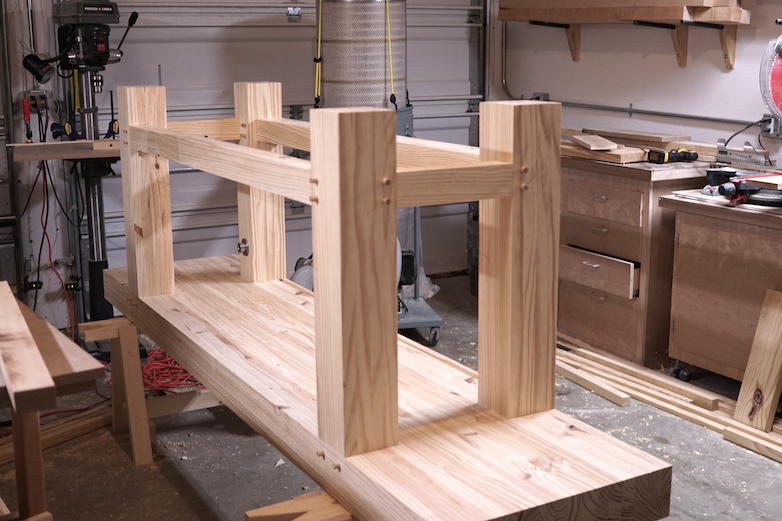
Legs pegged to the top
I assembled the entire base and drove the legs to the top first. I used a large dead blow hammer to drive the pegs. I tried to line up the grain of the pegs with the grain of the top, but the pegs all spun as I drove them. There’s not much I can do about that. I’ll just have to live with it.

I drove the pegs for the front stretcher from the rear
Due to the thickness of the front stretcher, I ended up driving the draw bore pegs from the rear. It worked out nicely.

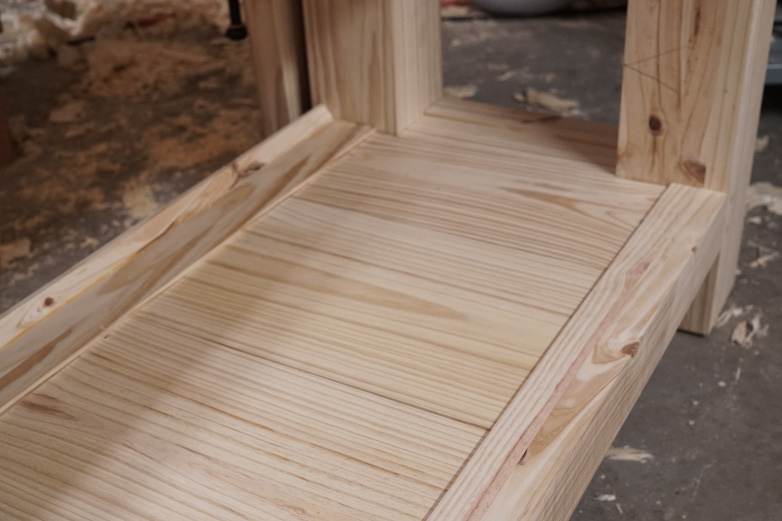
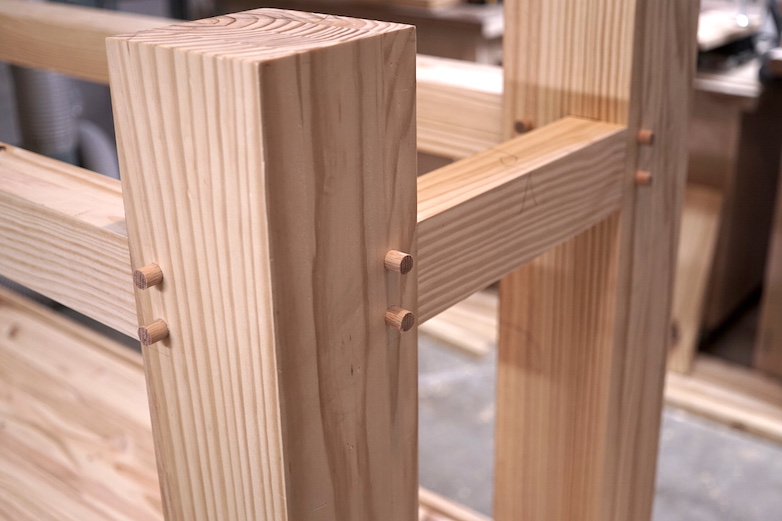
A close up of the drawbored joints

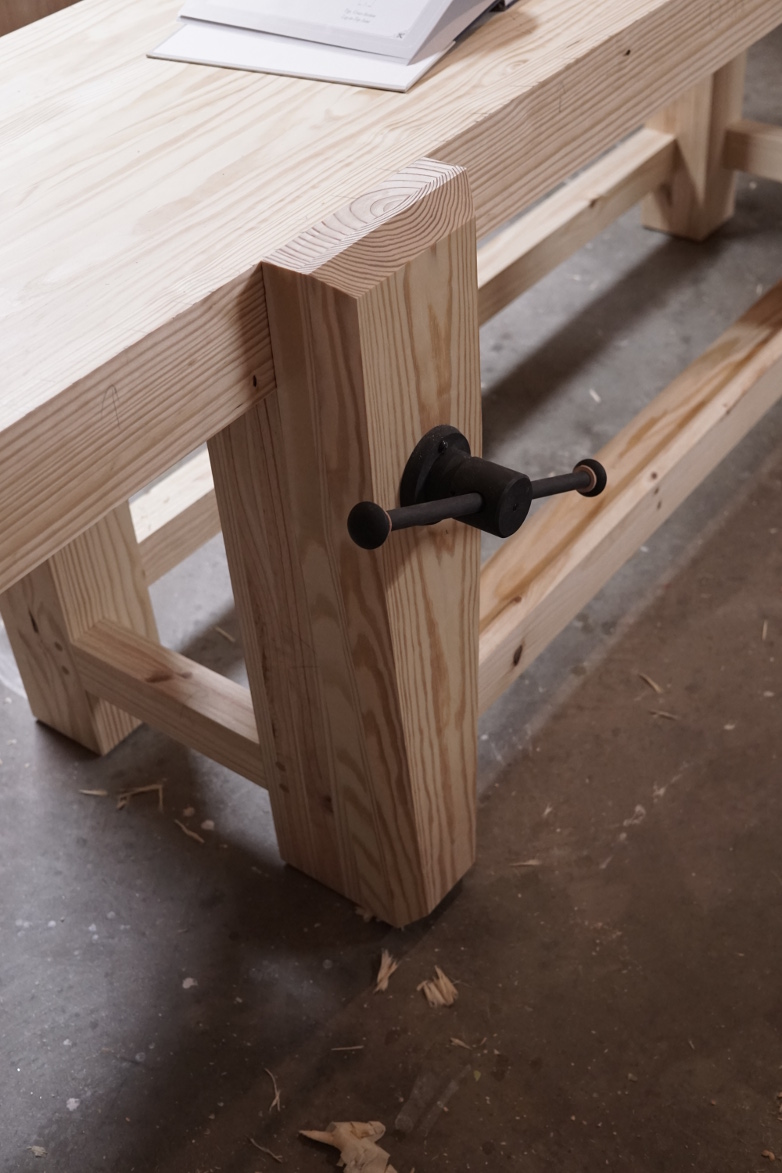
Workbench draw bored together.
Now that the base is finally complete, I just need to work out the details. I have to flatten the top, bore holdfast holes, and finish the vise chop and sliding deadman. Stay tuned.
You can find links to my other Roubo posts here: Project Index