
Roubo Workbench Build: Chopping Mortises by Hand
by Patrick Harper - Blood, Sweat, and Sawdust
The mortises in the top are huge. When I say huge, they are caverns of darkness that suck the life force from unsuspecting victims. They measure two inches wide, by 5 inches long, by two inches deep. There are four of these soul sucking vampires to slay. If you want to face these monsters, you’ll need the right weapons. If you want to see how I chopped these giant mortises by hand, proceed with caution. I have warned you!
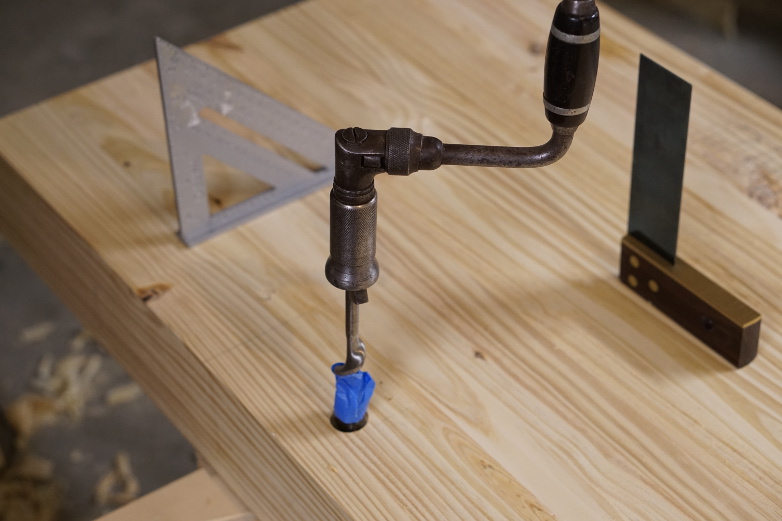
- Bit and Brace – check
- Large Mortise Chisel – check
- Heavy Mallet – check
- A healthy breakfast and a good night’s sleep – check
Marking Out

Align your legs web
Start by defining a line 15″ from each edge of the bench top. This aligns with the outside edge of each leg. Next, line up each leg with the line and the edge of the bench top. Make sure that your alignment is perfect! Check it twice.

Carefully mark out your mortises with a knife
With the leg aligned, trace around the tenon with a pencil or marking knife. I prefer to knife in my line. Make sure that the leg does not move during this process. Next, number each tenon and its corresponding mortise.
Define the Edges
Before boring out most of the waste, define the edges with a mortise chisel. This will give you a nice crisp edge. It also provides you a bit of insurance. I failed to do this on my first mortise. Not even my freshly sharpened Irwin bits could prevent blowout when I hit some funky grain. My knife lines weren’t deep enough. Do yourself a favor. It only takes a minute or two per mortise.
Start with the corners
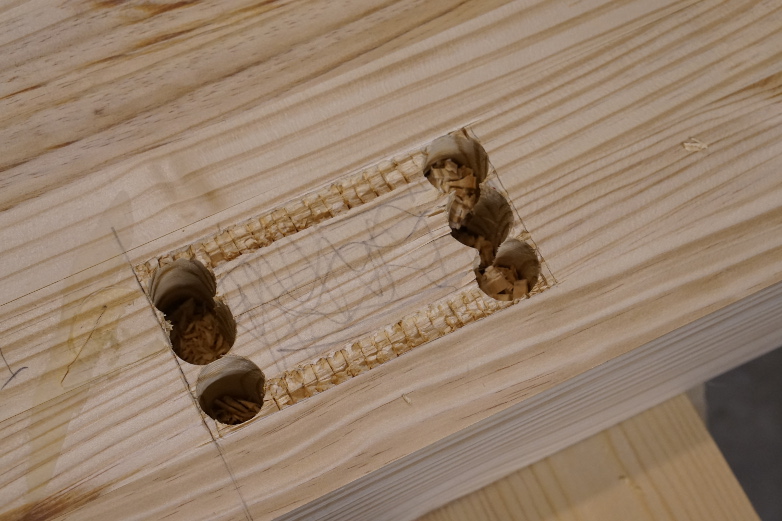
Bore Out the Waste
Start with the corners
With a large bit, drill out most of the waste. A depth gauge (painter’s tape) prevents you from boring too deep. A couple of try squares keep you drilling straight. Start with the corners and work inwards. I found that boring out several lines worked best. Once you’ve drilled out most of the waste, you can knock out the rest with a mortise chisel. Be careful not to ding up your edges.

All bored out
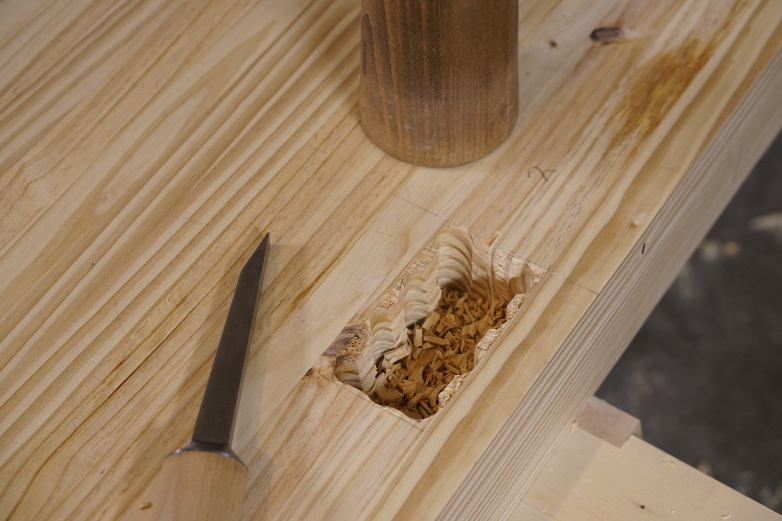
Roughed out mortise
Clean Up
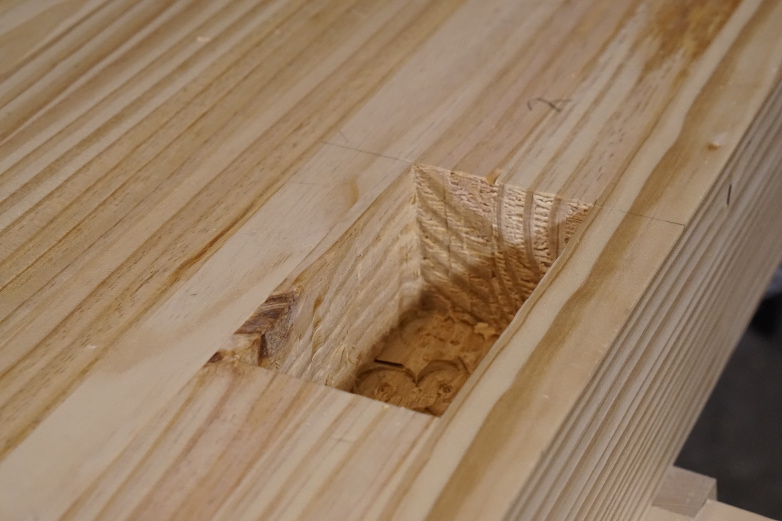
Complete Mortise
With most of the waste removed, start cleaning up the mortise walls. I used a large 1/2 inch mortise chisel for the end grain and a bench chisel for the long grain. Set a try square on the bench top to make sure you are square. Use a small square to check that your walls stay square. I used a 4 inch double square that allowed me to check the mortise depth. If you are shallow, use your mortise chisel with the bevel down to deepen the mortise. Work from the middle outwards.
Check the Fit
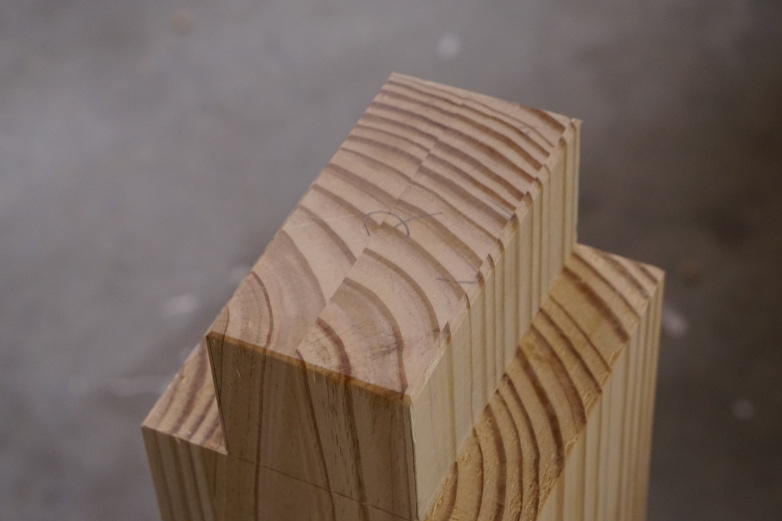
Chamferring your tenons will help start them in the mortise
I chamferred the tenons on my legs with a block plane. This helps start the tenon into the mortise. Chances are that you will be a little tight on your first attempt.

Not quite there
I suggest removing material from the tenons if you’re tight. In this case I was able to get the tenon about 3/4 of an inch in the mortise. I knew that my tenon cheeks were square, so there was interference from the mortise. I checked the mortise and discovered I had missed some material near one corner. After some minor tweaking, I was ready to give it another shot.

A Perfect Fit
Presto! A near perfect fit.
I was a little intimidate by the task. After the task was complete, I realized the concern was unwarranted. It really isn’t hard. It’s just a little time-consuming.
Stay tuned. Stretchers are next.
You can find links to my other Roubo posts here: Project Index

Forgive me if I missed this in your posts. After seating the tenons into these mortises, did you do something to secure them, i.e., glue, wedges, etc? I’m preparing to start my roubo as soon as I finish Christmas gifts. Your blog is a wonderful resource.
Eric
Eric, I draw bored them. No glue needed. The workbench is now approaching 3 years old and has been moved to a new workshop. All of the joinery is still tight and rock solid. I’m a true believer in draw-boring 👍
Ah, I see that in the pics now! Thx..