The Best Laid Plans…
What is it that they say about the best laid plans?
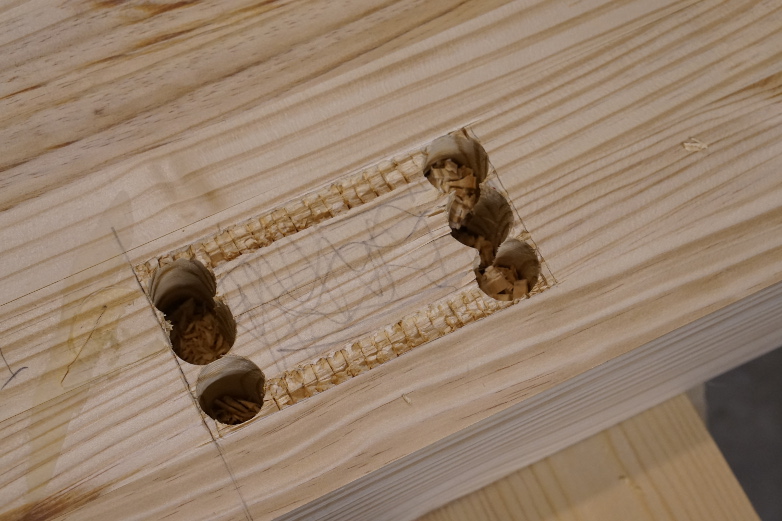
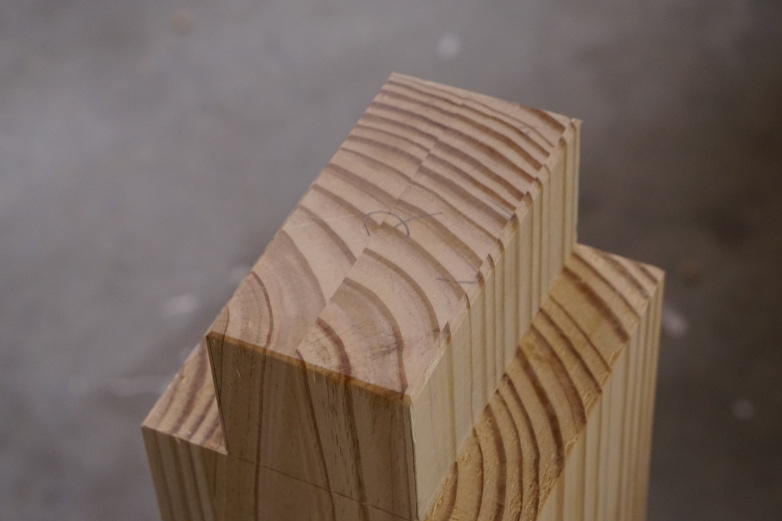
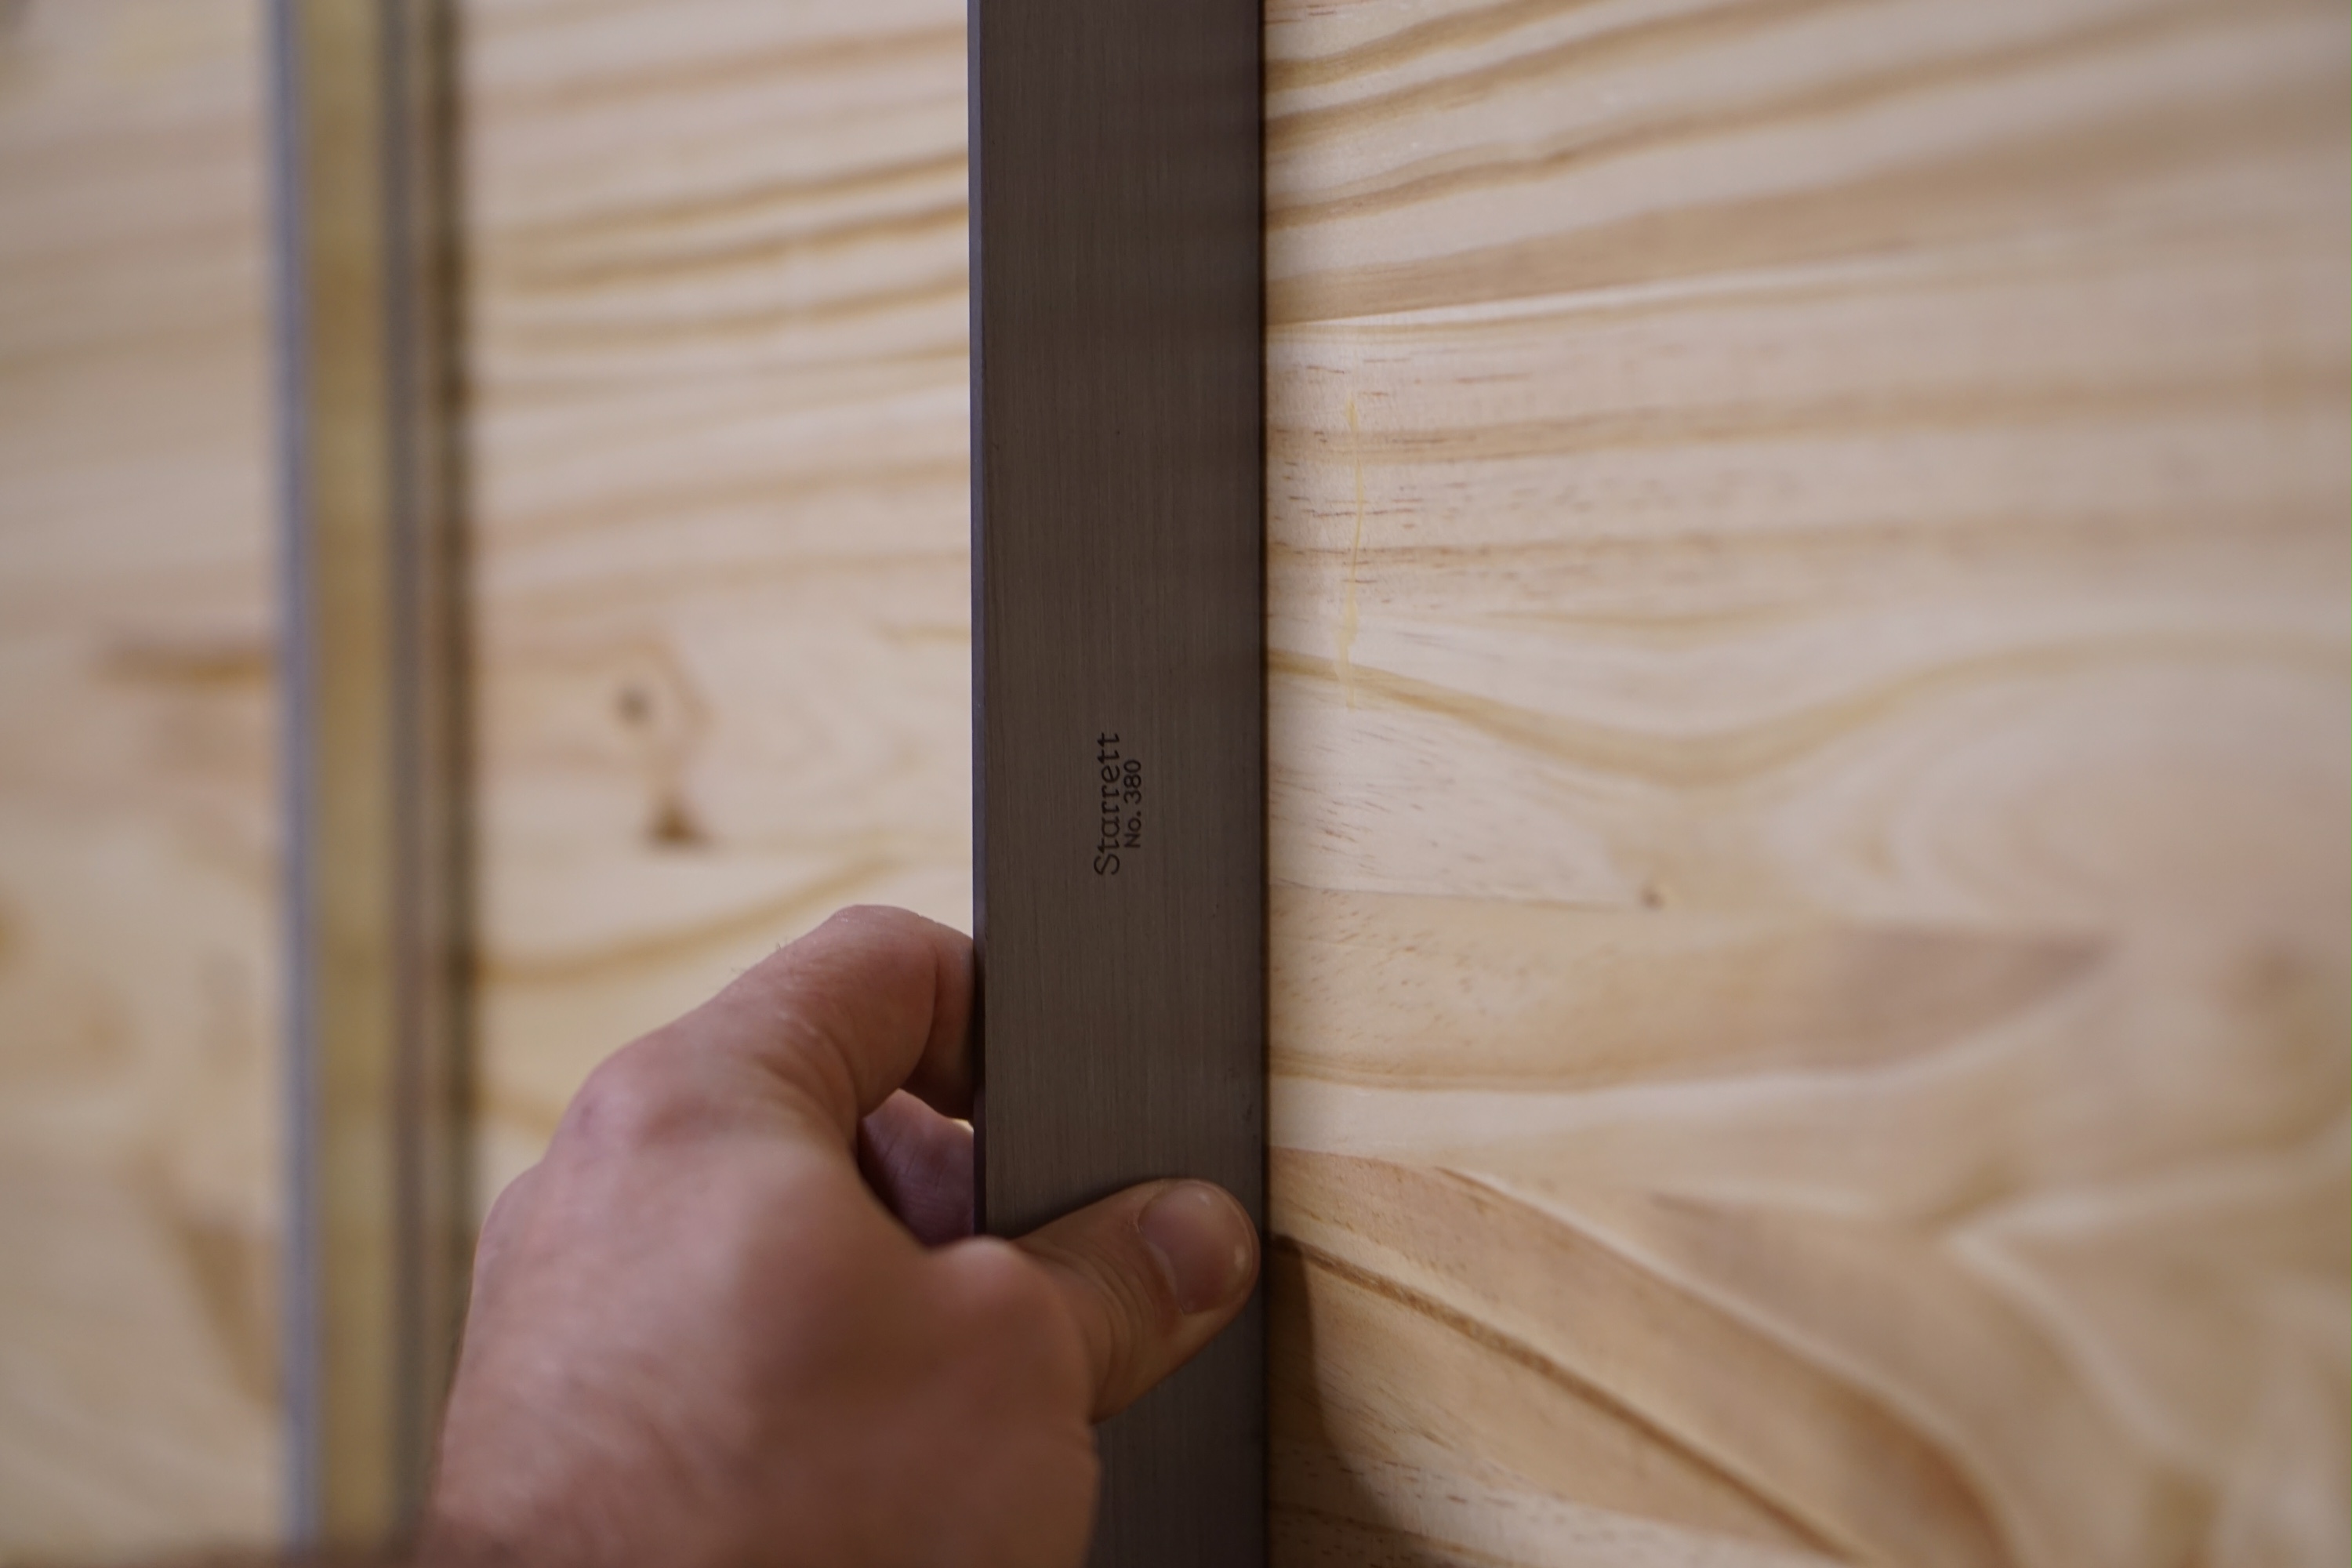
Completing the Roubo workbench base had me on a high. That all came crashing down Sunday afternoon. While marking out the location for the draw-bore pins, I noticed that something was a little off. Upon closer inspection, I realized that the pins for the short stretchers would come too close to the mortise walls for the long stretchers. This is a result of moving the tenons back on the front stretcher. I did this so that they wouldn’t interfere with the mortise for the vise hardware.

The pins for the mortise on the right would come too close to the mortise walls on the left.
If only I had included the draw-bore pins in my Sketchup model. I would have known of the issue, and been able to plan around it. Fortunately, this isn’t a huge setback. It just means that I will have to drop the pins for the base and glue the tenons in place. I can still draw-bore the base to the top.
I took it all in stride. I finished a few details while I worked out what I was going to do about the base.

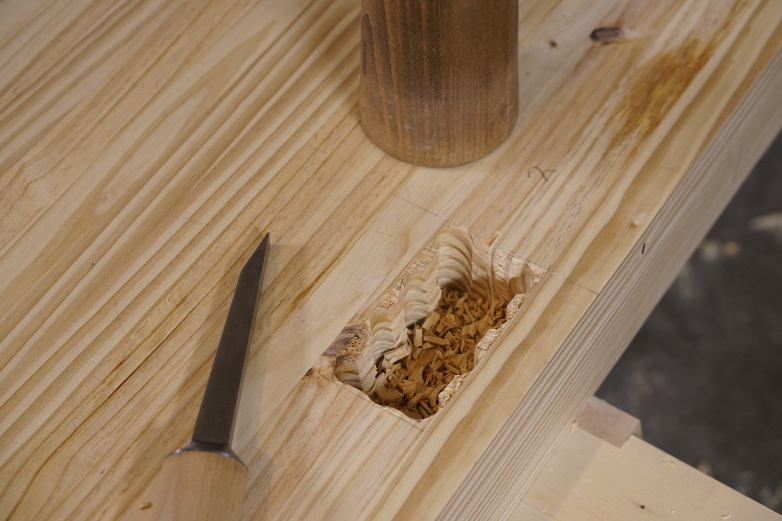
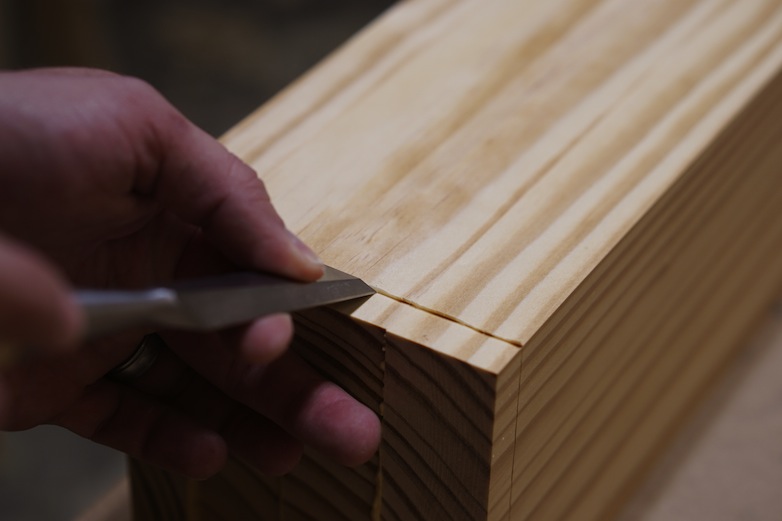
Sliding Deadman Notch
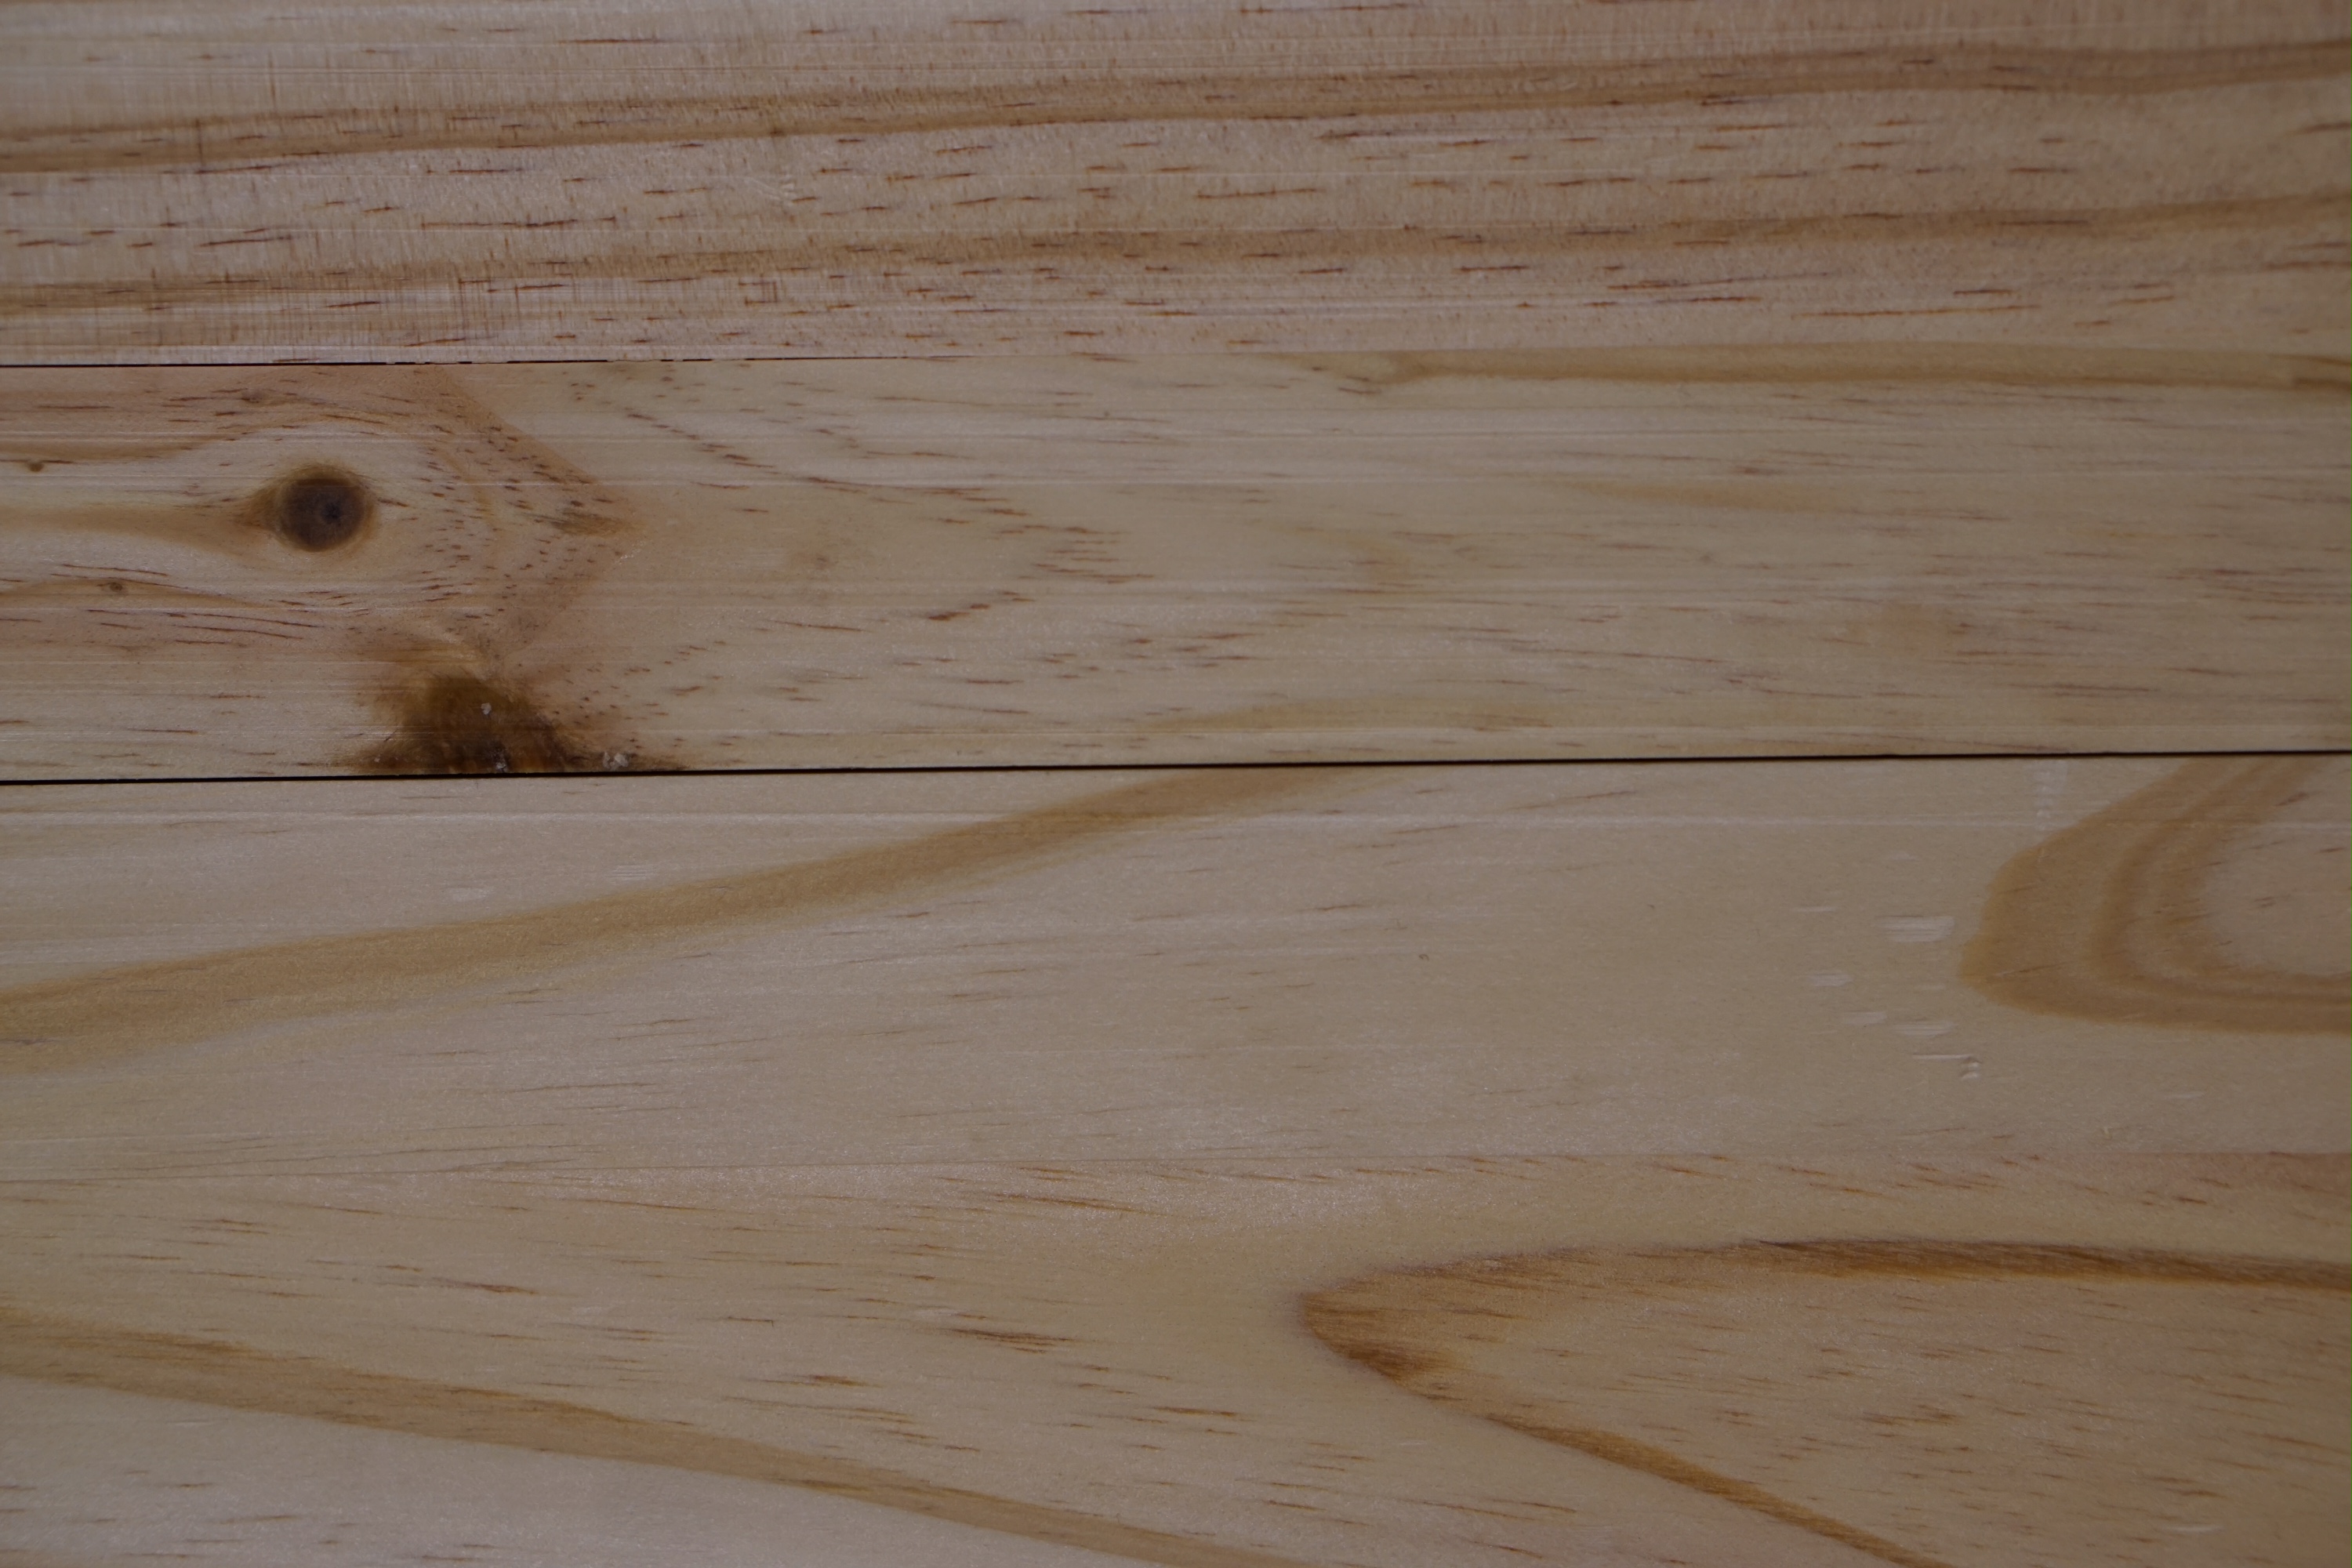
I completed the notch in the front stretcher for the sliding dead-man. I marked it out with a pencil and cut the chamfer with a block plane. You can see how thick I made the front stretcher. The Bench Crafted criss-cross mortise is 1 7/16″ deep, so I made the tenon 2″ back from the front of the stretcher to avoid issues.

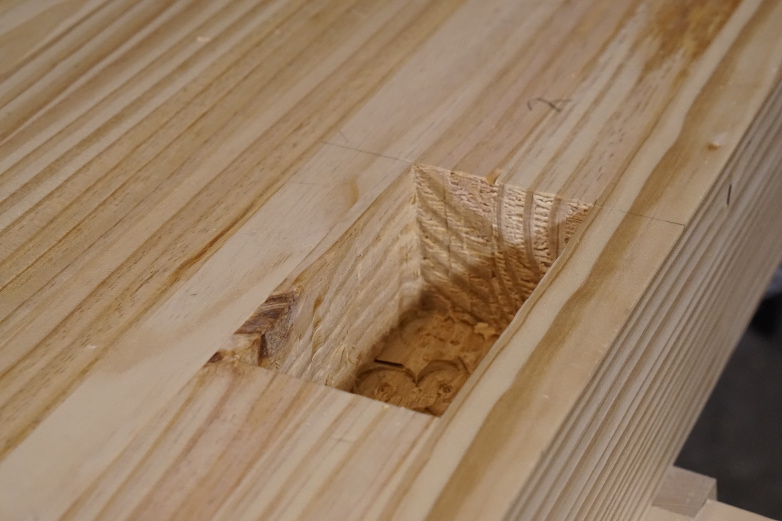
Sliding Deadman Grove
I also cut the grove for the sliding dead-man in the bottom-side of the top. I made quick work of this with a plunge router and fence. A spiral up-bit kept everything clean. It’s wise to do this in several passes.
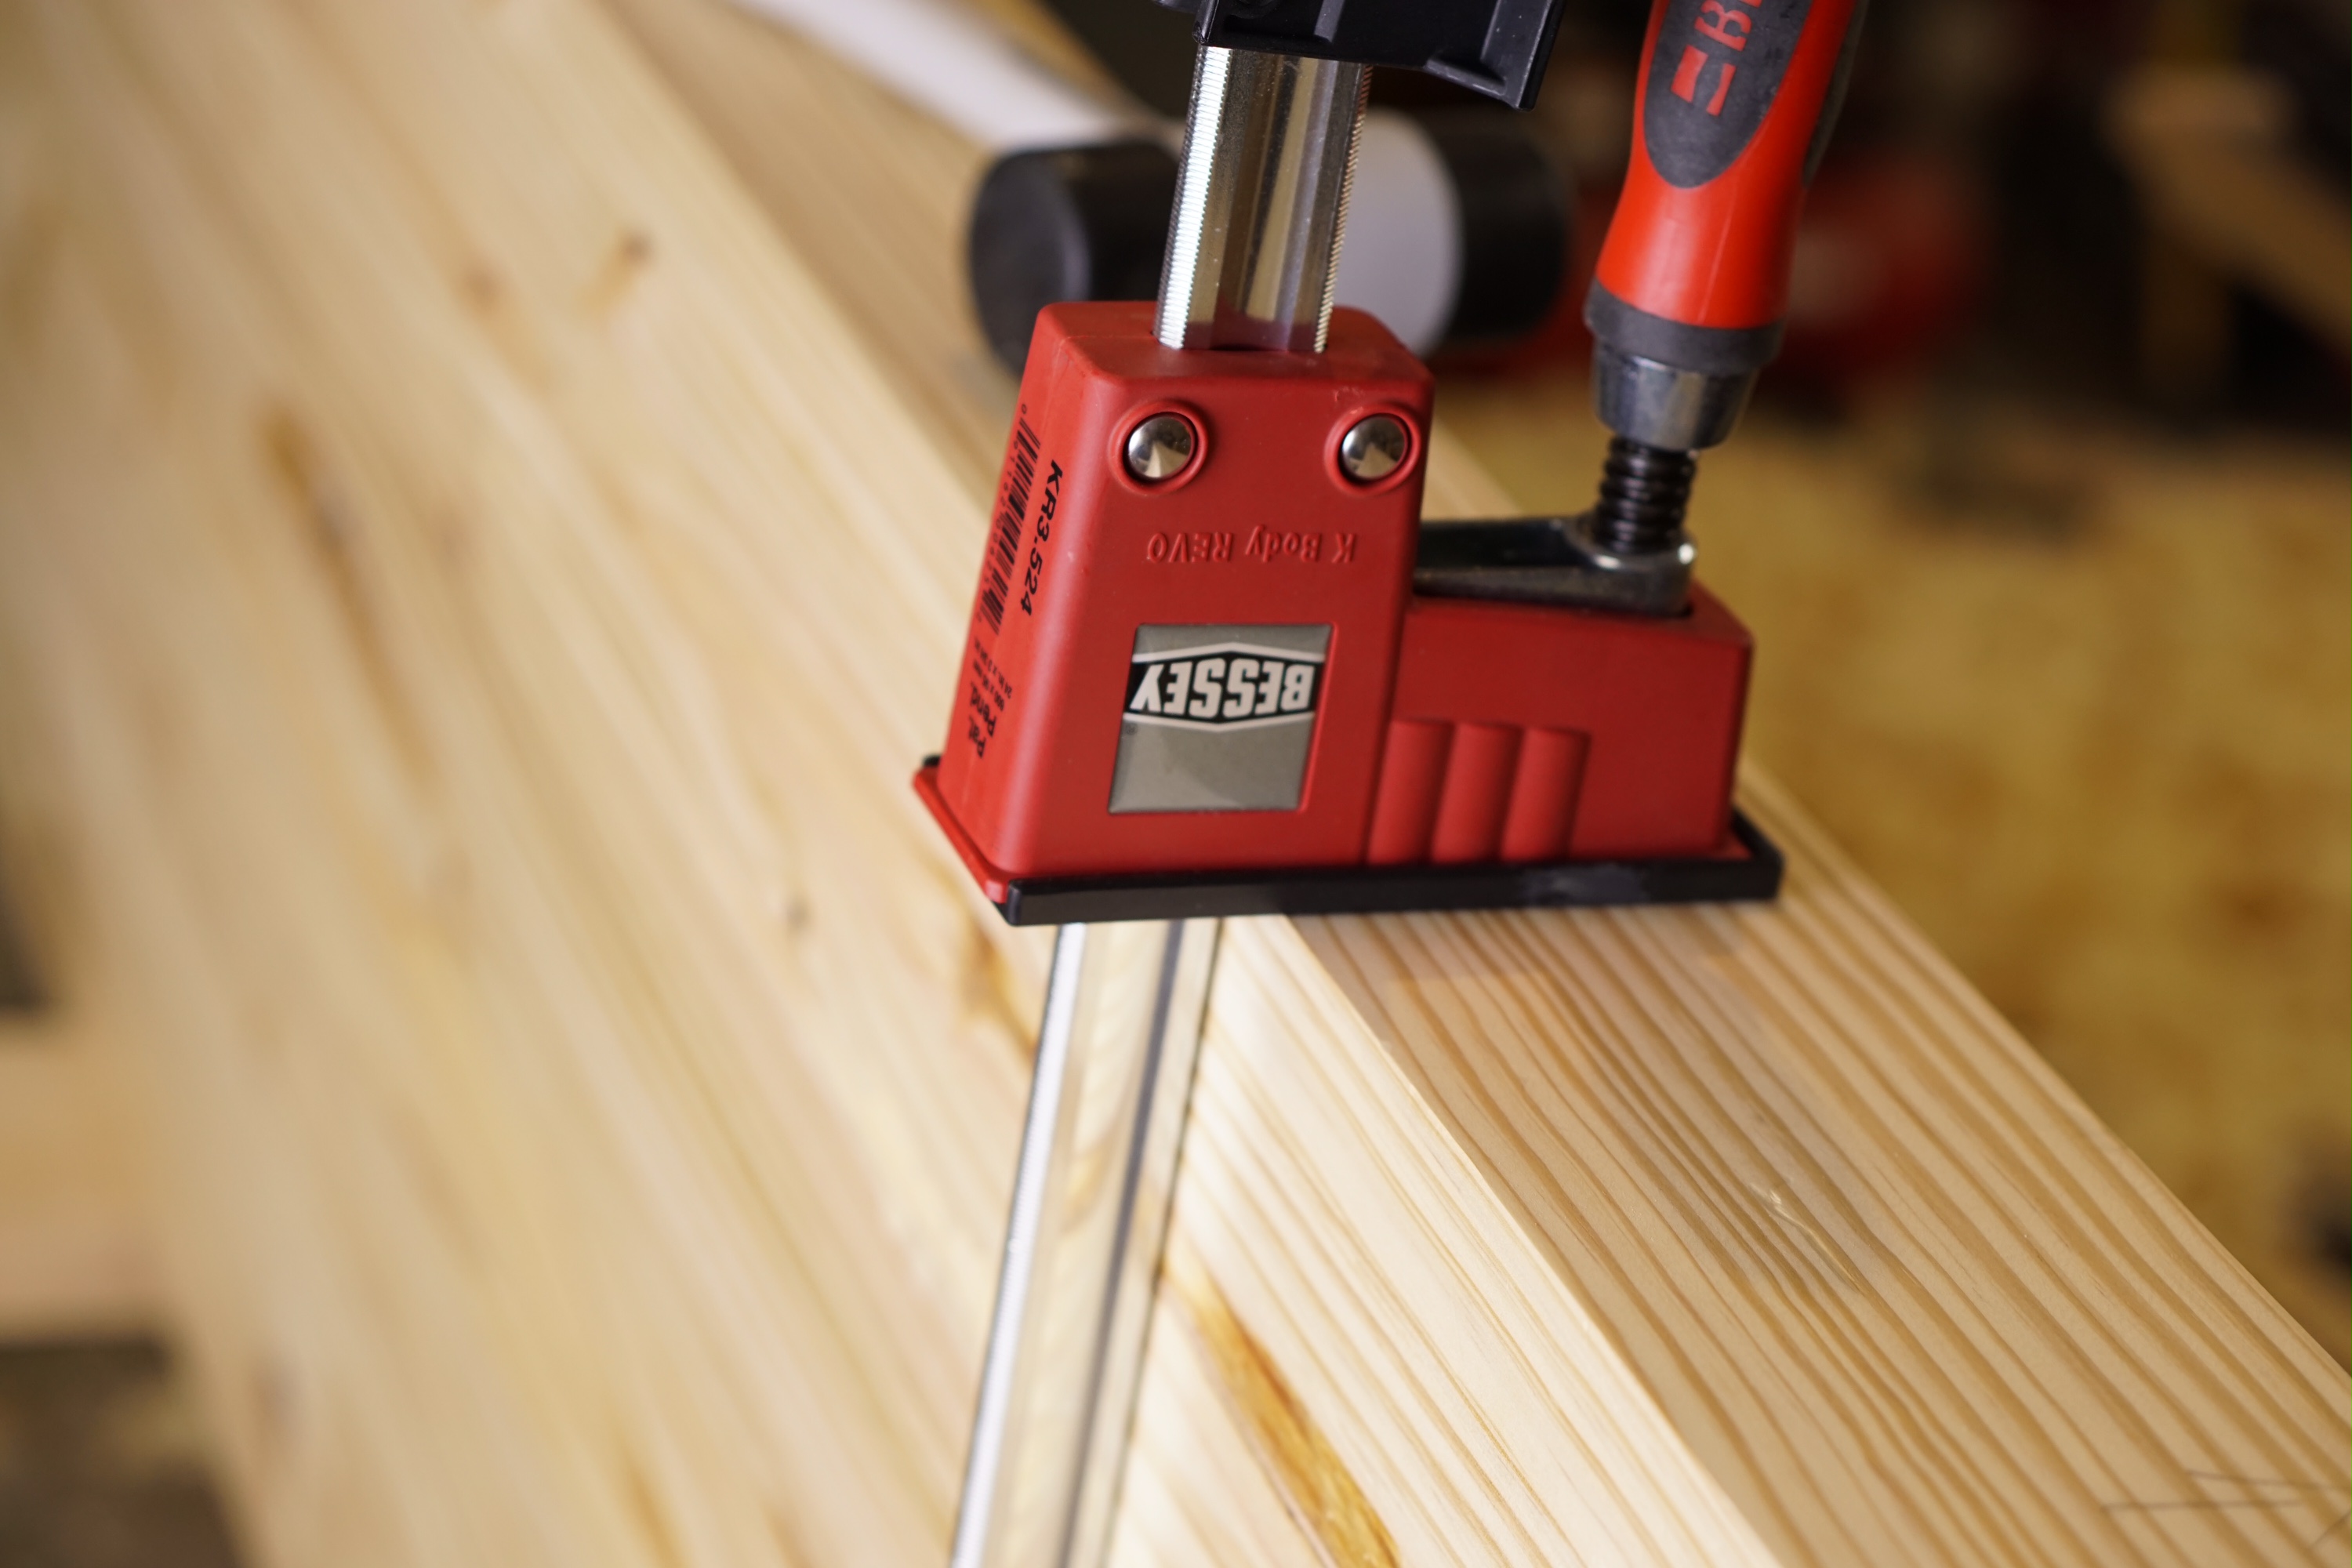
I was also able to start milling the boards for the vise chop. I’m using some old-growth pine boards I scored from work. They aren’t hardwood, but they are incredibly dense. Once I finish the chop, I can install the vise hardware. I need to complete this before I permanently attach the base to the top.
Stay tuned.
You can find links to my other Roubo posts here: Project Index