Fundamentals of Furniture Design: Series Introduction

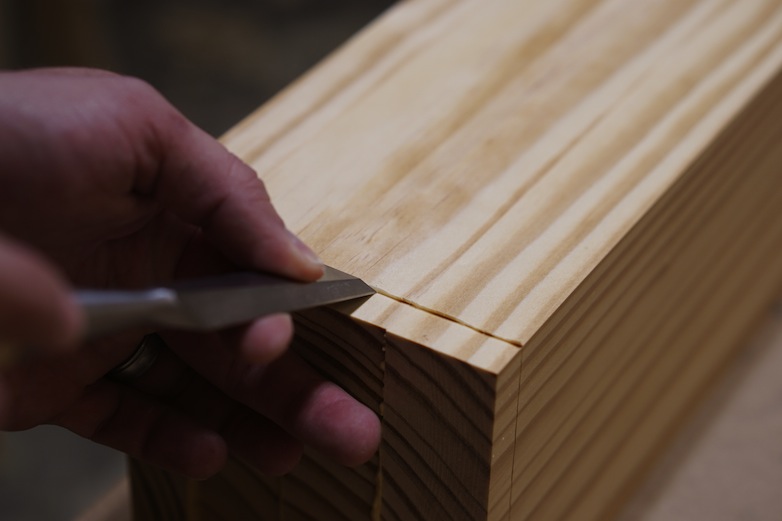
The Fundamentals of Furniture Design stats with the right tools
Over the next weeks, I will write a multi-part series on the fundamentals of furniture design. This subject is new to me, but I have done my research. Think of it not as instruction, but more as an open discussion. I believe there is a lot we can all learn along the way. Besides, who doesn’t want to design beautiful, unique furniture from the ground up?
I will write at least one post per week and cover the following subjects:
- What is Good Design?
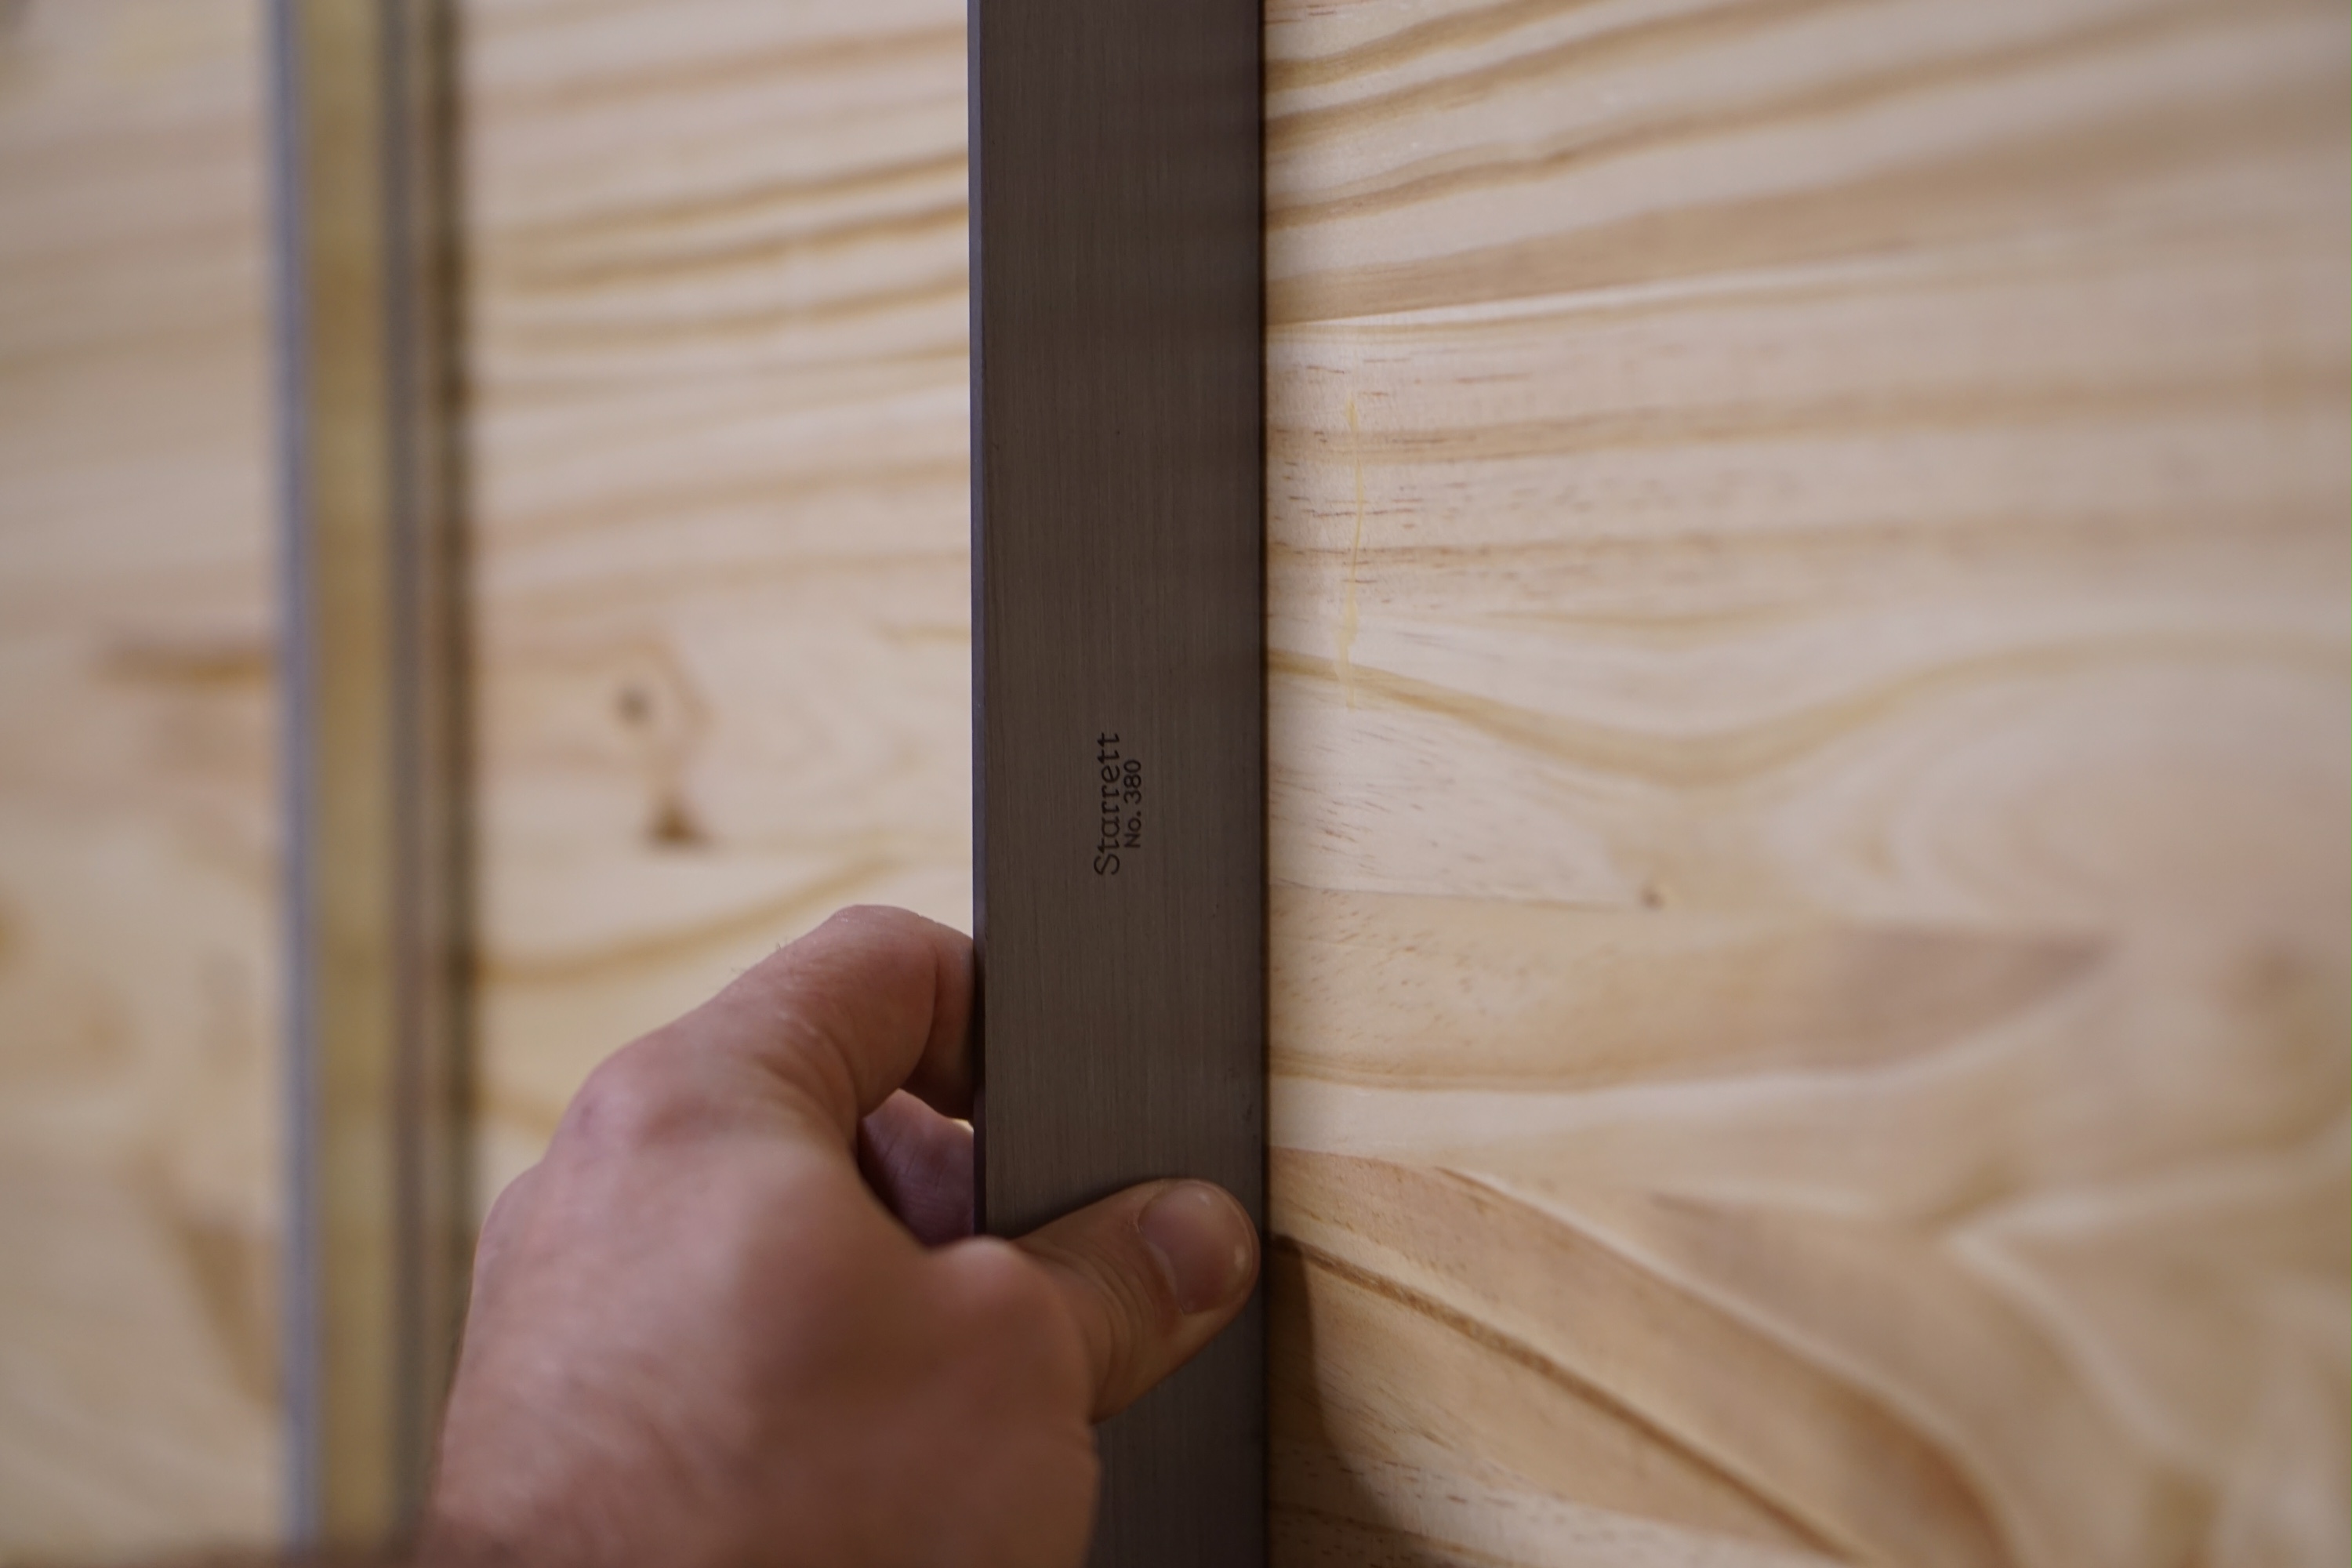
- The Design Toolkit
- Proportion – Part 1
- Proportion – Part 2
- Resources and Inspiration
- Why Certain Designs Work and Others Don’t
- Design Your First Piece
- Generating Ideas
- Refining Ideas
- Prototyping
- The Build
- Build Evaluation
- The Details
It is highly likely that I will add a few more posts to this series as I go, but these are the major topics I would like to cover. If there is anything else you would like for me to discuss along the topic of design, let me know. I will try my best to cover it. By the time we finish, you will be well on your way to designing your own pieces. Your friends will ask where you got the plans, and you can tell them, “I designed it myself”.
I’m very excited to begin this series, and I hope that you will join me. Stay tuned!