Blood, Sweat, and Sawdust

Going against the grain

My First Shot at Template Routing

securedownload2

I recently tried my hand a template routing for the first time. I knew I should have listened to that little voice in my head that was telling me to send a test piece through before my work piece. I ruined my work piece as a result of my reluctance and had to start over. Fortunately, I had plenty of spare wood and it didn’t take me very long to get back to where I was.  Here is what I learned from my experience:

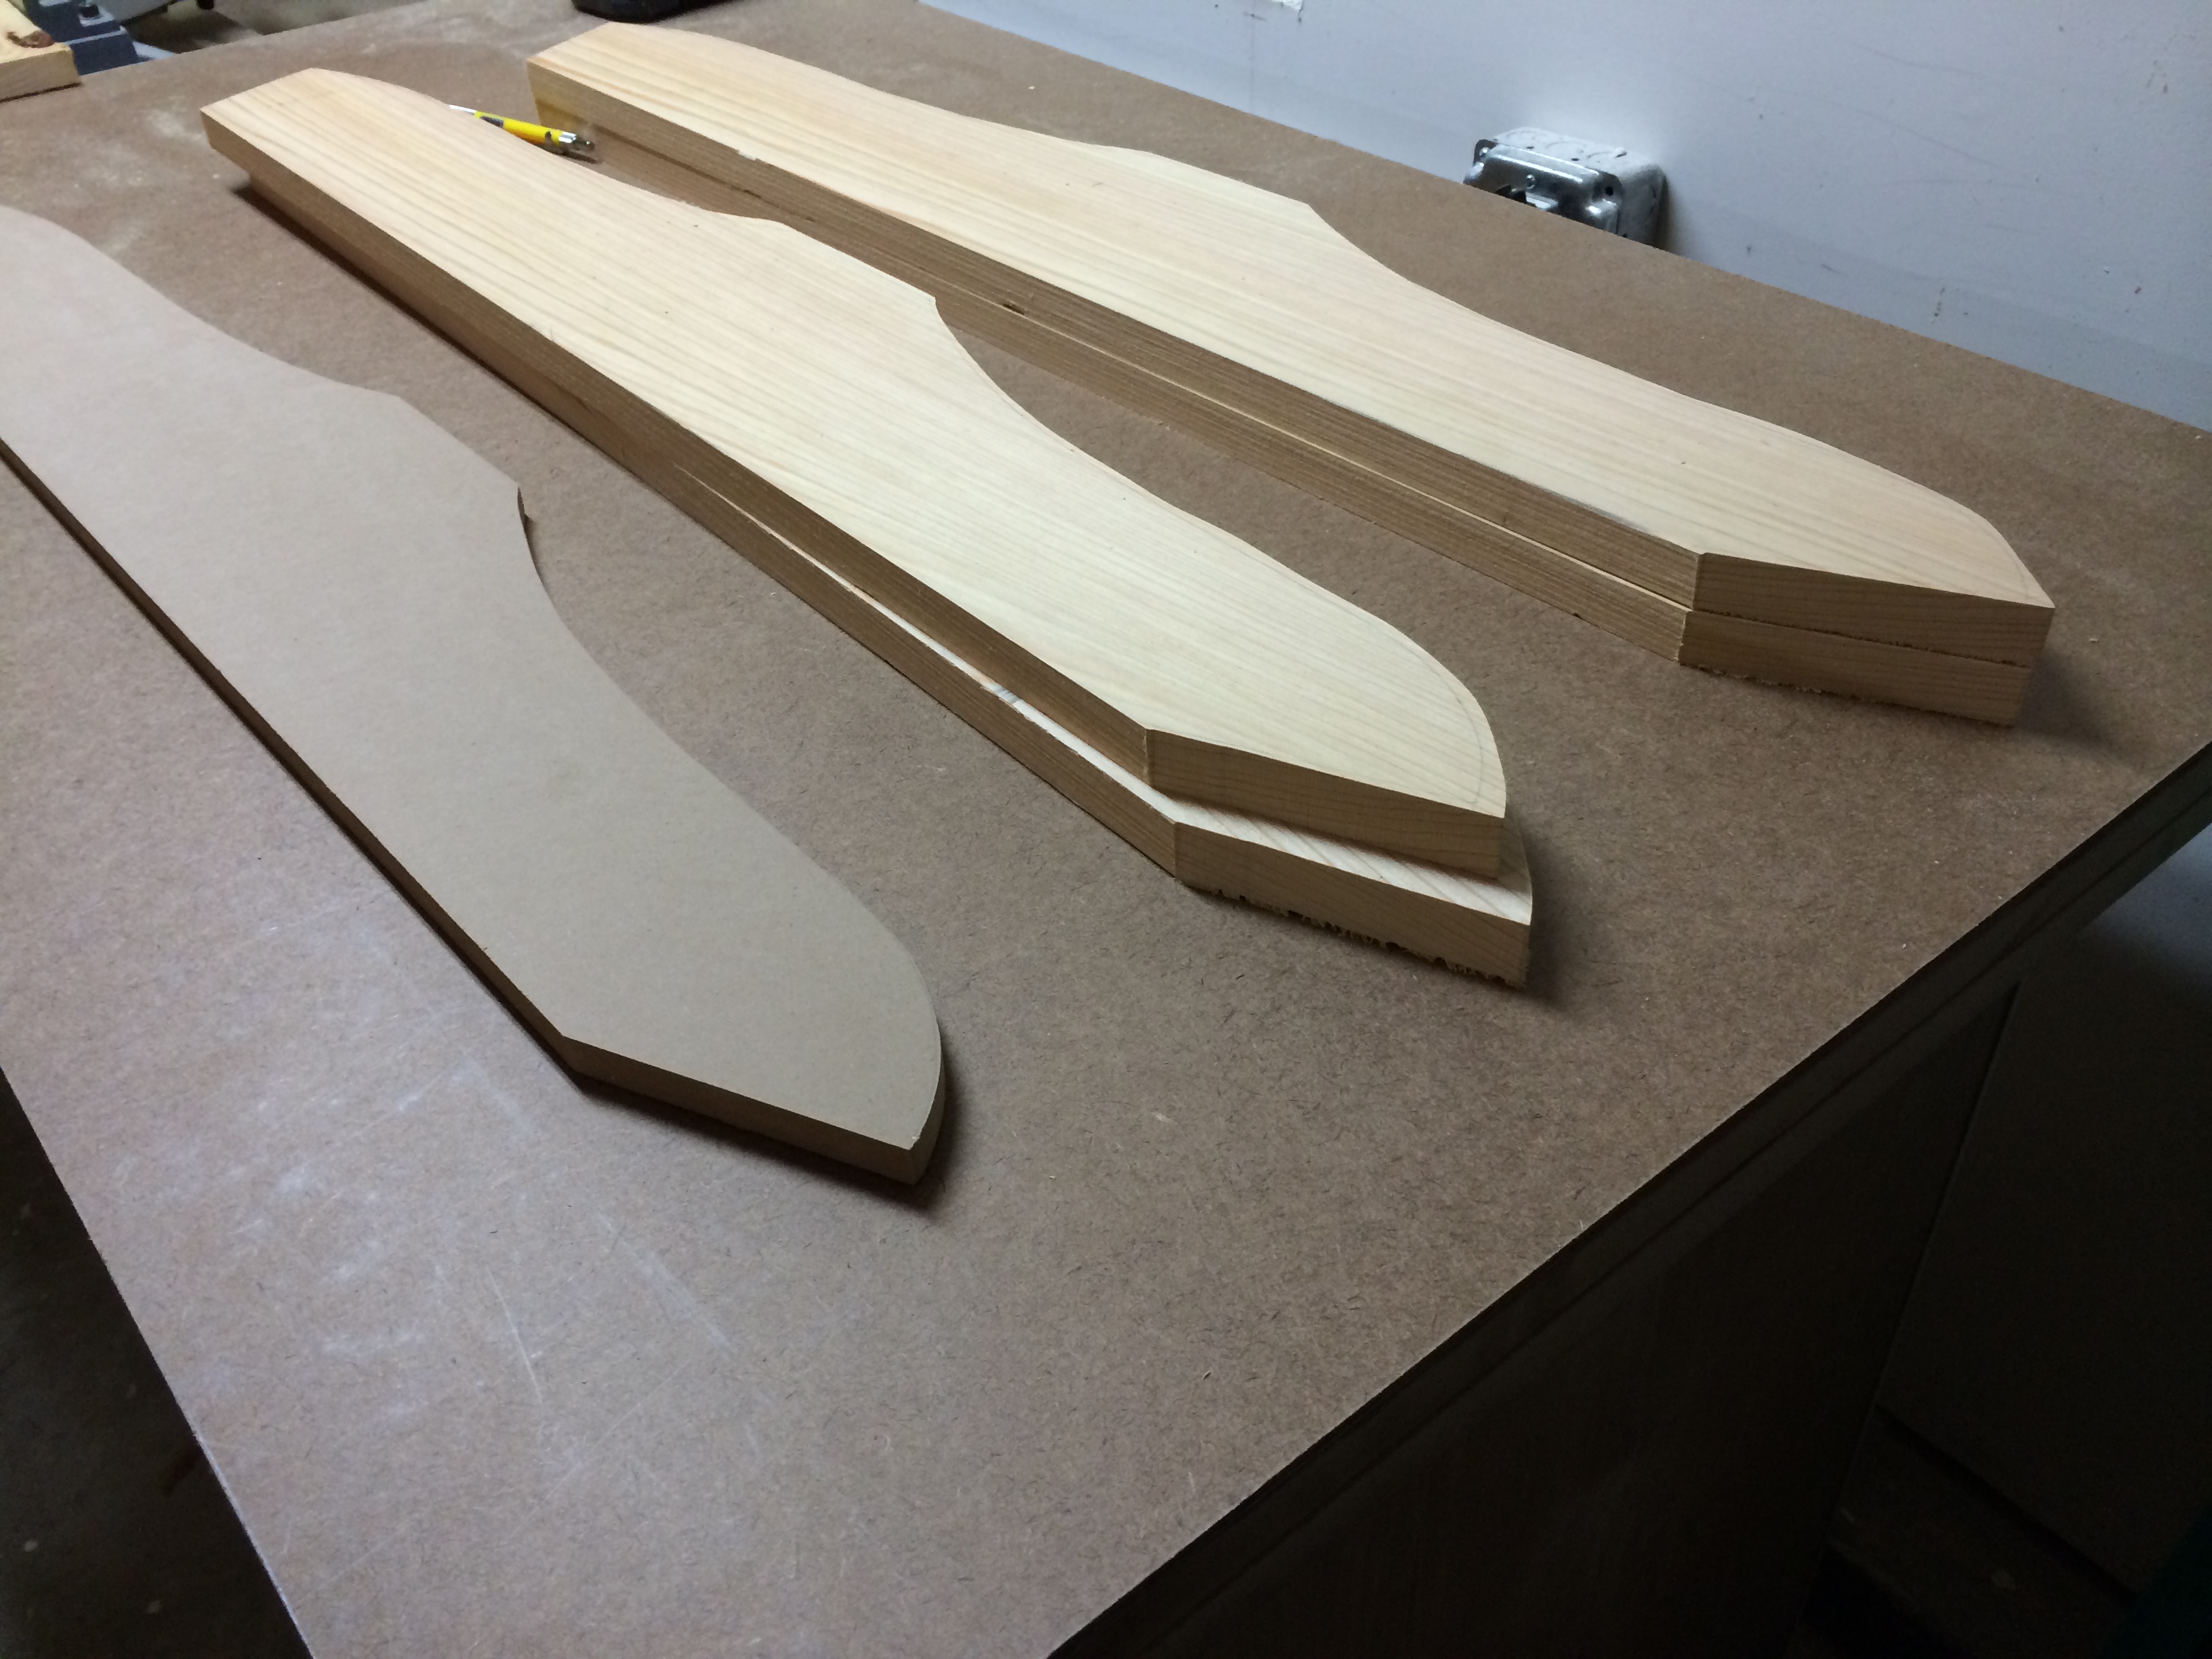
1) When you initially cut your piece out (whether with bandsaw or jigsaw), cut as close to the line as possible. The more space you have between the edge of your template and your bit, the more likely you are to experience chip out.

2) Like with most other tools, cut with the grain, not against it.  This will typically mean that you need to cut down the curve. You may need to flip the work piece at some point.

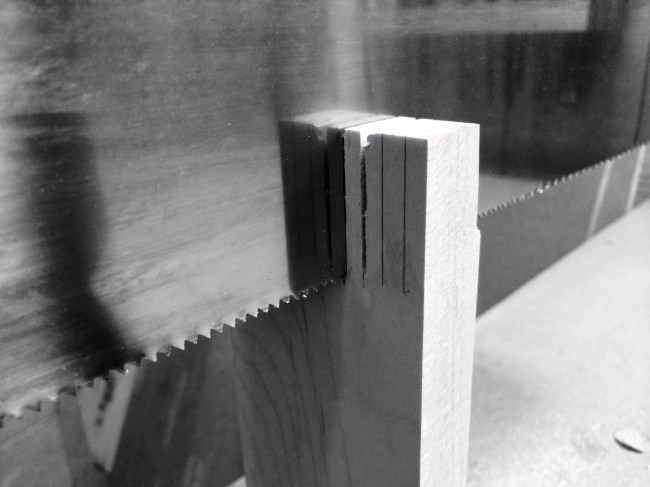
3) If using tape to secure your work piece to the template, make sure that it’s secure. This is where I really went wrong. While cutting the arms for a pair of Adirondack chairs, my double-sided tape began to slip. This allowed my work piece to be pulled into the bit.  This is the result:

securedownload1

Warm Weather Means Outdoor Furniture

It’s getting warm, which means I’ll likely be building lots of outdoor furniture. Here I’m using Cypress to build a pair of Adirondack chairs for a new customer. They will be based off of Norm Abram’s classic design, but differ in a few key details. This time I will be using a template on a router table to cut all of my curved pieces to size. I hope that this will speed up the build process. Once all of the parts are cut to size, I will assemble the chairs with stainless hardware and an exterior wood glue. I will finish them with Epifane’s Clear Varnish. This should help them to hold up to the elements for decades.

photo 1

Cypress is great for outdoor furniture.  It’s naturally bug and rot resistant, and it’s also light weight.  My first pair of Adirondack chairs have been sitting in the backyard for about a year now.  They are in direct contact with the wet ground, and in full sunlight.  Despite being unfinished, they show now signs of giving up.

photo 2

I created a template out of mdf (left).  I will use it to cut the rough sawn pieces (right) to final dimensions.  This will ensure that all pieces are uniform and greatly speed the build process.

You Can Never Have Enough…

Knowing that you can never have enough storage, I wondered if there was anything I could do with the plywood I had leftover from my other cabinet projects. I was able to scrounge up just enough to build this nice little hanging wall cabinet. I am going to use it to store wood finishes and glue. It’s not much more than a face-framed box with doors, but it works. It was hung using French cleats, so that it would easily be moved to a different location in the future.

photo 1


Here’s the finished cabinet.  As you can see, it’s a very simple design.

photo 2

Here’s a closeup of the french cleat.  I secured the bottom piece to the wall using 4 x 3″ screws.


photo 3


I just need to clean up a few edges and install a shelf our two.

Shop Cabinets Finished…well mostly

I feel like I’ve been working on these since the dawn of time, but they’re finally complete. I ended up with two base cabinets (once with drawers, one with doors), and two rolling carts. I have a bit of plywood left over, so I may knock out a hanging cabinet. I still have a little trim work to do, but I have so much more room to do activities!


photo 2

photo 1

Design and Inspiration

I recently began to delve into the design aspect of my woodworking journey. Ultimately, the goal is to create some general rules to live by, and develop an aesthetic that I find pleasing. While I prefer modern design, I lean towards hand tool construction. While this isn’t a common approach, I hope that this will lead me to a very unique sense of style.

I picked up a copy of By Hand and Eye, and have been searching everywhere for inspiration. I quickly discovered that inspiration can be found everywhere. Where do you find your inspiration? What have you found that works for you? Did you find anything that didn’t work?

Mistakes

Small mistakes can be the bane of many great wood working projects. Our friends, family, and customers may never notice them, but we know they exist; a constant reminder of an overlooked detail, inspiring feelings of inadequacy or ineptitude. Everyone makes them, so we can’t let them kill our love of the craft. Besides, they can be a great opportunity for learning.

I recently made a mistake while building the base cabinets for my shop. I thought I had everything square during glue-up, but I forgot to double-check. Unfortunately, I didn’t discover this error until I went to install my drawer fronts. As a result of the cabinet being slightly out of square, the right edge of my drawer fronts stick out past the face-frame. This bugs the crap out of me. Fortunately, no one else seems to notice.

As a result of this error, I discovered a better way of designing cabinets. Not only does the new method do away with relying on clamps to square up the carcass, but it will simplify the construction process. The important thing to take away from this, is not to be discouraged. Ask yourself, what can be done better next time.

method1

The old construction method. This method squares the top-to-bottom nicely by using strips in the back and the top/bottom face frames on the front. However, this isn’t really necessary since the back is installed before the glue dries. This also makes it difficult to square the front-to-back, since there is no bottom and the top won’t be installed until later.

Method2

The new construction method. This uses four strips (two at the top and two at the bottom) to square the front-to-back. The back is installed before the glue dries, which ensures that the case is square in the other direction.

What lessons have you learned from past mistakes?

Only Perfect Practice Makes Perfect

Image

Some say that practice makes perfect. A wiser man will tell you that only perfect practice makes perfect. So if you’re having problems with any of your hand tool skills, get out there and practice perfect practice. Now, say that three times fast.

Don’t wait until you start a new project to attempt a new skill for the first time. Find some scrap lumber and practice first. Take your time, focus, and perfect your technique before putting it to use on exotic lumber.

Rabbet Season

Image

My current workbench has served me well, but it’s severely lacking in its work holding ability. I recently discovered that I had no way to efficiently hold a work-piece while hand-planing rabbets. I had no way of holding the piece without the fence on my skew rabbet plane getting in the way. I wanted to drill a new dog hole closer to the edge, so that the fence would hang off the side while planing. Unfortunately, this isn’t possible due to the threaded bolts that secure the rails to the legs.

Since I can’t really afford to build a nice Roubo bench at the moment, I set out to find a simple, cost-effective solution. What I came up with was a planing stop with a fence on the back edge that extends the length of the stop. This allows me to set my work piece on top and use the fence and a clamp to secure everything. I can align the shoulder with the end of the fence so that nothing gets in the way while planing. It also works great for face jointing wide stock.

ImageImage

A Nickel for Your Thoughts

One of the most frustrating things I discovered while building my shop cabinets was getting the drawer faces aligned correctly.  Every time I got the drawer front aligned side-to-side, I’d discover that the vertical alignment had shifted.  It was a humbling exercise in patience building.  Who would have guessed that the solution to my problem could have been a handful of nickels?  

It turns out that the thickness of a nickel provides aesthetically pleasing drawer gaps.  Simply place a couple below the drawer face, one on each side (trim if necessary), then clamp and nail your front in place.  Don’t forget to retrieve your change afterwards.

20140322-074605.jpg

More on Shop Cabinets

I am currently finishing up my second set of shop cabinets.  This build is definitely more complex than the last.  It will include two base cabinets and a rolling cart for my miter saw.  The miter saw cabinet will sit between the two base cabinets, with the top of the miter saw flush with the top of the base cabinets.  Eventually, I will build a custom router table that can be swapped out for the miter cabinet.  By far, the most complex cabinet in this set will be the base cabinet that will sit on the left-hand side.  Below I will detail the build of this cabinet.

This base cabinet will be 48 inches wide and 30 inches deep.  It will be about 35 inches high and include levelers at the base.  It will have a total of 8 drawers in two equal banks.

The first thing I did was cut most of my parts.  It’s critical that the sides, back, and face frames are dead square.  After the parts are cut, I glue and nail my doublers to the inside of the sides.  I mark the sides to identify the inside left and right.  It’s important to get the doublers level and parallel to one another, because this is where your drawer slides will mount.

20140315-074811.jpg

Once the glue has dried, I use the sides to mark the location of my doublers on the center supports.  It really helps to clamp things down.  Once, you have transferred your marks, go ahead and nail/glue your doublers.  

20140315-074824.jpg

20140315-074838.jpg

Next, I carefully marked the center of my face frames and rear supports, and added two scrap pieces to help strengthen and position the center, vertical supports during assembly.  Once, you have these done, you are ready for assembly.

20140315-074849.jpg

Check back for more updates.