Blood, Sweat, and Sawdust

Going against the grain

Tag: woodshop

The Workshop Build: Lessons Learned

No matter how well you plan, there will always be things you’ll wish you’d done differently.  So, I’m here to share a few things I wish I’d done differently with my shop build.

Completed Workshop

Wall Space

Wall space is sacred.  If you’re limited on space, plan the locations of outlets and ducting carefully.  Make sure you have enough uninterrupted wall space for lumber storage.  I ended up with a few duct drops I wish I planned more carefully.  So, carefully catalogue everything you plan to store on the wall.

Headroom

Maintain as much headroom as possible.  There are one or two spots in my shop where I constantly hit my duct runs with lumber.  Why I didn’t run the ducting 6 inches higher, I’ll never know.  I will raise everything in the future as time allows.
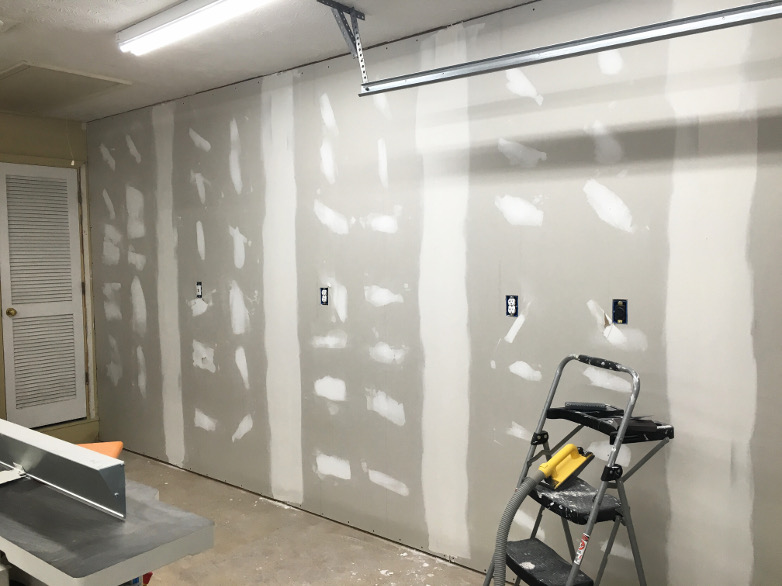
Electrical

Don’t skimp on electrical.  Determine how many receptacles you need and then add 50%.  I thought I had planned for sufficiently, but I already wish I had more.  It’s always easier to do it all at one time.  In my case, it will be much more difficult to add any electrical now that the drywall is up.

What I did Right

  • Storage – I have plenty of it considering the small size of my shop.
  • Lighting – I installed plenty of efficient LED light fixtures.  So, there isn’t a dark corner in the shop.
  • Efficient Design – Placing my tablesaw and jointer in the center of the shop made for efficient movement around the shop.
  • Dust Collection – Dedicated ports keep me from disconnecting/reconnecting machinery and save time.
  • Air Conditioning – A comfortable shop ensures that I am able to work year round.  Installing it myself, saved me lots of money.

Drywall for the Garage Workshop: Part 2

Completed Drywall

I am no drywall expert.  Many experienced professionals have detailed the process of taping and mudding.  So, I won’t go into too much detail about the process and techniques.  Instead, I will cover some of the lessons I learned doing this as a DIY homeowner.

A quick overview of my process

I pre-filled all of my large gaps with Sheetrock 90 bond.  Then, I embedded drywall tape in all of my edges and inside corners using general purpose mud.  At the same time, I lightly skimmed over all of my screw dimples and let the mud dry for 24 hours.  Then I filled in all the beveled seams with Sheetrock 90 bond, and let that cure for another 24 hours.  I gave everything a light sanding and finished up with a thin coat of general purpose.

Lessons learned

  1. Use the correct tools.  A narrow knife is perfect for embedding tape, but too narrow to feather out your mud on your final coats
  2. Mix your compounds thoroughly.  I failed to do this on one of my coats and it required extra sanding
  3. Learn the proper thickness for your compounds.  Too thick and it is hard too work.  To thin and it falls off your knife.  Filling gaps is easier with thick mud, but feathering edges on final coats requires thinner mud.
  4. Keep a bucket of water and a large sponge close by.  This is great for keeping your hands and tools clean.  It also allows you to quickly add a little water to your compound if it starts to dry out.

Now that they drywall is complete, I need to move quickly to trim and paint everything.  Stay tuned.

For the rest of the workshop build, check out the garage workshop build index.