
Drywall for the Garage Workshop: Part 2
by Patrick Harper - Blood, Sweat, and Sawdust
I am no drywall expert. Many experienced professionals have detailed the process of taping and mudding. So, I won’t go into too much detail about the process and techniques. Instead, I will cover some of the lessons I learned doing this as a DIY homeowner.
A quick overview of my process
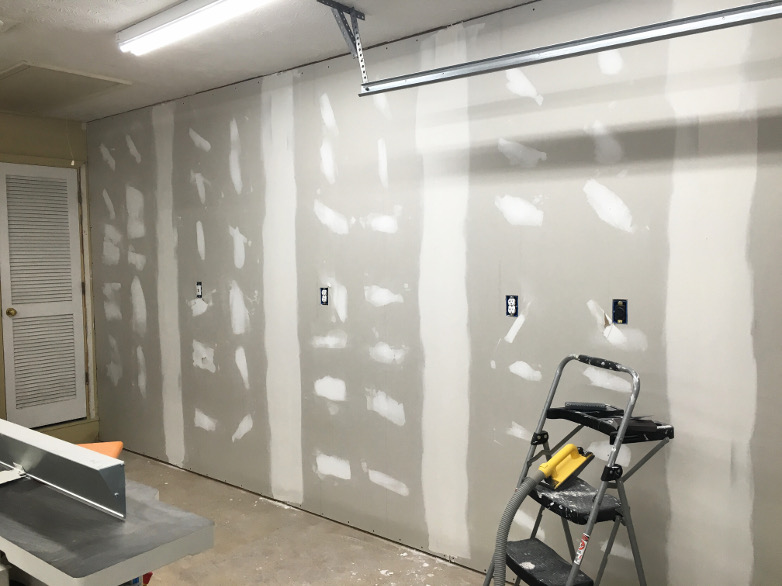
I pre-filled all of my large gaps with Sheetrock 90 bond. Then, I embedded drywall tape in all of my edges and inside corners using general purpose mud. At the same time, I lightly skimmed over all of my screw dimples and let the mud dry for 24 hours. Then I filled in all the beveled seams with Sheetrock 90 bond, and let that cure for another 24 hours. I gave everything a light sanding and finished up with a thin coat of general purpose.
Lessons learned
- Use the correct tools. A narrow knife is perfect for embedding tape, but too narrow to feather out your mud on your final coats
- Mix your compounds thoroughly. I failed to do this on one of my coats and it required extra sanding
- Learn the proper thickness for your compounds. Too thick and it is hard too work. To thin and it falls off your knife. Filling gaps is easier with thick mud, but feathering edges on final coats requires thinner mud.
- Keep a bucket of water and a large sponge close by. This is great for keeping your hands and tools clean. It also allows you to quickly add a little water to your compound if it starts to dry out.
Now that they drywall is complete, I need to move quickly to trim and paint everything. Stay tuned.
For the rest of the workshop build, check out the garage workshop build index.

GOOD job !! You are getting there.
Just to make things more fun, the first coat of paint will show you every bad mud finish….
Thanks.
That’s okay. I’ll do at least two coats!