
Power for the Shop: Workshop Electrical on a Budget
by Patrick Harper - Blood, Sweat, and Sawdust
Houston, we have power!
The new garage workshop finally has real power. I will never have enough outlets. However, I did my best to ensure adequate coverage, while sticking to a budget. I’m relatively proficient with residential electric, so I did most of the leg work to keep costs down. Then, I hired an electrician to check my work, connect the breakers, and test the outlets.
I’ll share with you exactly what I did. I hope this will help others proceeding along a similar path.
Warning: I am not a certified electrician. Proceed at your own risk. Consult your local code and a qualified professional before starting any workshop electrical projects!
First, I marked my box locations. I planned this out earlier here: Workshop Planning
Then I made a story stick from a scrap 2×4. I used this to mark the height of each box and my horizontal wire runs. I planned the bottom of each box 50″ from the ground. This will allow me to clear any benches and full-sized sheets of plywood laid against the wall.

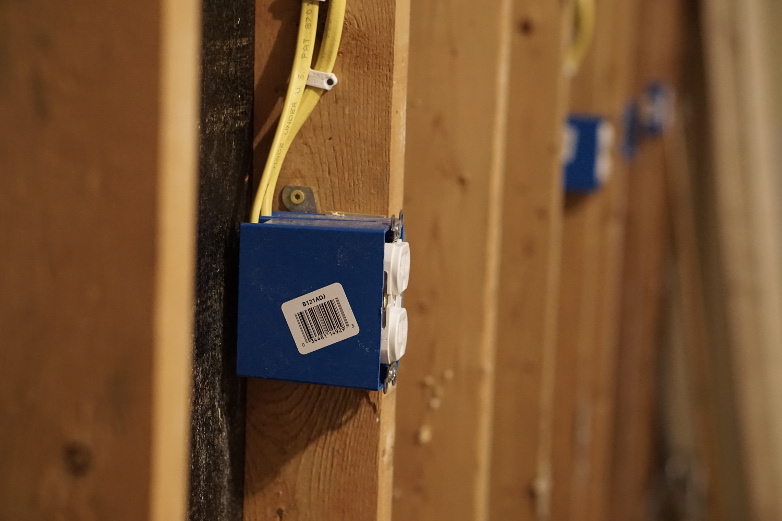
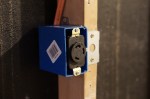
Once everything was laid out, I secured each of my boxes to the proper stud. I used adjustable boxes. This allows me to dial in the box perfectly once drywall is up.
Next, I drilled a 3/4″ hole through the studs using a cordless drill and an auger bit. Finally, I drilled similar holes through to top plate to route the wiring through the attic.
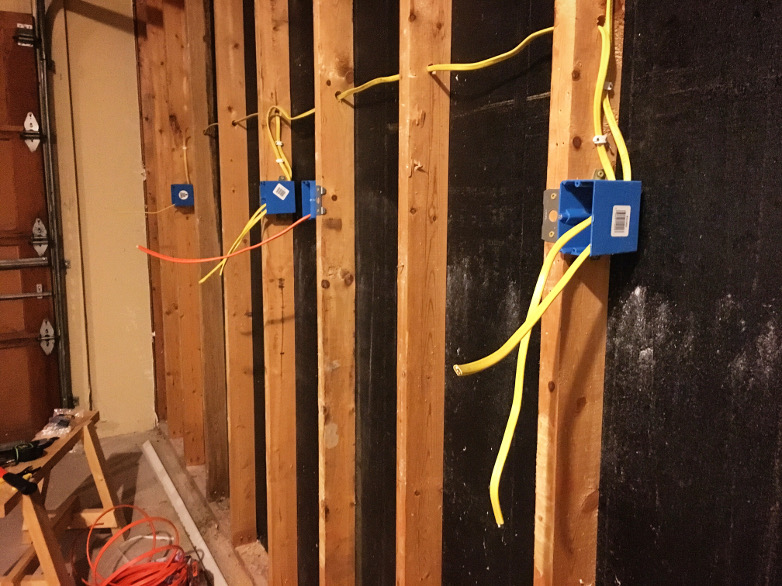

I pulled my horizontal wire, taking care to leave 12″ of extra cable at each box. Then, I secured each wire using a staple within 12″ of the box and at least every 4.5′ after that. Next, I began the arduous task of pulling wire through an attic filled with obstacles and engineered trusses. Blech!


A good part of my runs through the attic are within 7 feet of the access ladder and perpendicular to the joists. My local code requires that I make a raceway to protect the wires from be trampled on. I used furring strips, but 2×4’s may have been better. Straighten out as much of your wire as possible before pulling it into the attic. Straightening 10/2 NMb wire in the attic is not fun! I pulled 8 feet of extra wire for all of my circuits to give the electrician plenty of extra wire to work with.

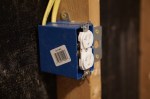
With the wires ran, I started making up my boxes. First, I stripped off the wire jacket and removed the paper from the ground wire. Leave about an inch of jacket remaining in the box. Then, I stripped about 1″ of sheathing off each wire and made pigtails using scraps.
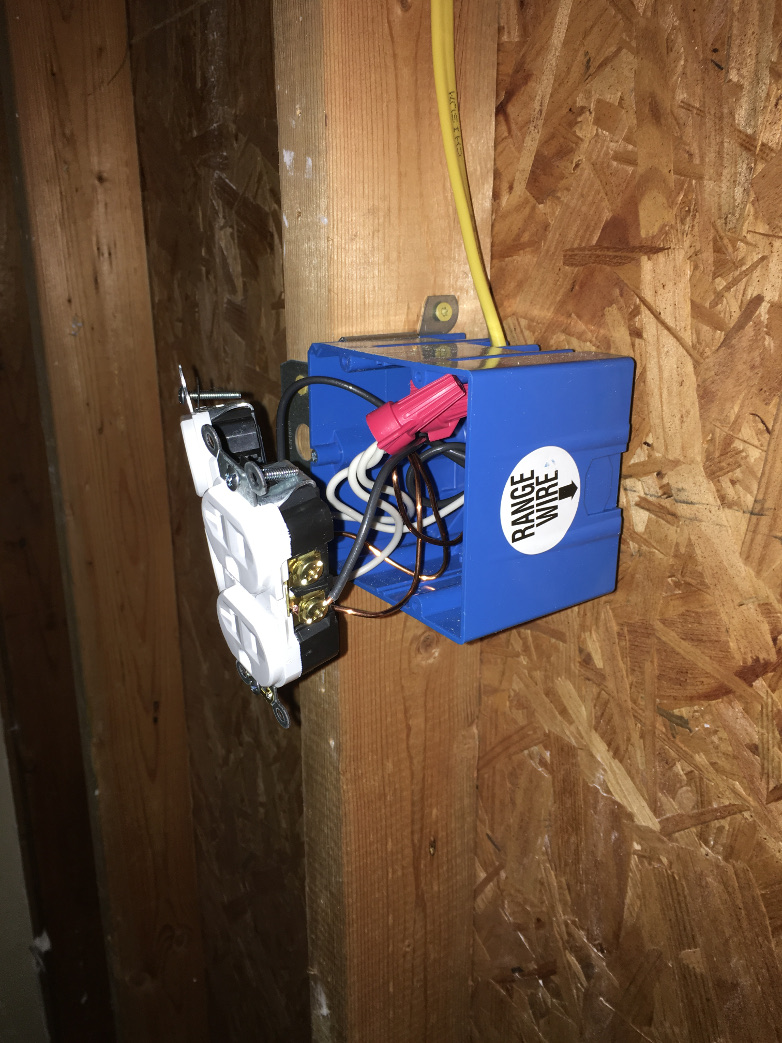
With the pigtails made, it was just a matter of connecting all of my outlets and securing them to the box.

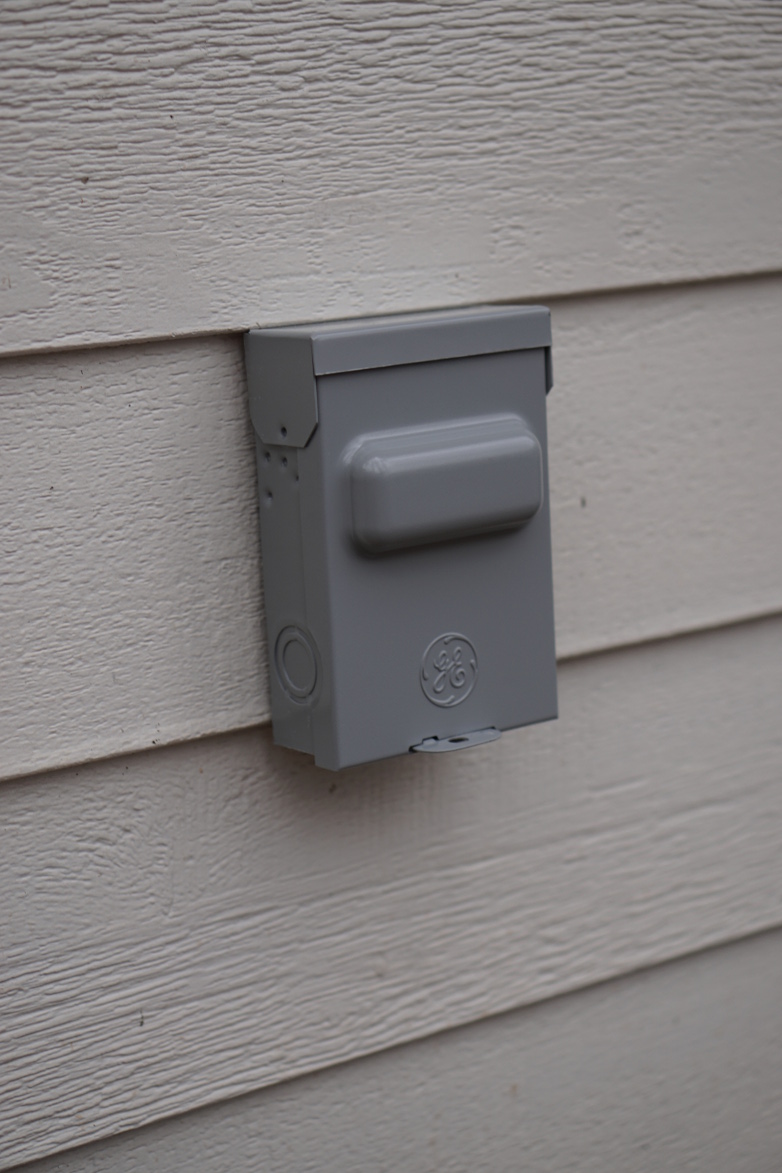
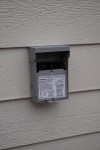
The last thing I did before calling the electrician, was connecting the AC disconnect box outside. I secured the box directly to a stud and used duct seal around the screw holes and cable penetration point to prevent water intrusion.

Connecting all of the circuits to the panel was uneventful. It only took a few hours and we didn’t encounter anything unexpected. Everything tested correctly on the first try. Pulling the cables through the top plate and into the box took the most amount of time. There wasn’t enough room at the top of the box to insert the cable clamps, so we had to pull them through the top-plate holes on the cable.
Now, I can install insulation in the walls and keep out some of the cold. Stay tuned!

For the rest of the workshop build, check out the garage workshop build index.
