
Opening New Doors: Installing an Exterior Door
by Patrick Harper - Blood, Sweat, and Sawdust
I started installing an exterior door several weeks ago. However, bad weather and other projects sidelined me. With the door installed, I couldn’t imagine the shop without it.


I completed the door framing about two weeks ago. I purchased the door before getting started, so I could take measurements and test fit the door in the new opening. I installed my jack-stud / king-stud combinations before removing any of the existing framing. The gables run parallel to this section of the wall, so a temporary wall wasn’t necessary. Still, I hurried to install the header and cripple studs. I made the header ahead of time using two pieces of 2×10 and half-inch plywood.
Removing the old studs was the most difficult part of framing. I couldn’t cut the old nails from behind the studs without destroying the sheathing. I ended up cutting through the studs in several places with a reciprocating saw. Then, I carefully pried them away from the wall. The siding wasn’t in the best shape, so a few nails pulled all the way through. More on this later.


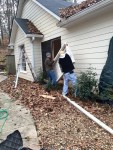
With the framing complete, it was just a matter of cutting the opening and installing the door. Rarely, are things this simple. The discovery of some bad siding, resulted in hiring a professional to complete the job.
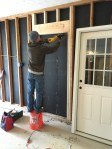
The crew started cutting the opening from the inside using the frame as a guide. Then, the door is temporarily installed in the opening. Using the brick-mold as a guide, they traced around the door frame with a pencil. Then, they used the pencil marks as a guide to cut the siding, so that the brick mold sits flush with the wall. We used Z-trim, flashing, and a ton of caulk to make sure the door is water tight. The bad siding was replaced with Hardie Plank.
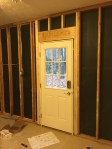

With the new door secured to the framing, I installed the lock-set and door-latch. I decided to go with an electronic keypad dead-bolt. The interior half of the lock was too wide and I had to trim some of the window molding with a razor. Aside from that small hiccup, everything went well.
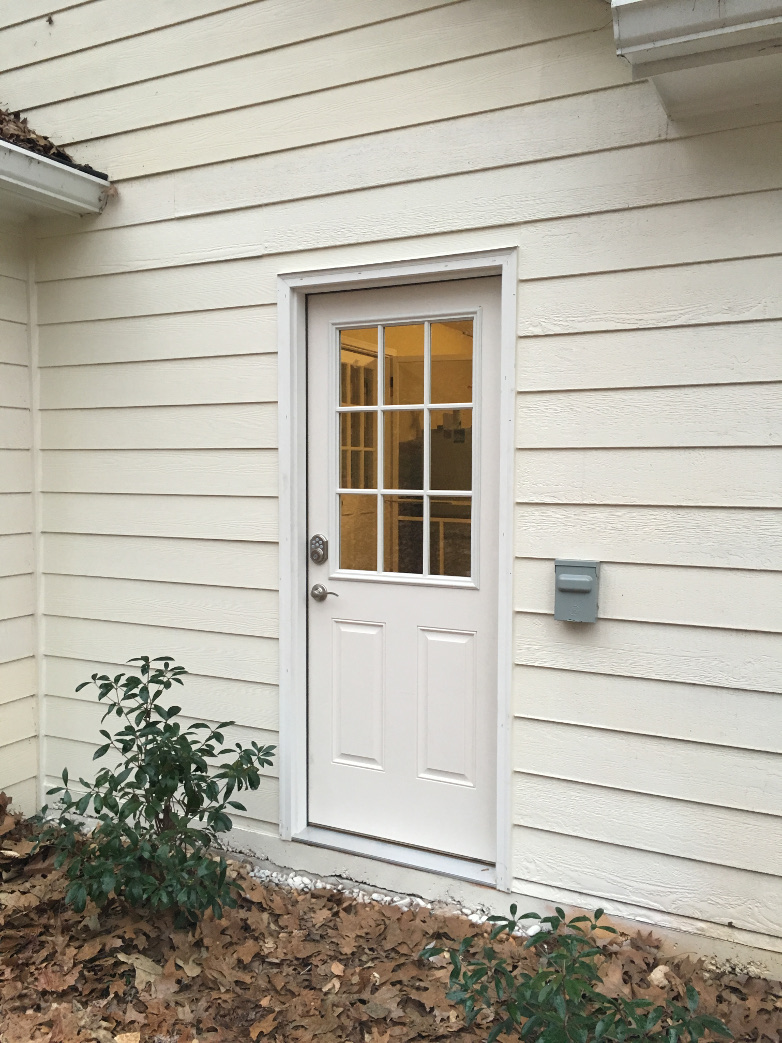
The natural light and easy access to the outside were well worth the effort. Installing an exterior door isn’t usually difficult if you do your research.
Stay tuned. The photos are courtesy of my beautiful wife Melissa. Check her blog out at http://sewsassycreations.com/
For the rest of the workshop build, check out the garage workshop build index.
