The Tree Journal – American Beech (Fagus grandifolia)
Fagus grandifolia is more commonly know as American Beech. It grows quite large, and produces excellent lumber. You will find fagus grandifolia as far north as southern Canada and as far south as northern Florida. However, you will rarely find it west of the Mississippi river.
Description
American Beech typically reaches heights between 60 and 120 feet. It produces dark-green leaves with an oval shape. The leaves are sparsely toothed and 2.5 to 5 inches in length. In the fall, the leaves turn apricot and are reluctant to fall. In fact, the leaves often remain throughout the winter. American Beech is monoecious, which means that it produces flowers of both sex. In the fall, it produces small nuts in pairs. These nuts have a distinctive, spiny husk. One interesting thing about Beech is that it reproduces via root sprouts as well as seedlings.
Beech prefers shaded areas. You will usually find it in forests and along trails. Additionally, it sets itself apart from other trees by its distinctive bark. The bark is silver-gray and very smooth. In fact, hikers often target the tree as a canvas for carving initials.
-
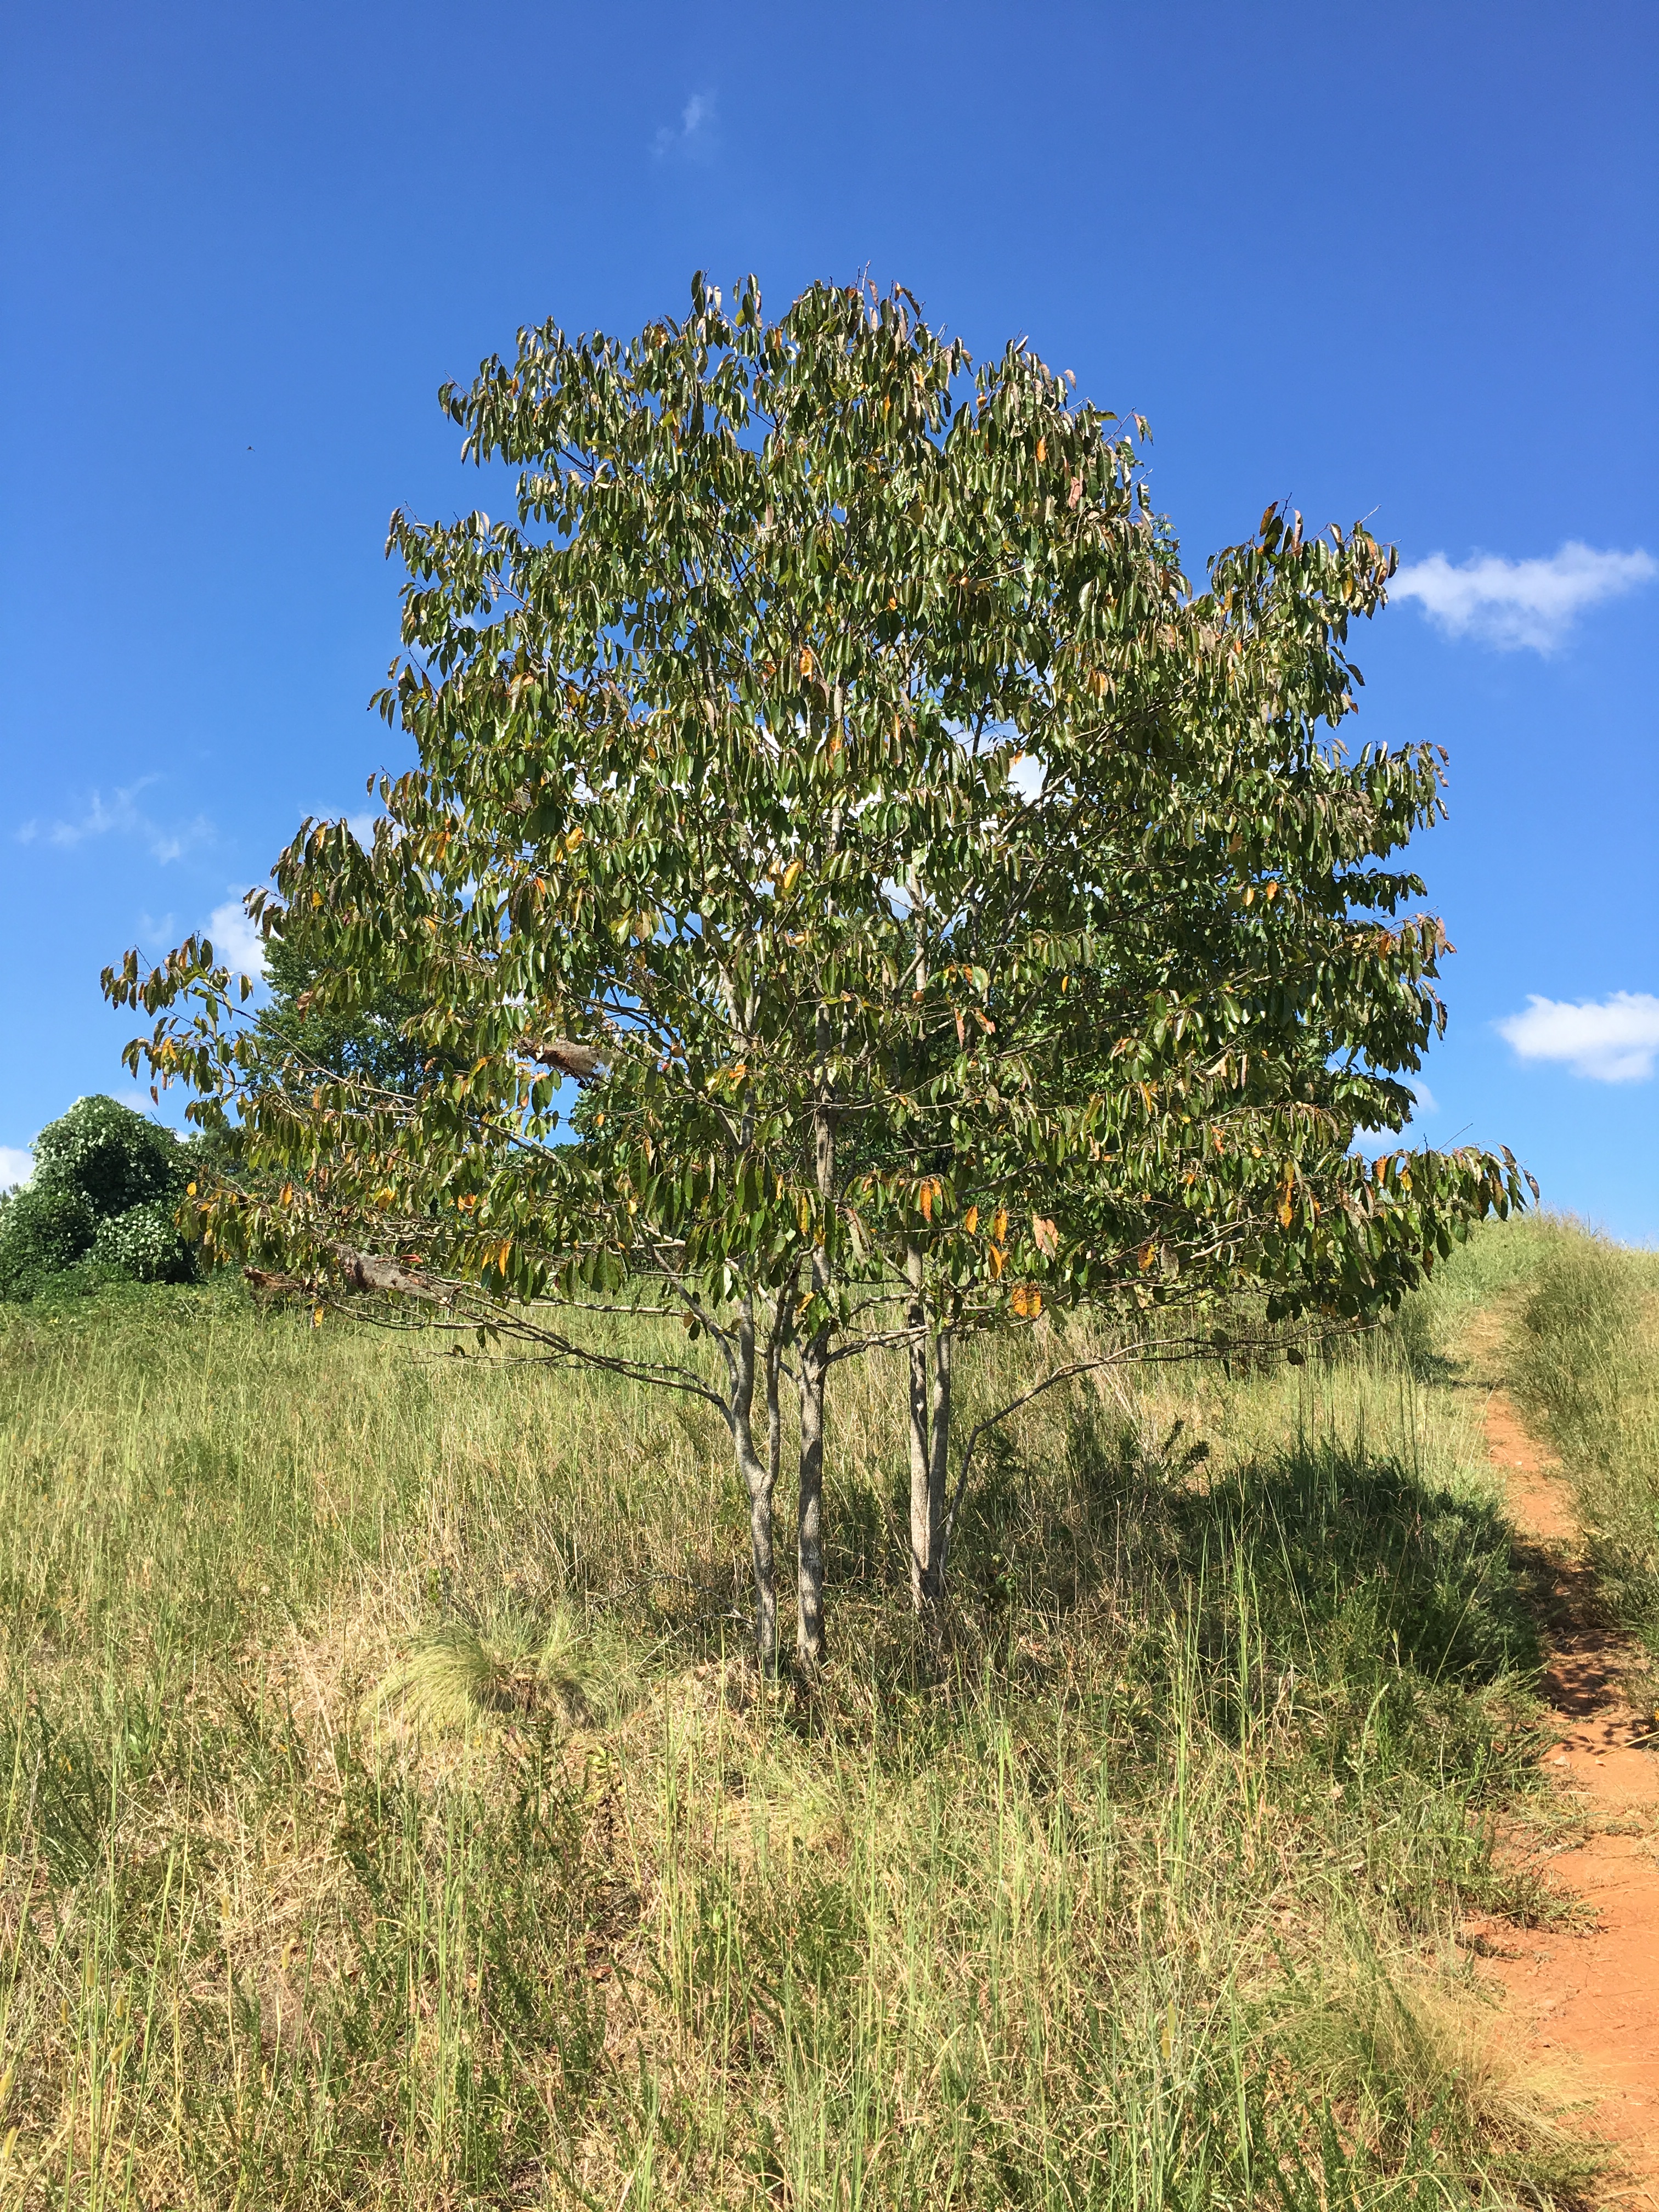
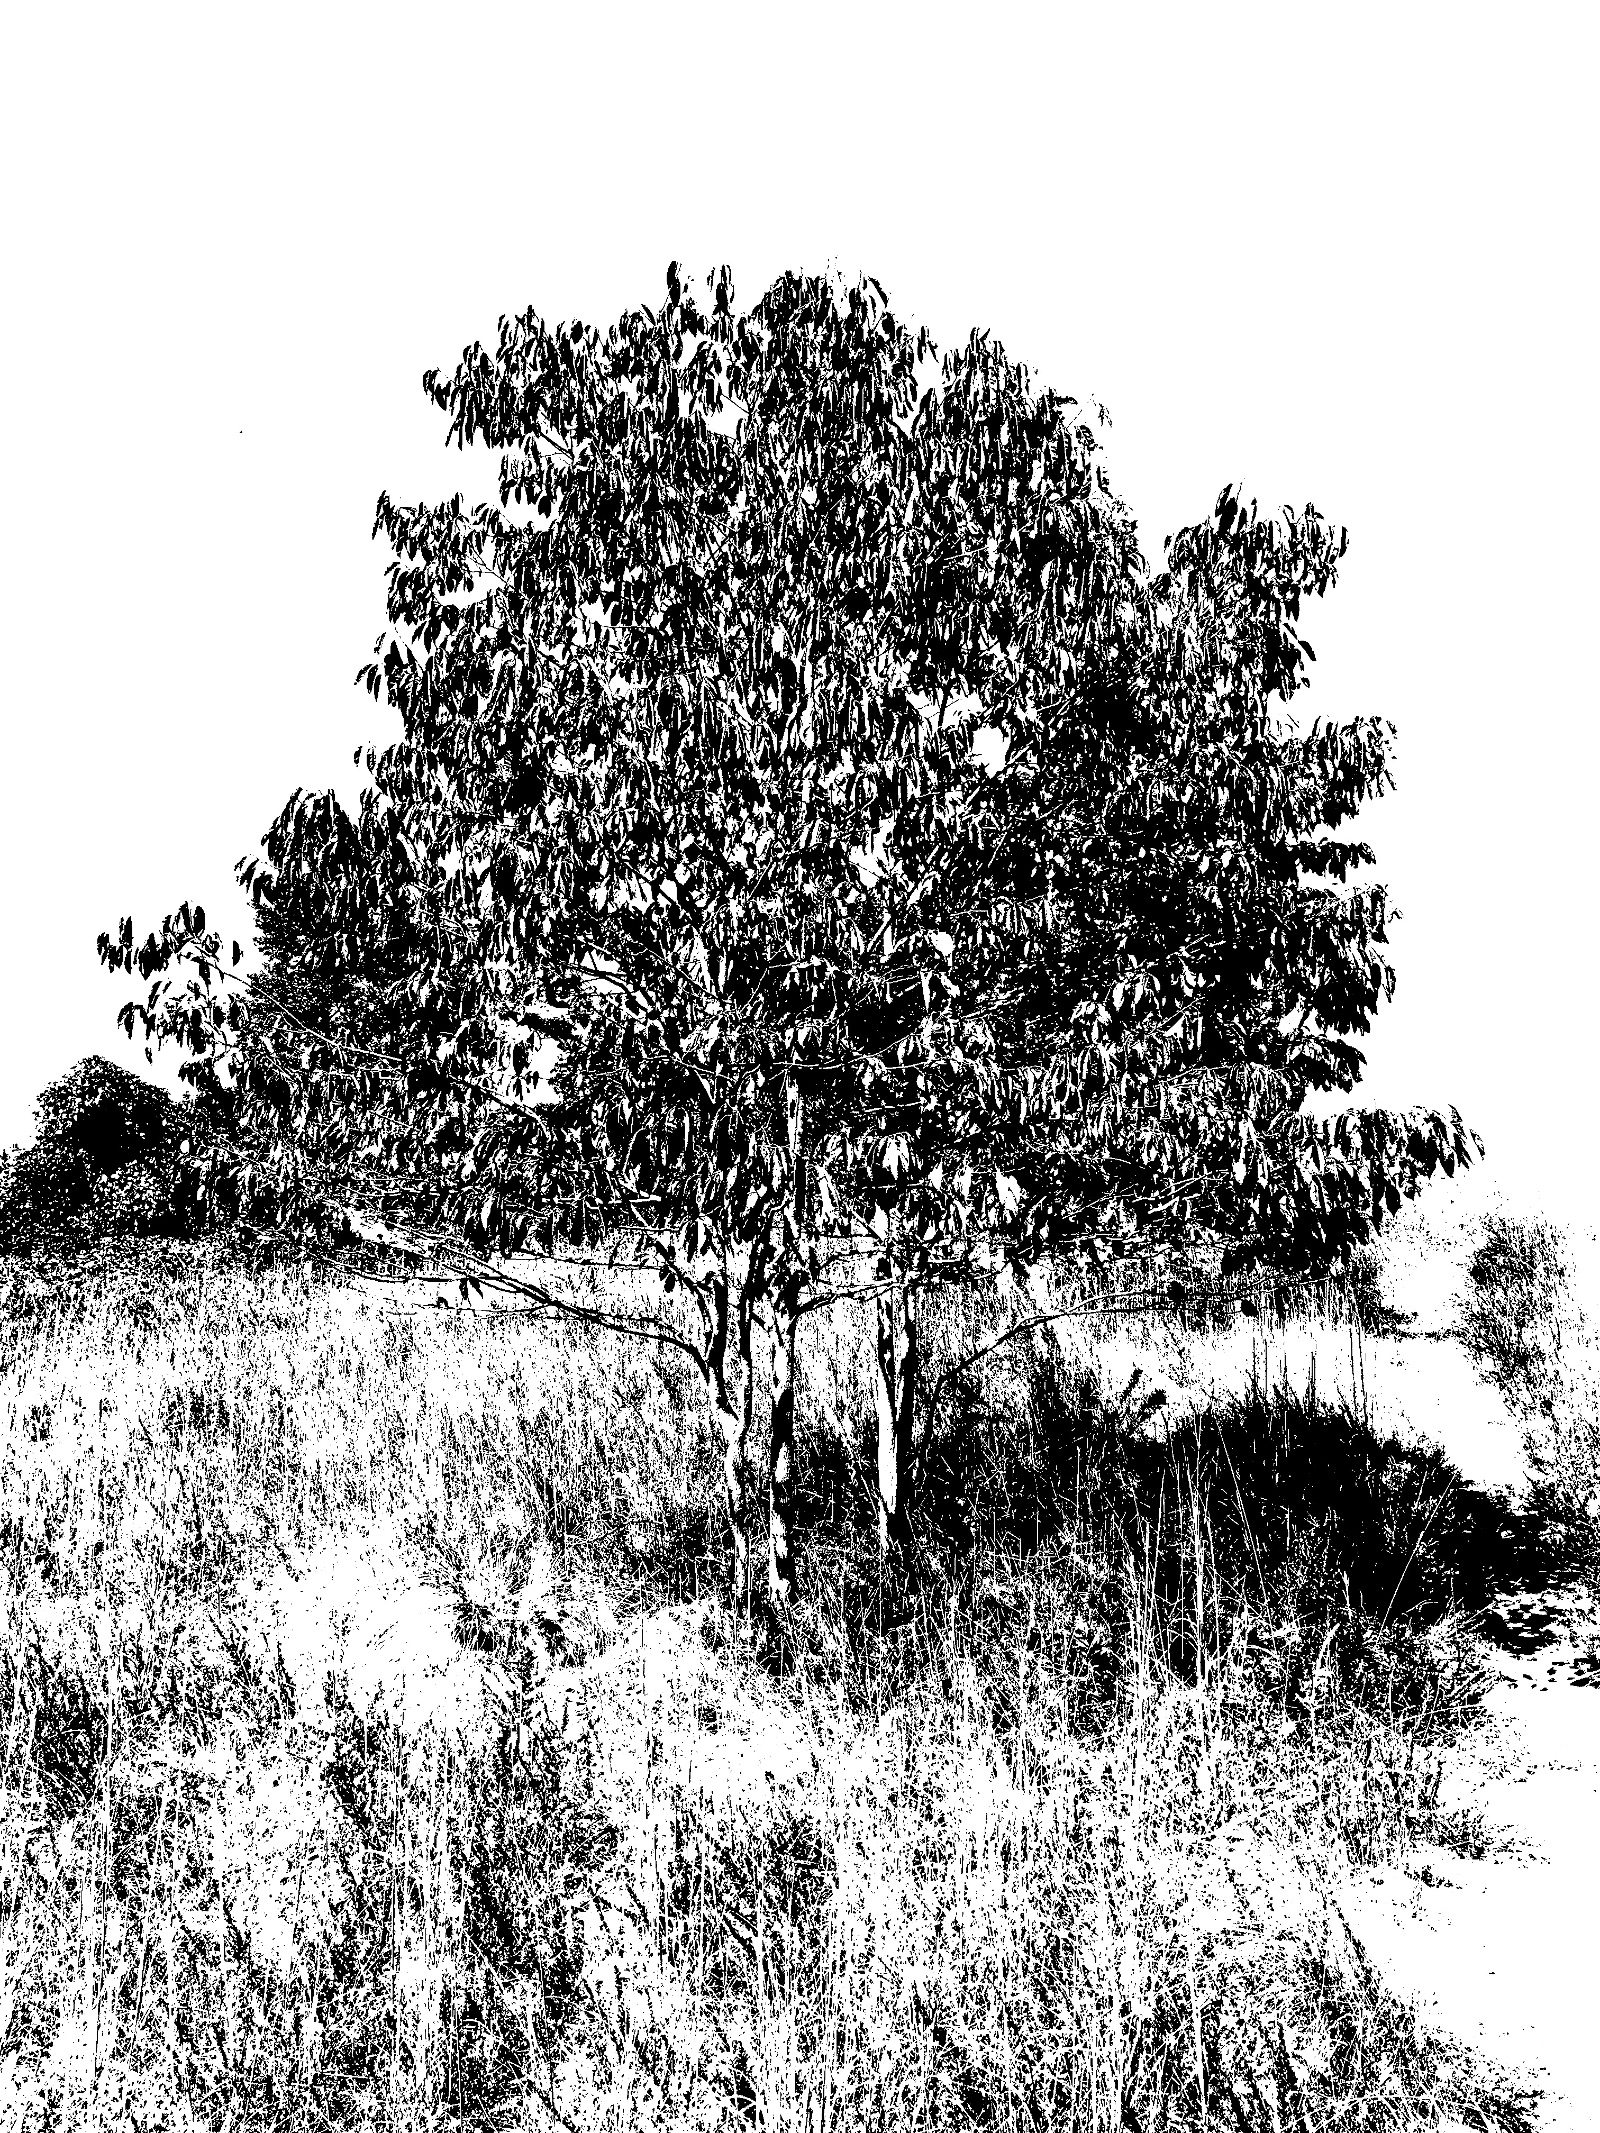
- The American Beech.
-

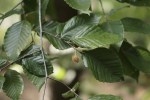
- Beech leaves often survive the winter
-

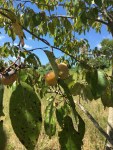
- The beech nut with it’s unusual shape.
-

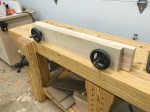
- Hikers often carve the smooth bark.
Use for Woodworkers
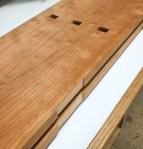
American Beech is straight grained with a pale-cream color. It is diffuse porous with a fine to medium texture. Though hard, Beech is perishable and susceptible to infestation. Beech responds well to steam bending. However, it moves quite a bit with fluctuations in humidity. Additionally, Beech is quite affordable due to its wide availability at lumber yards.
Although it makes great lumber, Beech is a go to wood for tool makers. In fact, its cousin, the European Beech, has been the preferred wood for mallets and workbenches for centuries.

Stay tuned for more of the Tree Journal.