Blood, Sweat, and Sawdust

Going against the grain

Tag: Sharpening

Review – The Lie Nielsen Honing Guide

Sharpening is not my favorite task.  I prefer working wood to working tools.  However, now and then you need to grease the machine.  I’m always looking for ways of speeding up the process, so that I can get back to work as quickly as possible.  As a result, I’ve purchased a few sharpening jigs throughout the years.

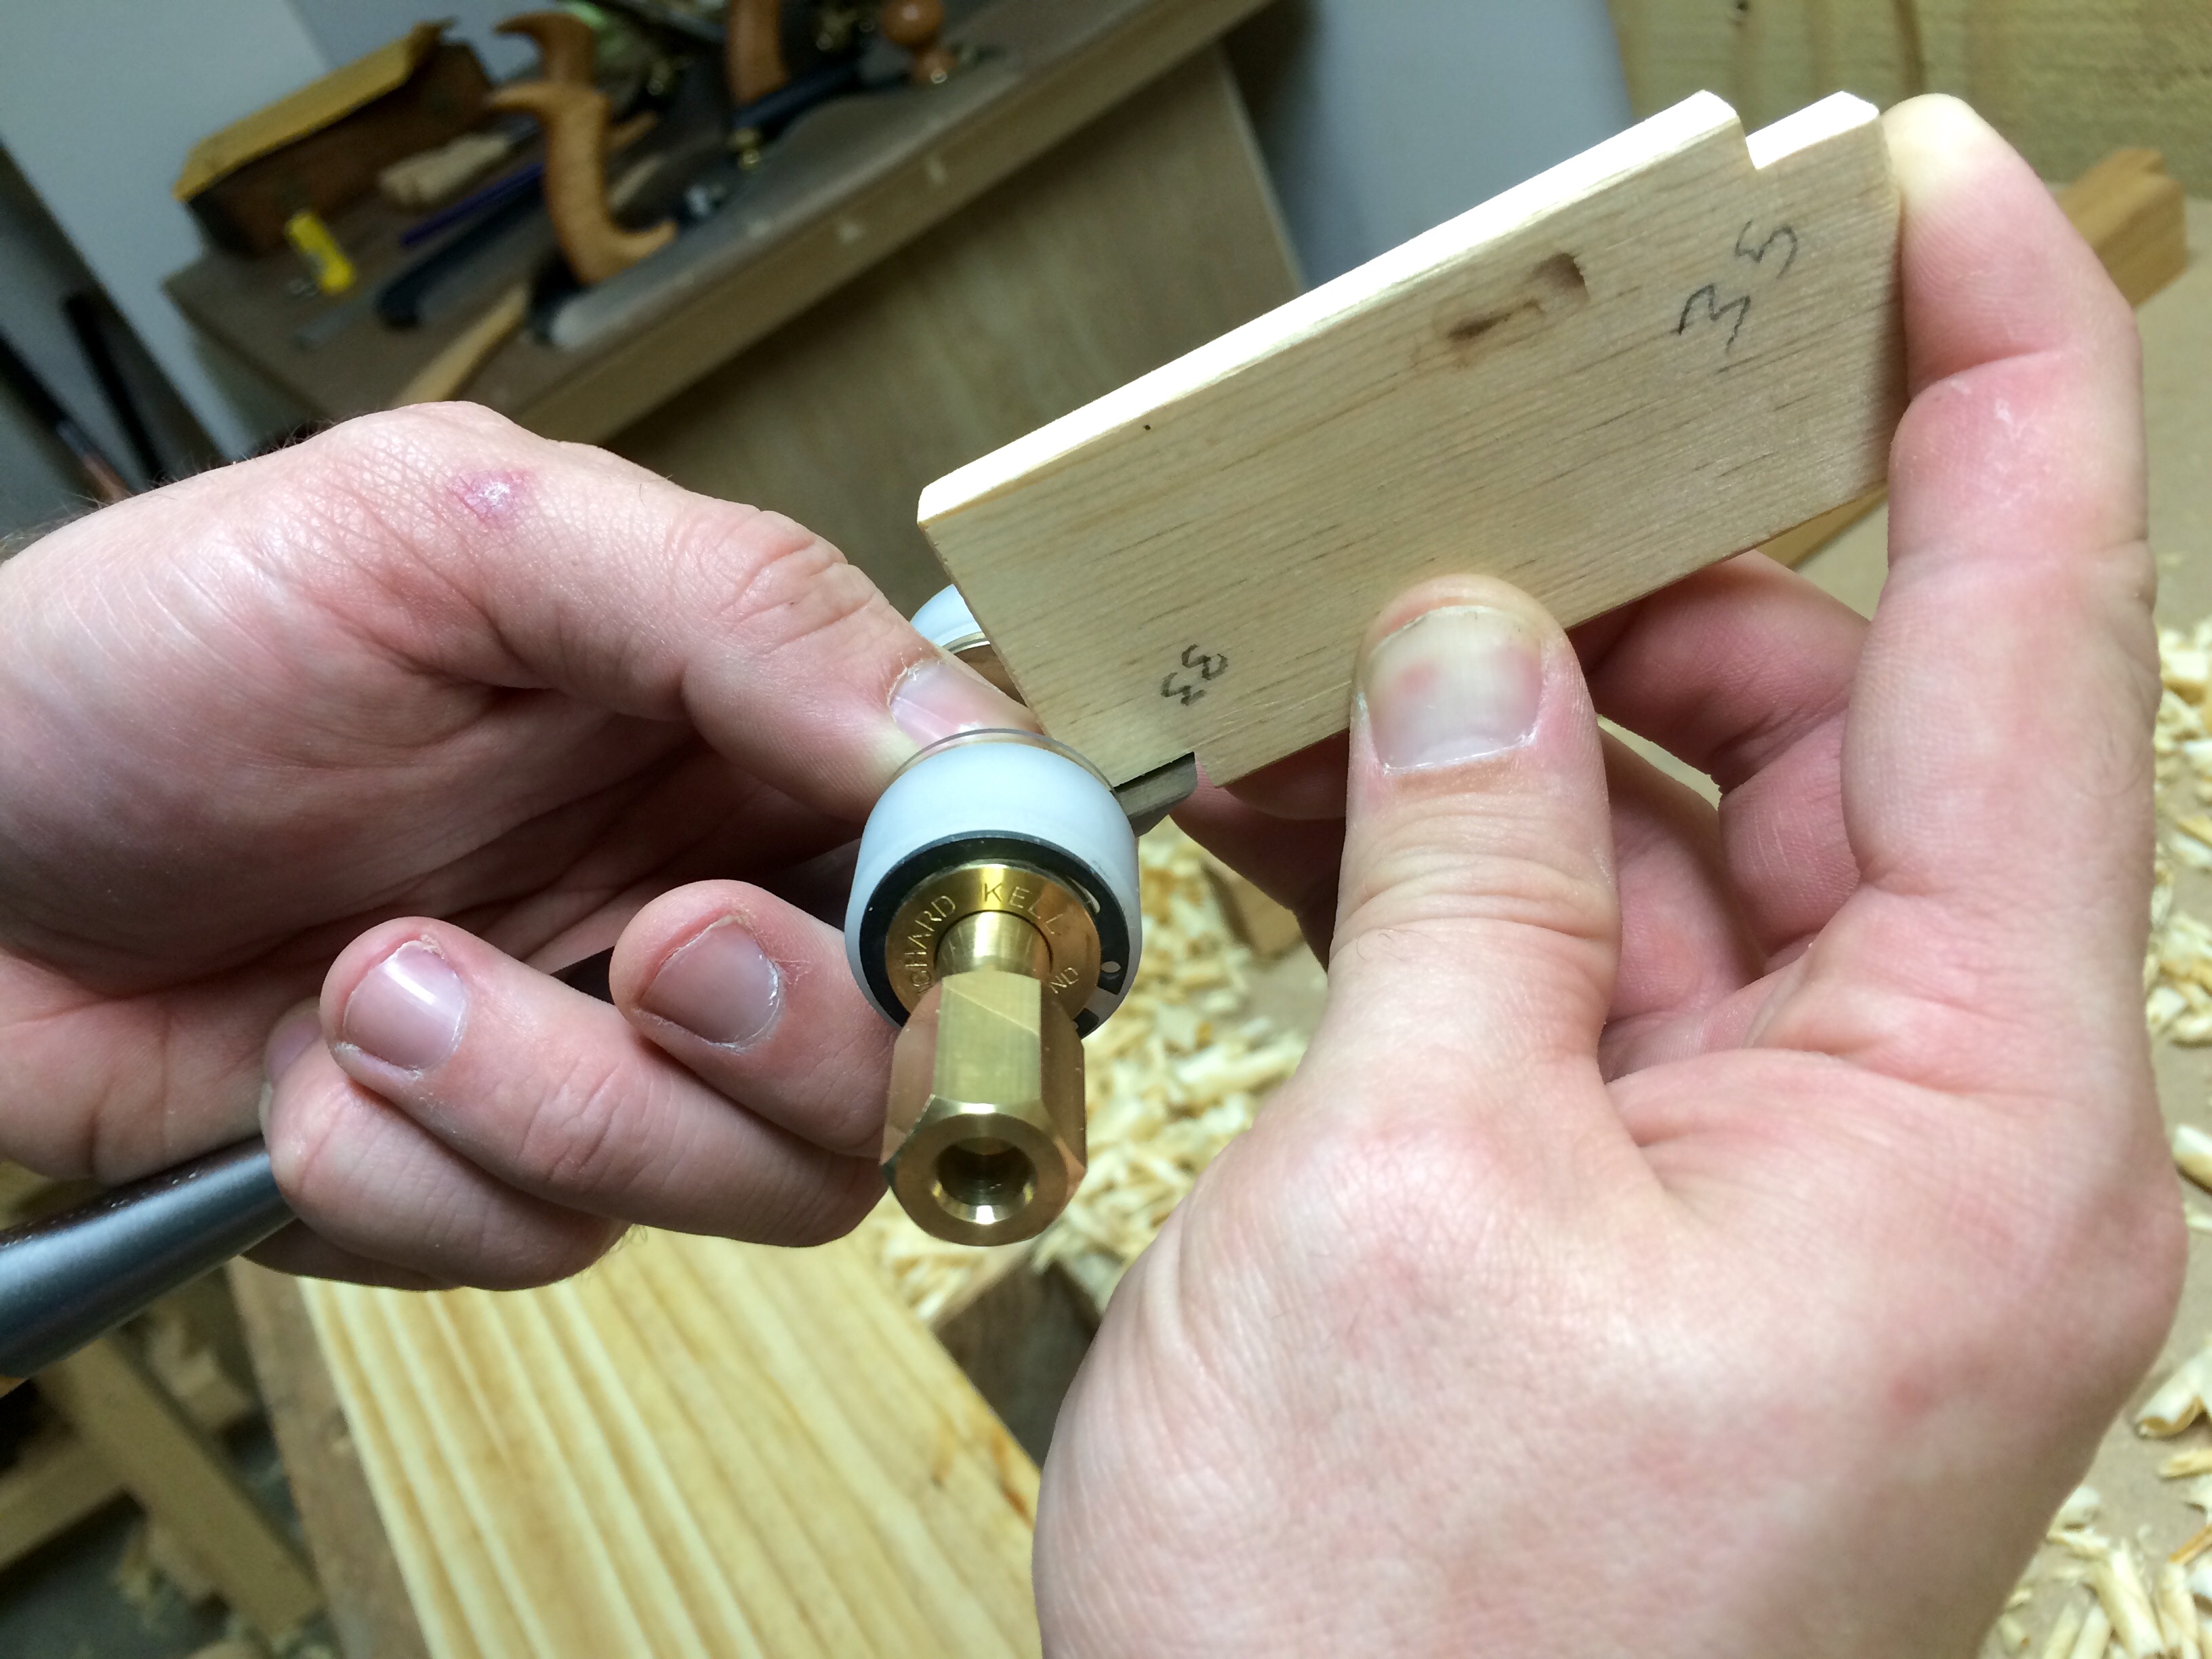
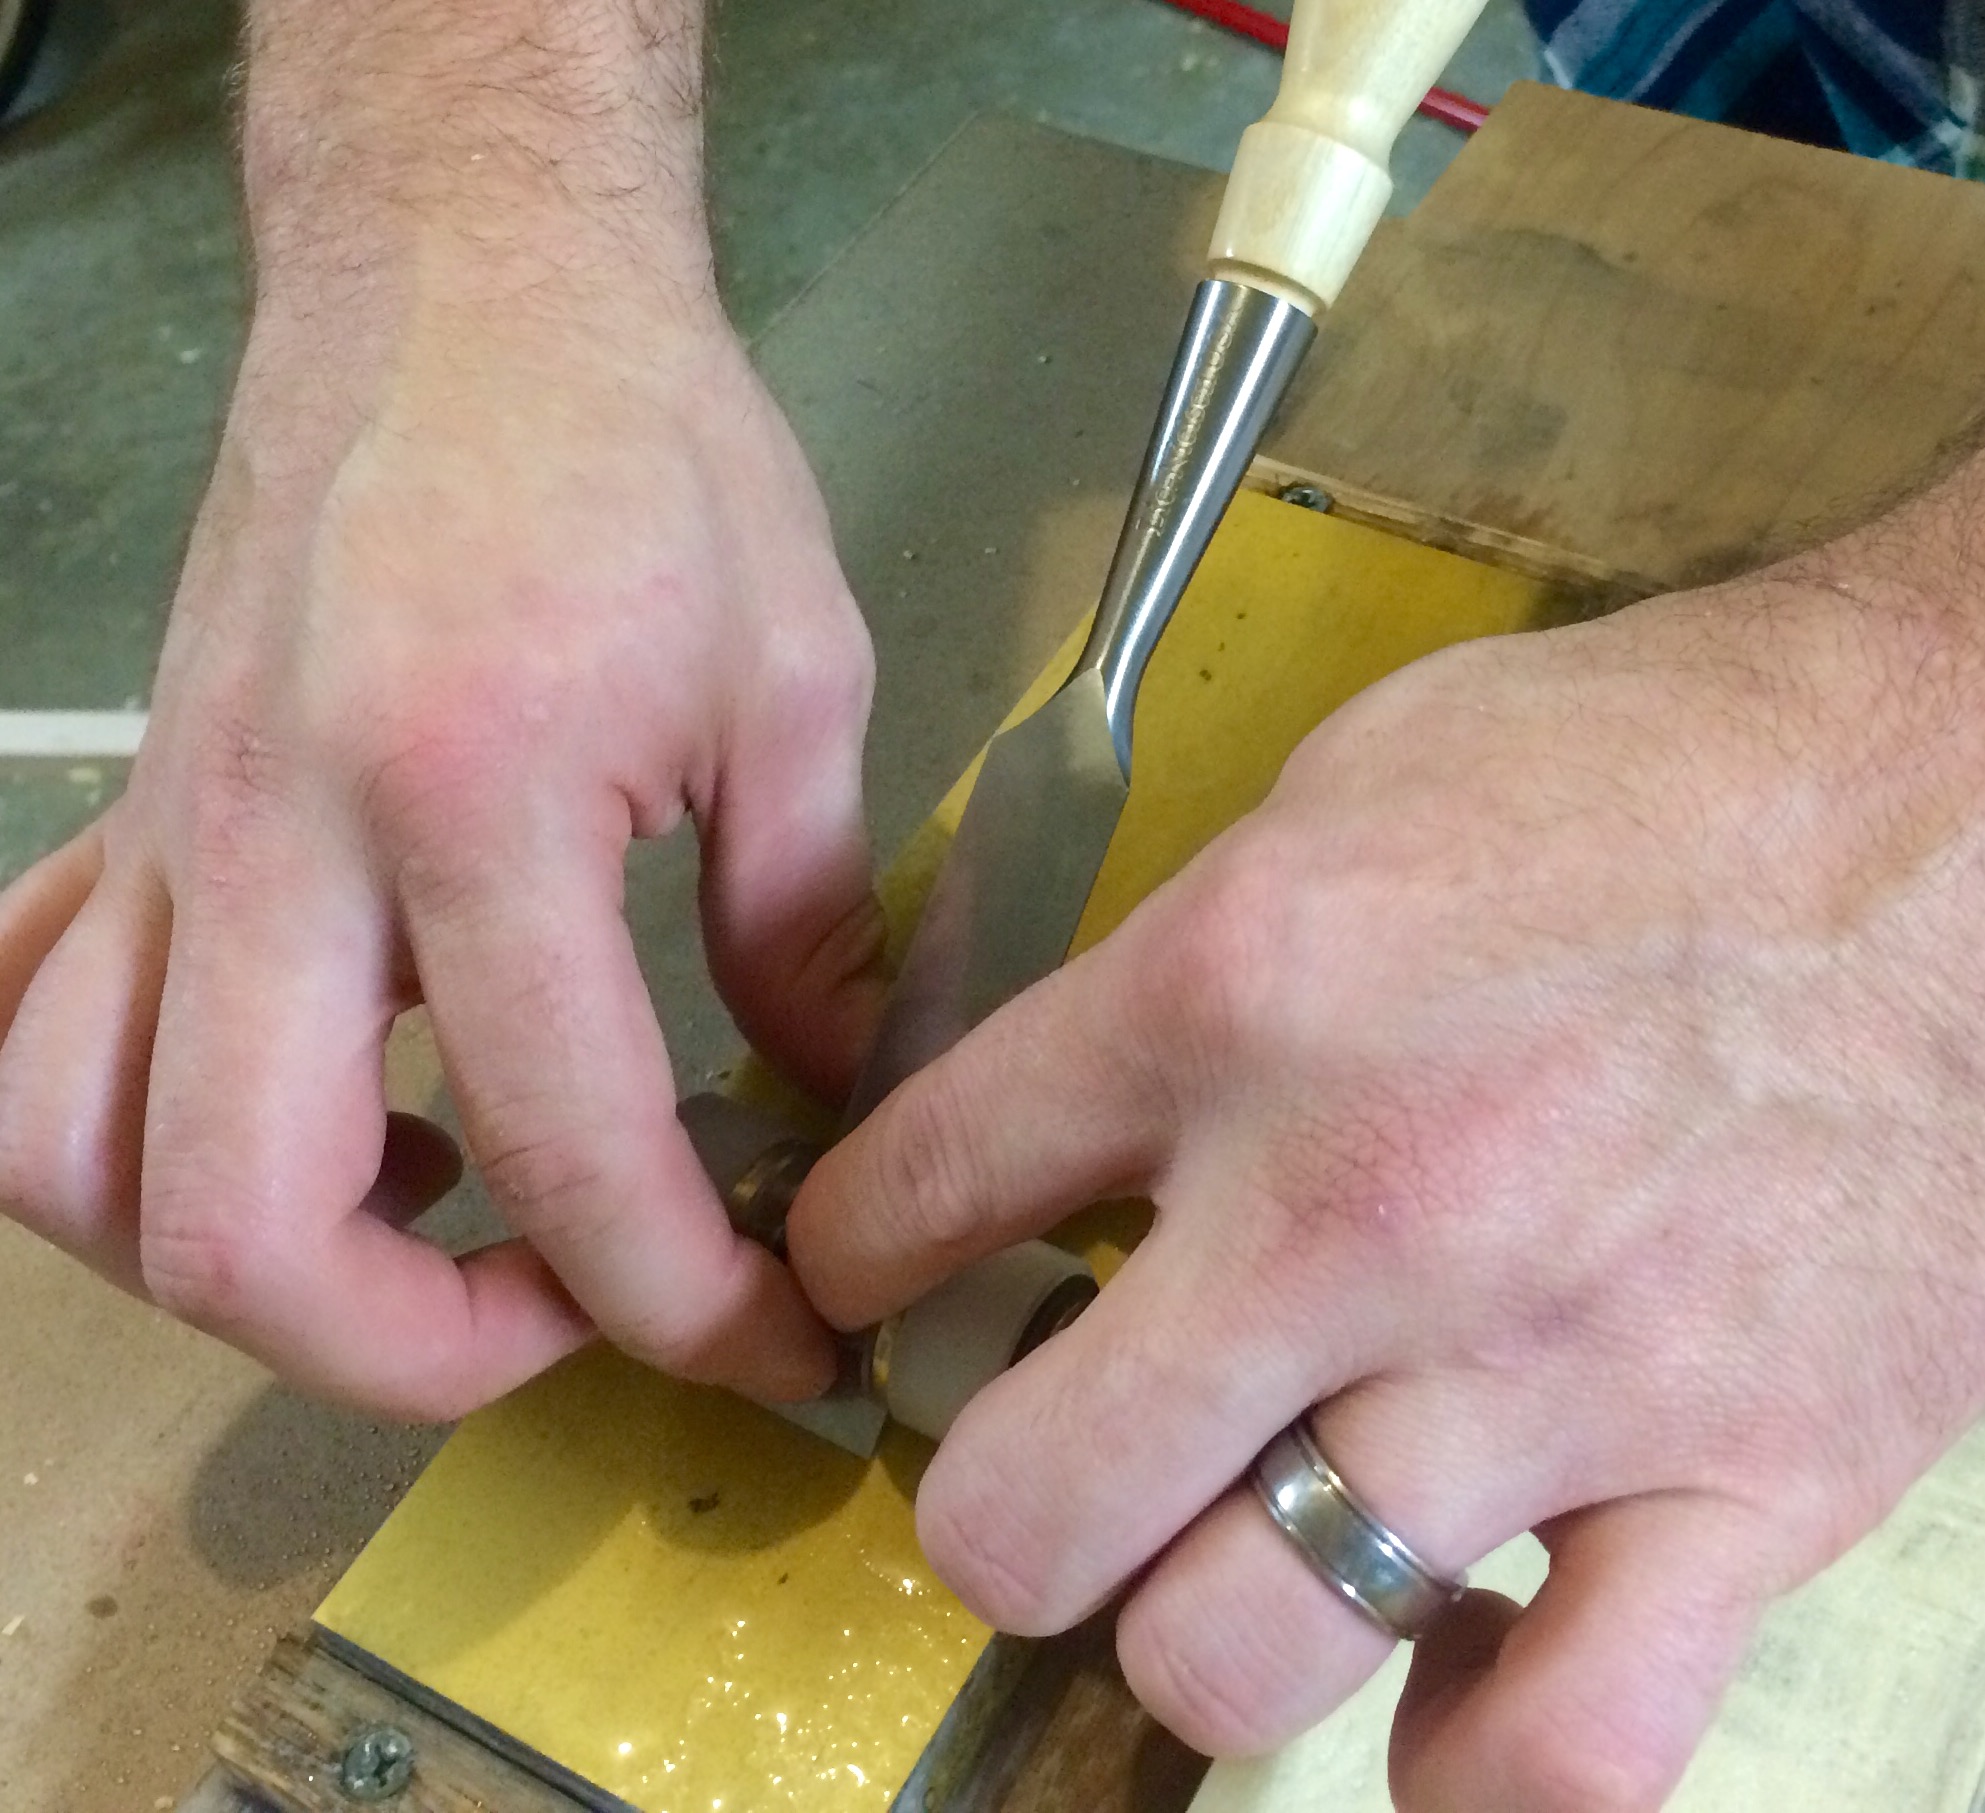
First, it was the Veritas MKII.  It’s a nice jig, but it has a couple of major weaknesses.  Your blades can skew during use, and using the registration jig slows down the process.  So, I sold the MKII and purchased a cheap Eclipse-style side-clamping jig.  This solved the problem of blade skew and worked well for most plane irons.  However, it never held my chisels square and was poorly made.  I kept the Eclipse, but purchased a Kell honing guide for my chisels.  The Kell jig is beautiful and works well for chisels.  Unfortunately, it is difficult to hold with certain blades.  Additionally, it required two different setups for chisels and plane irons.  Enter the Lie Nielsen honing guide.

img_9405

At first, I hesitated to give it a shot due to its price.  At $125, the Lie Nielsen honing guide is pricey.  Lie Nielsen offers several additional “jaws” to support many different tools.  However, each set costs an extra $25 to $35.  Despite the price of admission, I gave it shot.  I also picked up a pair of their long jaws for use with short irons such as those found in spokeshaves.

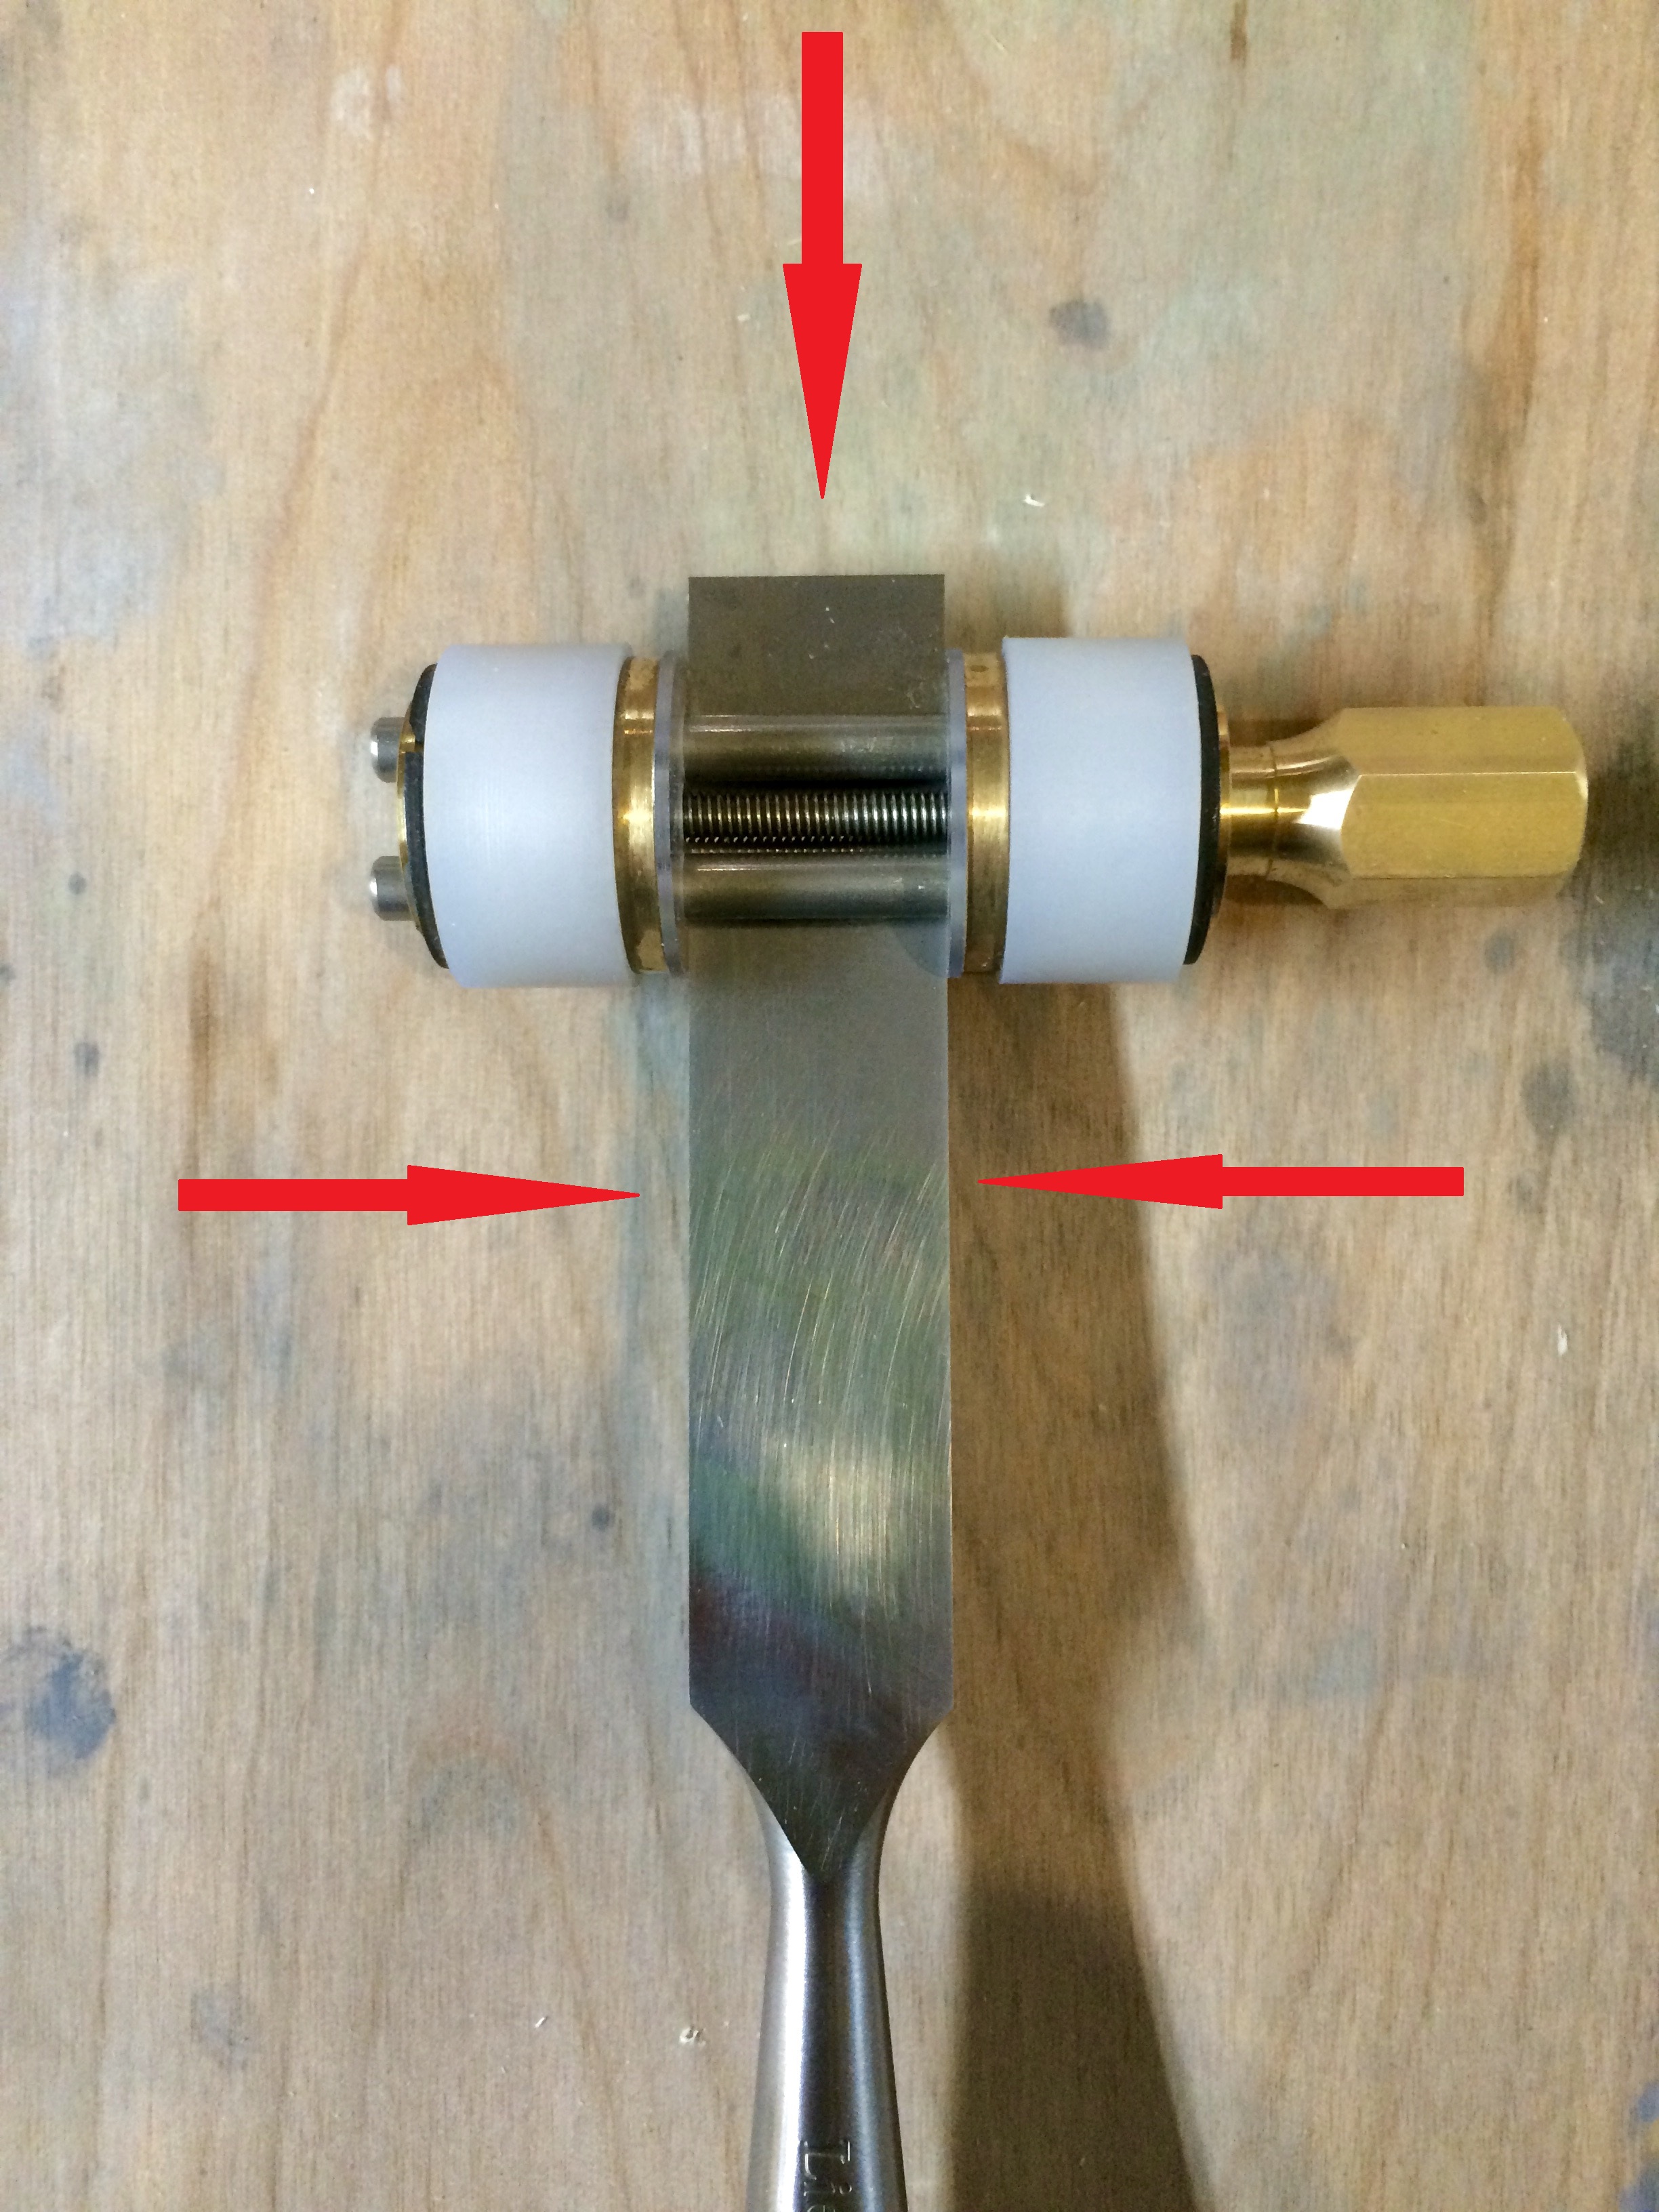
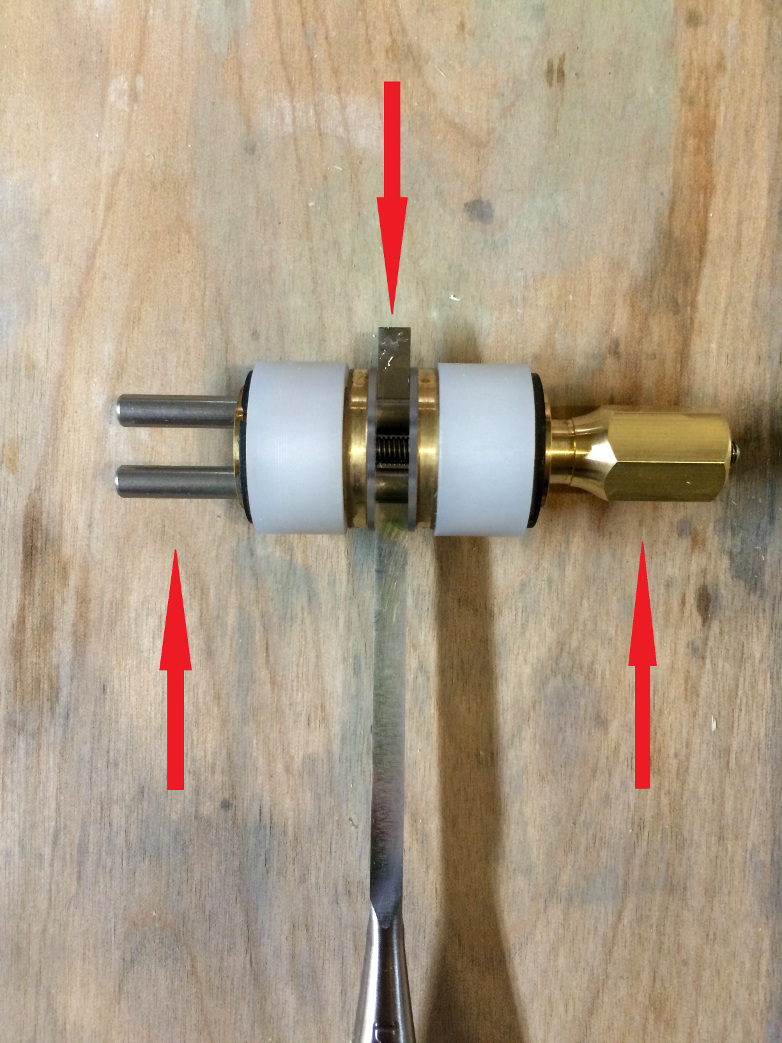
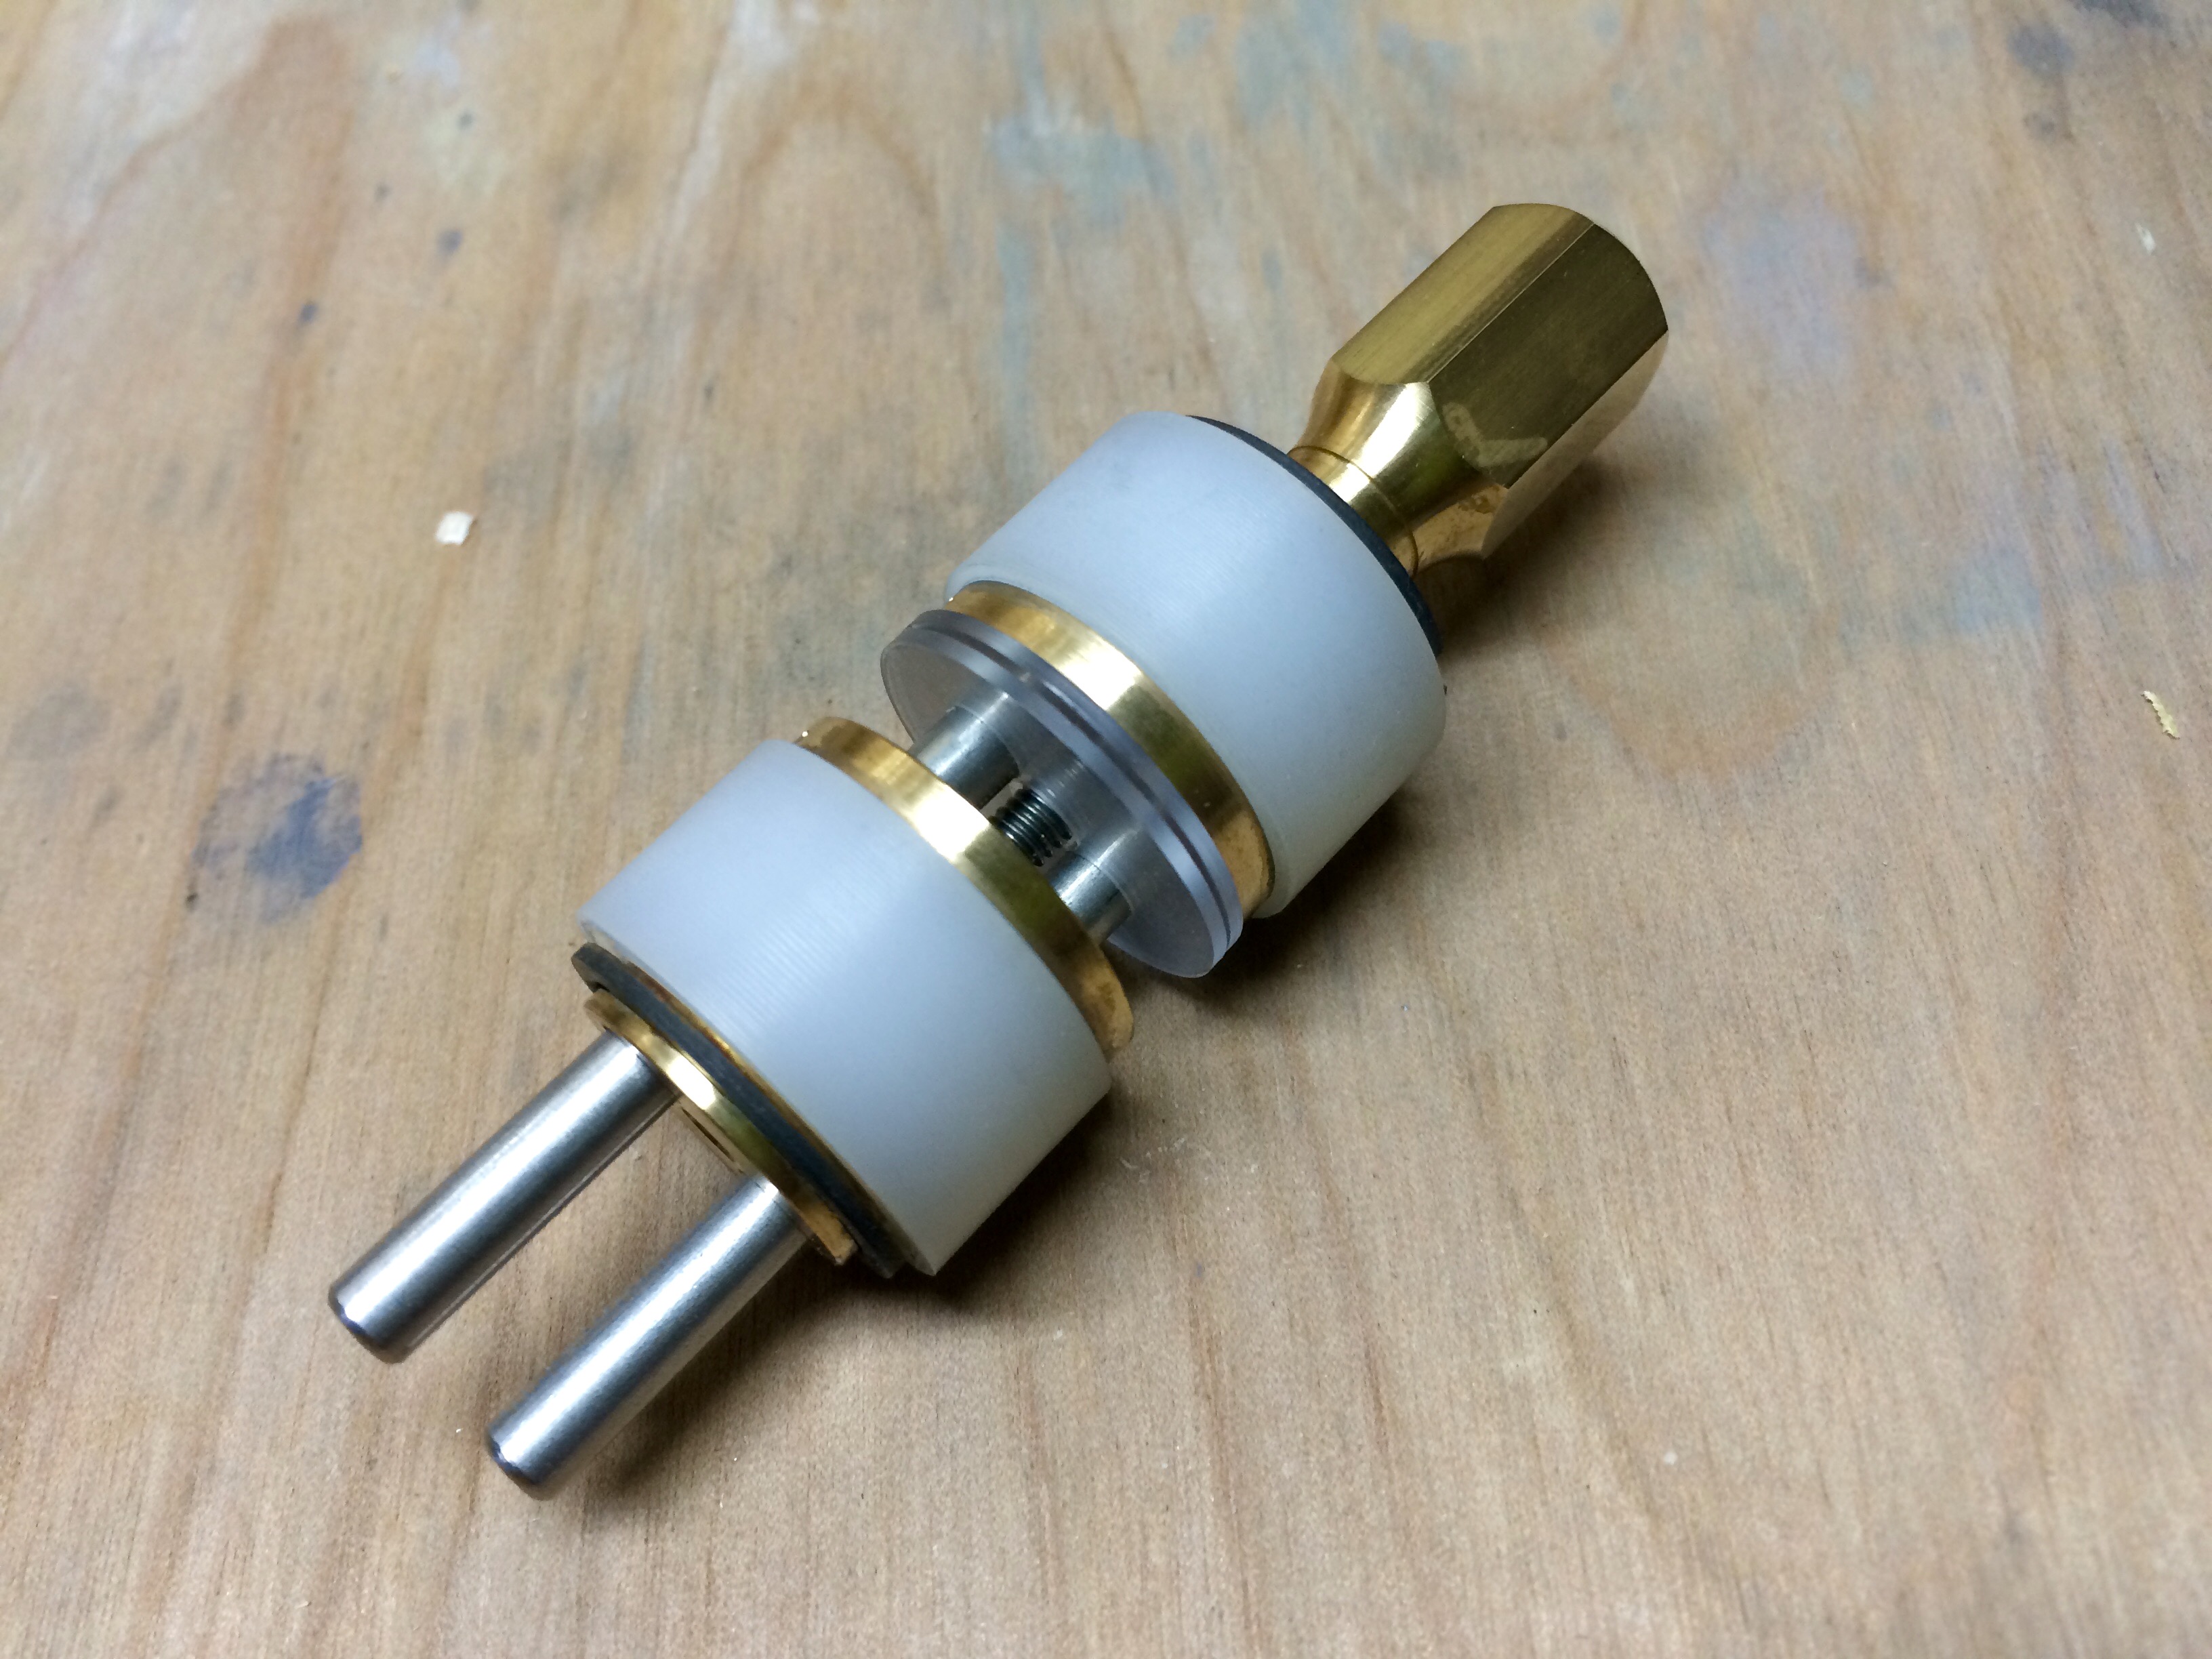
The guide comes packed in a small, clear plastic box with a set of instructions.  The box makes a great place to store the guide out of the elements.  So, I kept it.  Everything on the guide is well made.  Lie Nielsen machines all the parts, the bearings roll smoothly, and there is absolutely no slop.  In use, the guide proves comfortable to use with all of my tools.

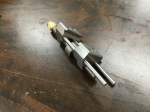
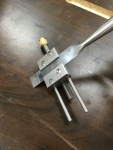
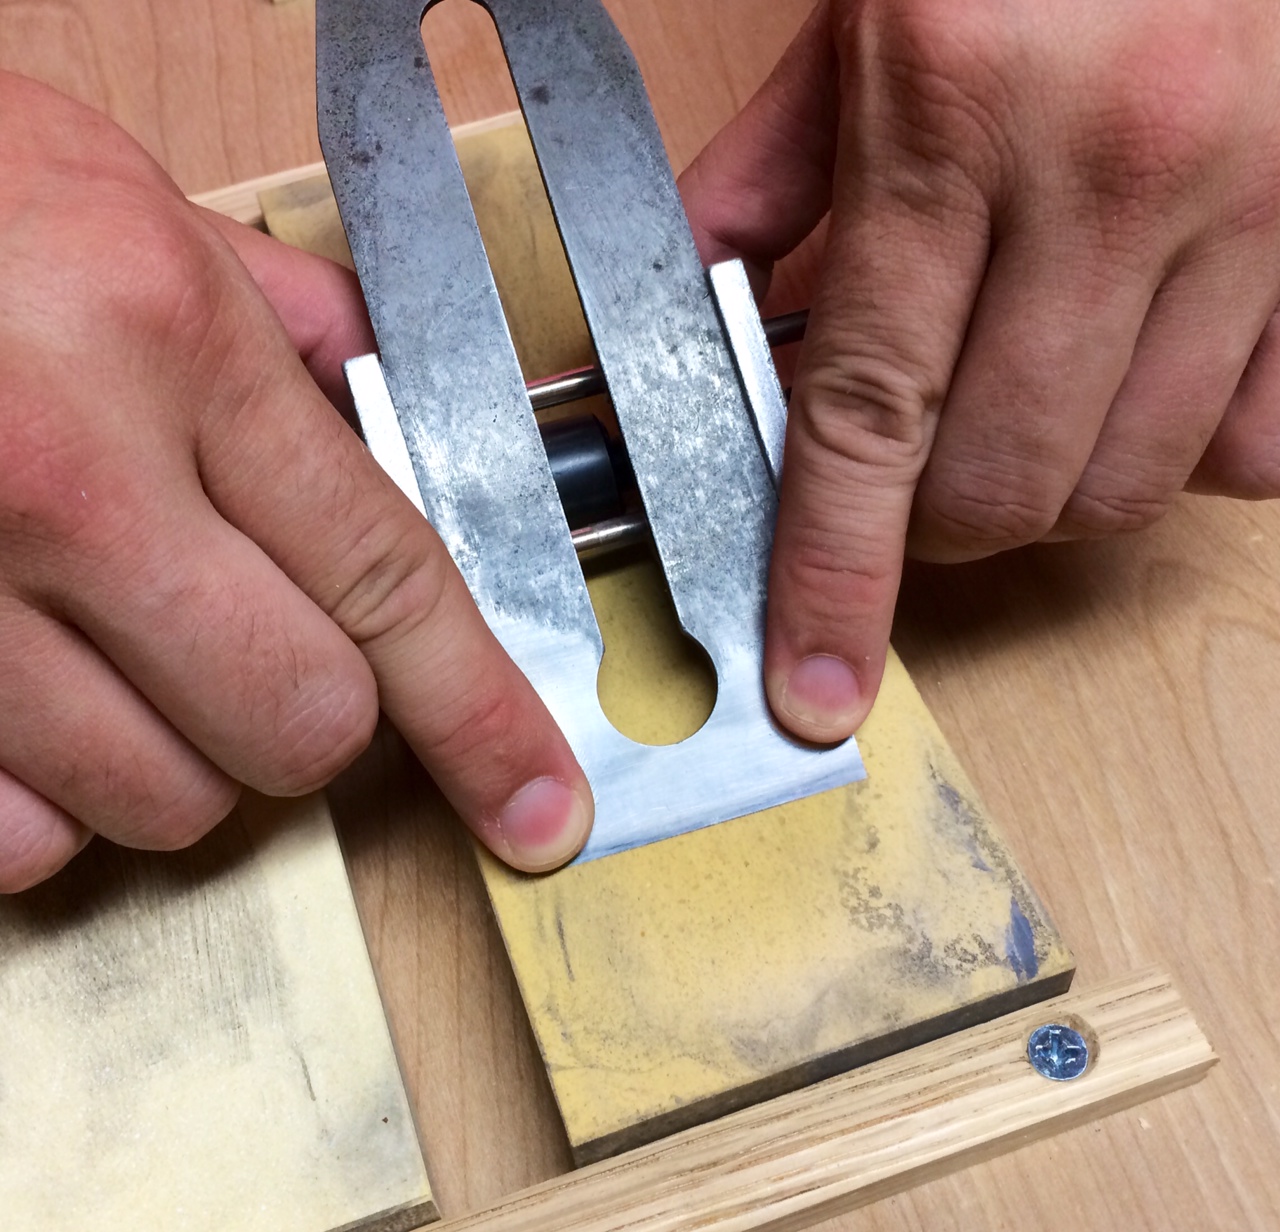
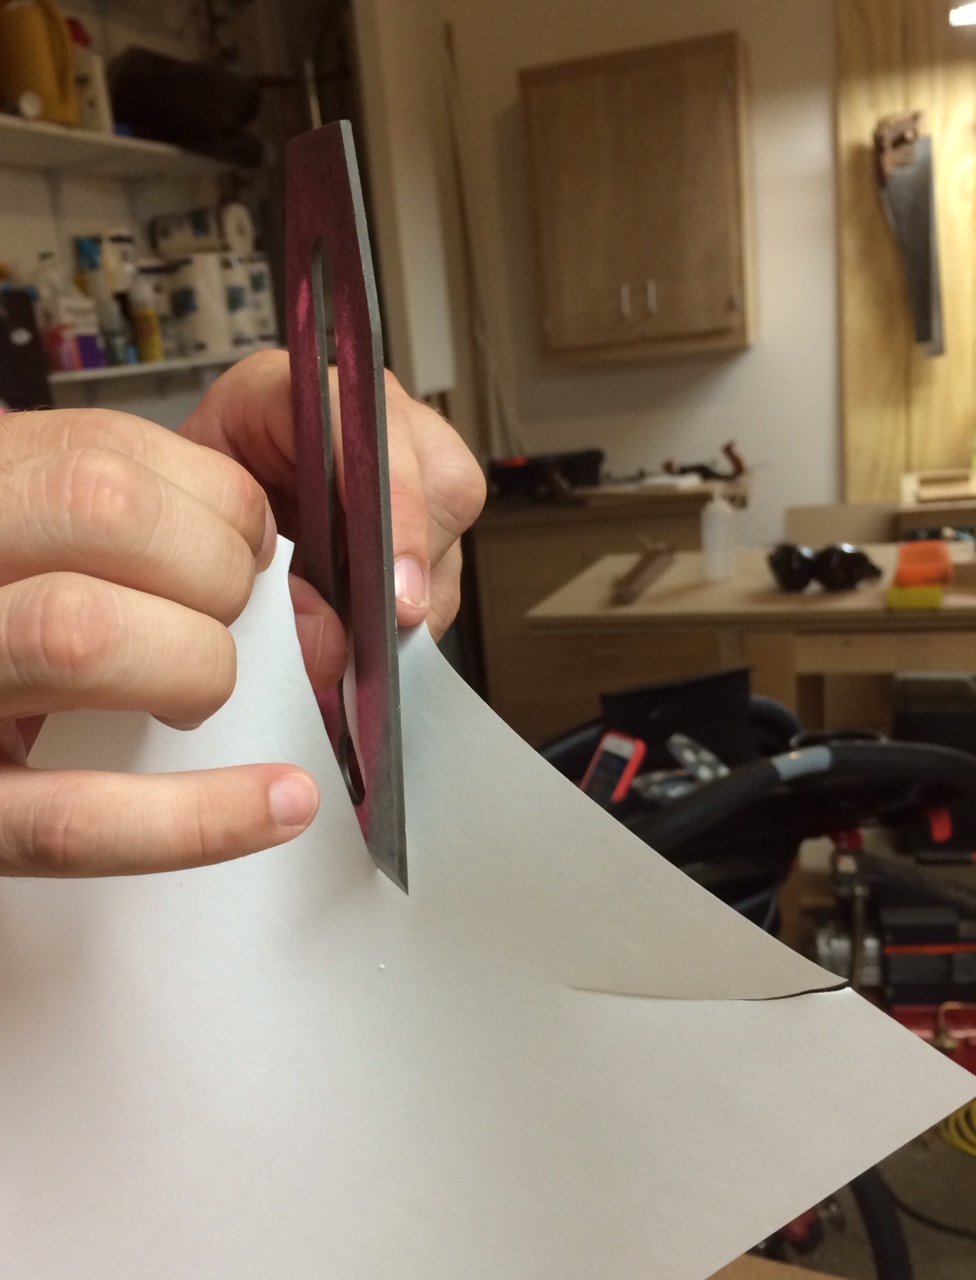
So far, my favorite thing about the guide is that there is only one slot in the jaws.  I use stop blocks to quickly set the honing angle for all of my tools.  So, I now I use the same set of stop blocks for all my tools.  The jig feels like it’s on rails when in use.  However, the narrow wheel allows you to create a cambered edge if that’s your goal.  I might be mistaken, but I believe I am able to pull a burr on a dulled edge more quickly with this jig than with others.  If correct, I attribute this to the tight tolerances to which Lie Nielsen manufactures the guide.  Finally, while the various accessory jaws are nice, they do require some fiddling.  It takes a few minutes to swap them out.

In conclusion, the Lie Nielsen honing guide meets all of my requirements.  It easily bests all the other honing guides I have used in the past.  The time and frustration it saves me while sharpening justifies its hefty price.  In fact, it has probably already paid for itself.


How to Use the Kell Honing Guide and Quickly Produce Keen Edges

Realizing that the Kell honing guide was a bit tricky to use effectively, I thought it would be good to write a follow up to my recent review, found here: A Review: The Kell Honing Guide

A registration jig makes setting angles a breeze for the Kell honing guide.

A registration jig makes setting angles a breeze for the Kell honing guide.

The first thing to note is that making a registration jig will make this tool much easier to use. The instructions include a list of measurements to achieve a desired honing angle. The measurements are taken from the edge of the blade to the first registration bar. My registration jig is nothing more than a simple piece of scrap, slightly thinner than my narrowest chisel. This allows me to register the edge in one of two notches I cut, and slide the jig back until it touches the registration bar on the honing guide. Each notch represents a different honing angle.

Holding the guide for small chisels

Holding the guide for small chisels

Red arrows indicate where to hold guide.

Red arrows indicate where to hold guide.

To hone my narrowest chisels, I am able to hold on to the end of the registration bars to the left, and the adjustment knob on the right. I apply pressure to the edge using on finger and draw the entire guide back.

Holding the guide for wide chisels

Holding the guide for wide chisels

Arrows indicate where to hold the guide

Arrows indicate where to hold the guide

On my widest chisels, the registration bars aren’t available to grasp. Instead, I apply pressure to the edge with my index fingers, and pressure to the back of the blade (just above and behind the honing guide) with my thumbs. This locks the whole assembly in place, despite not really touching the guide itself. Chisels in between, are even easier to deal with.

I didn’t find it too difficult to get used to these modified techniques and would still highly recommend the Kell honing guide for chisels.  It may look odd to hold in the pictures, but it is actually quick, easy, and comfortable.  In both cases, I simply draw the guide back towards myself.  I lift sightly on the return to prevent gouging.  In most cases it only takes 10 or so swipes to produce a burr.  This, in part, is owed to the fact that the Kell guide makes it easy to produce consistent swipes across the stone and holds the chisel dead square.

Using the Kell Honing Guide to Quickly Produce Keen Edges

Realizing that the Kell honing guide was a bit tricky to use effectively, I thought it would be good to write a follow up to my recent review, found here: A Review: The Kell Honing Guide

Using the Kell Honing Guide

A registration jig makes setting honing angles a breeze

Using the Kell honing guide takes some getting used to, but is a breeze once you become acquainted.  The first thing to note is that making a registration jig will make this tool much easier to use. The instructions include a list of measurements to achieve a desired honing angle. The measurements are taken from the edge of the blade to the first registration bar. My registration jig is nothing more than a simple piece of scrap, slightly thinner than my narrowest chisel. This allows me to register the edge in one of two notches I cut, and slide the jig back until it touches the registration bar on the honing guide. Each notch represents a different honing angle.

Holding the Kell Guide with small chisels

Holding the Kell Guide with small chisels

Red arrows indicate where to hold the Kell Guide

Red arrows indicate where to hold the Kell Guide

To hone my narrowest chisels, I am able to hold on to the end of the registration bars to the left, and the adjustment knob on the right. I apply pressure to the edge using on finger and draw the entire guide back.

Holding the Kell Guide for large chisels

Holding the Kell Guide for large chisels

Red arrows indicate where to hold the chisel

Red arrows indicate where to hold the chisel

On my widest chisels, the registration bars aren’t available to grasp. Instead, I apply pressure to the edge with my index fingers, and pressure to the back of the blade (just above and behind the honing guide) with my thumbs. This locks the whole assembly in place, despite not really touching the guide itself. Chisels in between, are even easier to deal with.

I didn’t find it too difficult to get used to these modified techniques and would still highly recommend the Kell honing guide for chisels.  It may look odd to hold in the pictures, but it is actually quick, easy, and comfortable.  In both cases, I simply draw the guide back towards myself.  I lift sightly on the return to prevent gouging.  In most cases it only takes 10 or so swipes to produce a burr.  This, in part, is owed to the fact that the Kell guide makes it easy to produce consistent swipes across the stone and holds the chisel dead square.

A Review: The Kell Honing Guide

The Kell Honing Guide

The Kell Honing Guide

I’ve probably been down every sharpening rabbit hole that exists. I’m always searching for the ultimate in terms of edge maintenance. It’s not all about the keenest edge possible. For me, it’s just as important to have a system that’s quick and easy to use. I’ve had a great system for my plane irons for a while. However, I’ve never been satisfied with the various systems I’ve tried for chisel maintenance.

For a while, I used the Veritas Mk II honing guide. It worked great, but that was fussy and took too long to setup. I turned to a cheap Eclipse knock-off guide to simplify setup. I still use it for my plane irons, but it tends to skew my chisels and doesn’t work for my narrowest blades. Next, I braved the world of free-hand sharpening. I had consistency issues, and felt that I had to regrind more often. This is due to the fact that you’re removing material from both the edge and the heal of the bevel instead of just the edge. It was about this time that someone recommended the Kell honing guide.

Stop block for setup

A simple stop block from a piece of scrap makes setup a piece of cake.

I was hesitant at first , due to the initial cost. On a whim, I made the short trip down to Highland Hardware and picked one up. I quickly fell in love. Using a simple stop block, it’s every bit as simple as the Eclipse style guides. It’s exceptionally well made, and always holds my blades square. It even works with my 1/8th inch chisel. My only complaint is that the design limits you to using the center part of your sharpening stones. As a result, beware of uneven stone wear and keep on top of your stone maintenance. Did I mention that this thing is beautiful?

Kell guide with 1/8th inch chisel

It even works great on very narrow chisels

I have no affiliation with Mr. Kell or Highland Hardware, but the jig can be found here: http://www.highlandwoodworking.com/kellhoningjig1incapacity.aspx

Sharpening: Honing Your Skills

photo 1

The most critical part of sharpening is the honing process. This is where an abrasive is used to bring an edge to a theoretical, zero radius. A mirror polish is secondary. The details of how you get there, aren’t important. What is important is that you get there quickly and efficiently. For example, I recently switched from using a fancy honing guide to a cheap pinnacle style guide. This has greatly simplified setup and reduced the overall time I spend sharpening. The change was a revelation. Just create yourself a series of stop blocks for commonly used angles and you’re ready to go. It’s so easy that I don’t really see much advantage to honing freehand.

photo 2

The angle at which you choose to hone, will depend on the work being done. For general use, I hone to 30 degrees. If I were primarily paring, I might choose 25 degrees. Chopping and mortising might benefit from the durability of a 32-35 degree edge. I like to keep things as simple as possible, so I currently only use two stones: a 1000-grit Shapton and 15000-grit Shapton. The large jump between grits hasn’t been an issue for me yet. The extra time spent at the 15000 is offset by the time not spent at intermediary grits.

photo 4

I start by securing my blade in the guide at the desired angle. I wipe down the edge and guide wheel, and proceed to my first stone. The Shapton’s only need a quick spritz of water on the surface and they are ready to go. I like to place my thumbs on the rear of the guide and my index fingers on the corners of the blade. It’s important to maintain consistent pressure between fingers. From there, it’s just a matter of drawing your guide back and forth across the stone until a burr is raised along the entire width of the edge.

You want to keep your secondary bevel as small as possible to reduce the amount of effort required to hone your edge. Therefore, I only continue until a burr is formed along the entire edge. With a 1000-grit stone, you should be able to feel this with your fingertip or fingernail. Don’t be tempted to remove the burr by hand.

If it’s taking too long to raise a burr, evaluate the primary bevel. One common problem is that the angle of the primary bevel is too close to the angle of the secondary bevel. Another common problem is leaving to large of a flat area after repairing a damaged edge.

Once you’ve successfully raised a burr, wipe off your edge and the wheel of your guide to prevent contaminating your next stone.

photo 5

I begin on my fine stone by removing the burr from the back side of my blade. Then, I repeat the same process I used on my coarse stone. I find that it usually only takes me 10-20 swipes to remove the scratches from the previous stone. A burr will form, but it can be very difficult to detect at this stage. I end the process by removing the blade from the guide and giving the back a few quick swipes. If I’m sharpening a chisel, I leave it flat on the stone. If I am working with a plane iron, I might use the ruler trick. Once finished, I test the blade for sharpness.

photo 3

There are many quick and easy ways to test for sharpness. A sharp blade should easily slice a piece of paper with little more pressure than the weight of the blade. I sometimes test on the back of my thumbnail. A sharp blade will easily catch on the back of my nail under its own weight. Don’t forget to test the entire width of the blade. Carefully running the blade across the tip of my nail will quickly reveal any dull spots.

Don’t hesitate too long to rehone.  A slightly dull blade takes much less time to hone than a really dull blade.  Happy sharpening!

Sharpening: Regrinding a Bevel

securedownload-2

Keeping your tools sharp is paramount to enjoying the time you spend in your shop working wood.  This is even more important to those of us who have limited time to spend in the shop.  If you’re like me, you enjoy building furniture more than you enjoy sharpening your tools.  The best way to minimize the time you spend maintaining your tools is to have a solid game plan and become as efficient as possible.  The only way I know to accomplish this is through practice.

For me, the first step in the process is determining whether a tool needs to have its primary bevel reground, and that is the topic that I want to explore today.  Whether from edge damage or a secondary bevel that’s grown too large, you’ll eventually want to regrind your bevels.  I find that the quickest way to do this is with a hollow grind using a benchl grinder.  Below I will describe the process that I use on my 8″ low speed grinder.

securedownload-3

Here, I have determined that the edge of this chisel is damaged and no longer square.  I start by using a square and a sharpie to mark a reference line just shy of the damaged area.

securedownload-4

securedownload-5

Next, I position my tool rest roughly perpendicular to the wheel and grind to my line.  This will leave a flat spot that is square to the sides of the blade.  Use a steady side to side motion until you reach your line.

securedownload-1

Once I have a square edge, I reposition the tool rest to the desired bevel angle and carefully grind until the flat area is almost gone.  For general work, I prefer a 25 degree primary bevel.  Keeping a small portion of the flat area makes it easier to avoid overheating which can remove the temper from the blade.  However, you don’t want to leave too much, or honing might become a chore.  If I were simply regrinding a dull edge, I would keep a sliver of the secondary bevel, as this also reduces the amount of time spent honing the edge.

Here are some key points to remember:

Always keep the tool square to the wheel unless creating a cambered blade is the desired result.

Apply consistent pressure to the tool when moving across the wheel.

Move your tool across the wheel at a steady speed.

Always dress your wheel before grinding.  I find that rounding the corners of the wheel slightly help with transitioning the blade across the wheel.

You’ll know you’re on the right track when you can consistently produce a new bevel that consists of a single facet across the entire face of the blade.  My next post will detail the honing process.

Handsaw Sharpening 101

It should be noted that my love of the old ways runs deep. With that in mind, I felt it was important to learn how to dimension boards completely by hand. To do that requires a fundamental knowledge of how to sharpen various forms of iron and steel. From plane to saw, your tools need to be sharp. To send them out requires too much time and money. It also results in feeling less connected with the tools I work with.

I picked up plane iron and chisel sharpening fairly quickly. Saws have been another matter entirely. For the uninitiated, saw sharpening requires using a tapered, triangular file to bring each tooth to an equal sized point. The point is the easy part. The “equal” thing is the challenge. My first few attempts resulted in tooth sizes that were all over the place. After putting in a lot of sweat equity, I am starting to get the hang of things. The payoff is being able to rip a board down using a 100+ year old Disston handsaw.

20130819-201541.jpg