Roubo Build: How to Joint Wide Edges Dead Square

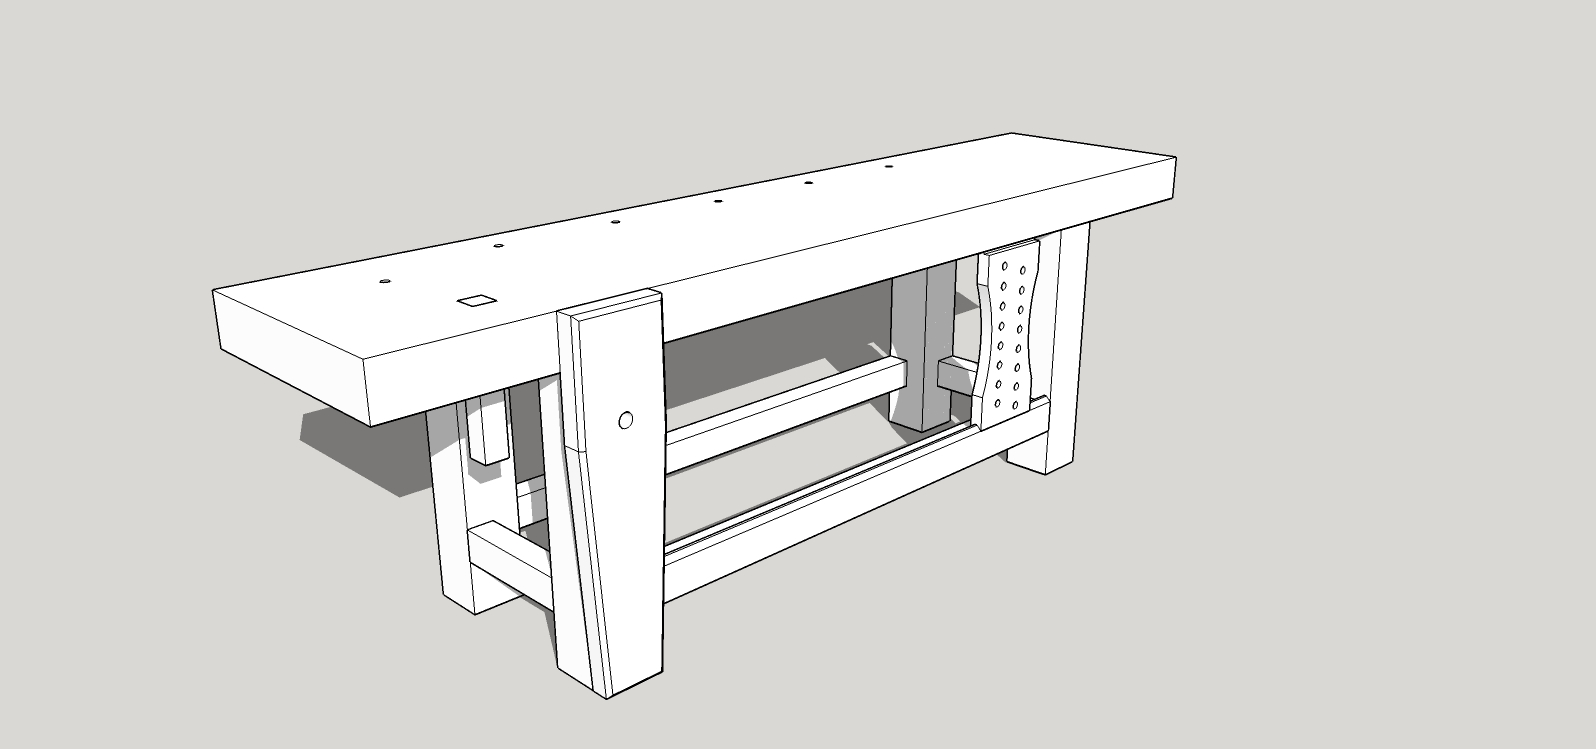
Jointing the wide edges of the beams that will be used for the Roubo benchtop
Jointing wide edges can be tricky. Fortunately, I did my research. It was time consuming, but not difficult. If I can do it, so can you.
Before you joint an edge it’s important that you establish a reference face that is flat, straight, and free of twist. I covered how I accomplished this here: Milling the large beams for the Roubo bench top
Once you’ve established a reference face, it’s important to assess the board.
- What are the major defects?
- Is there any significant bow along the length?
- How out-of-square is the edge?
I don’t worry too much about minor cupping. This will be remedied, by running both sides through the planer.
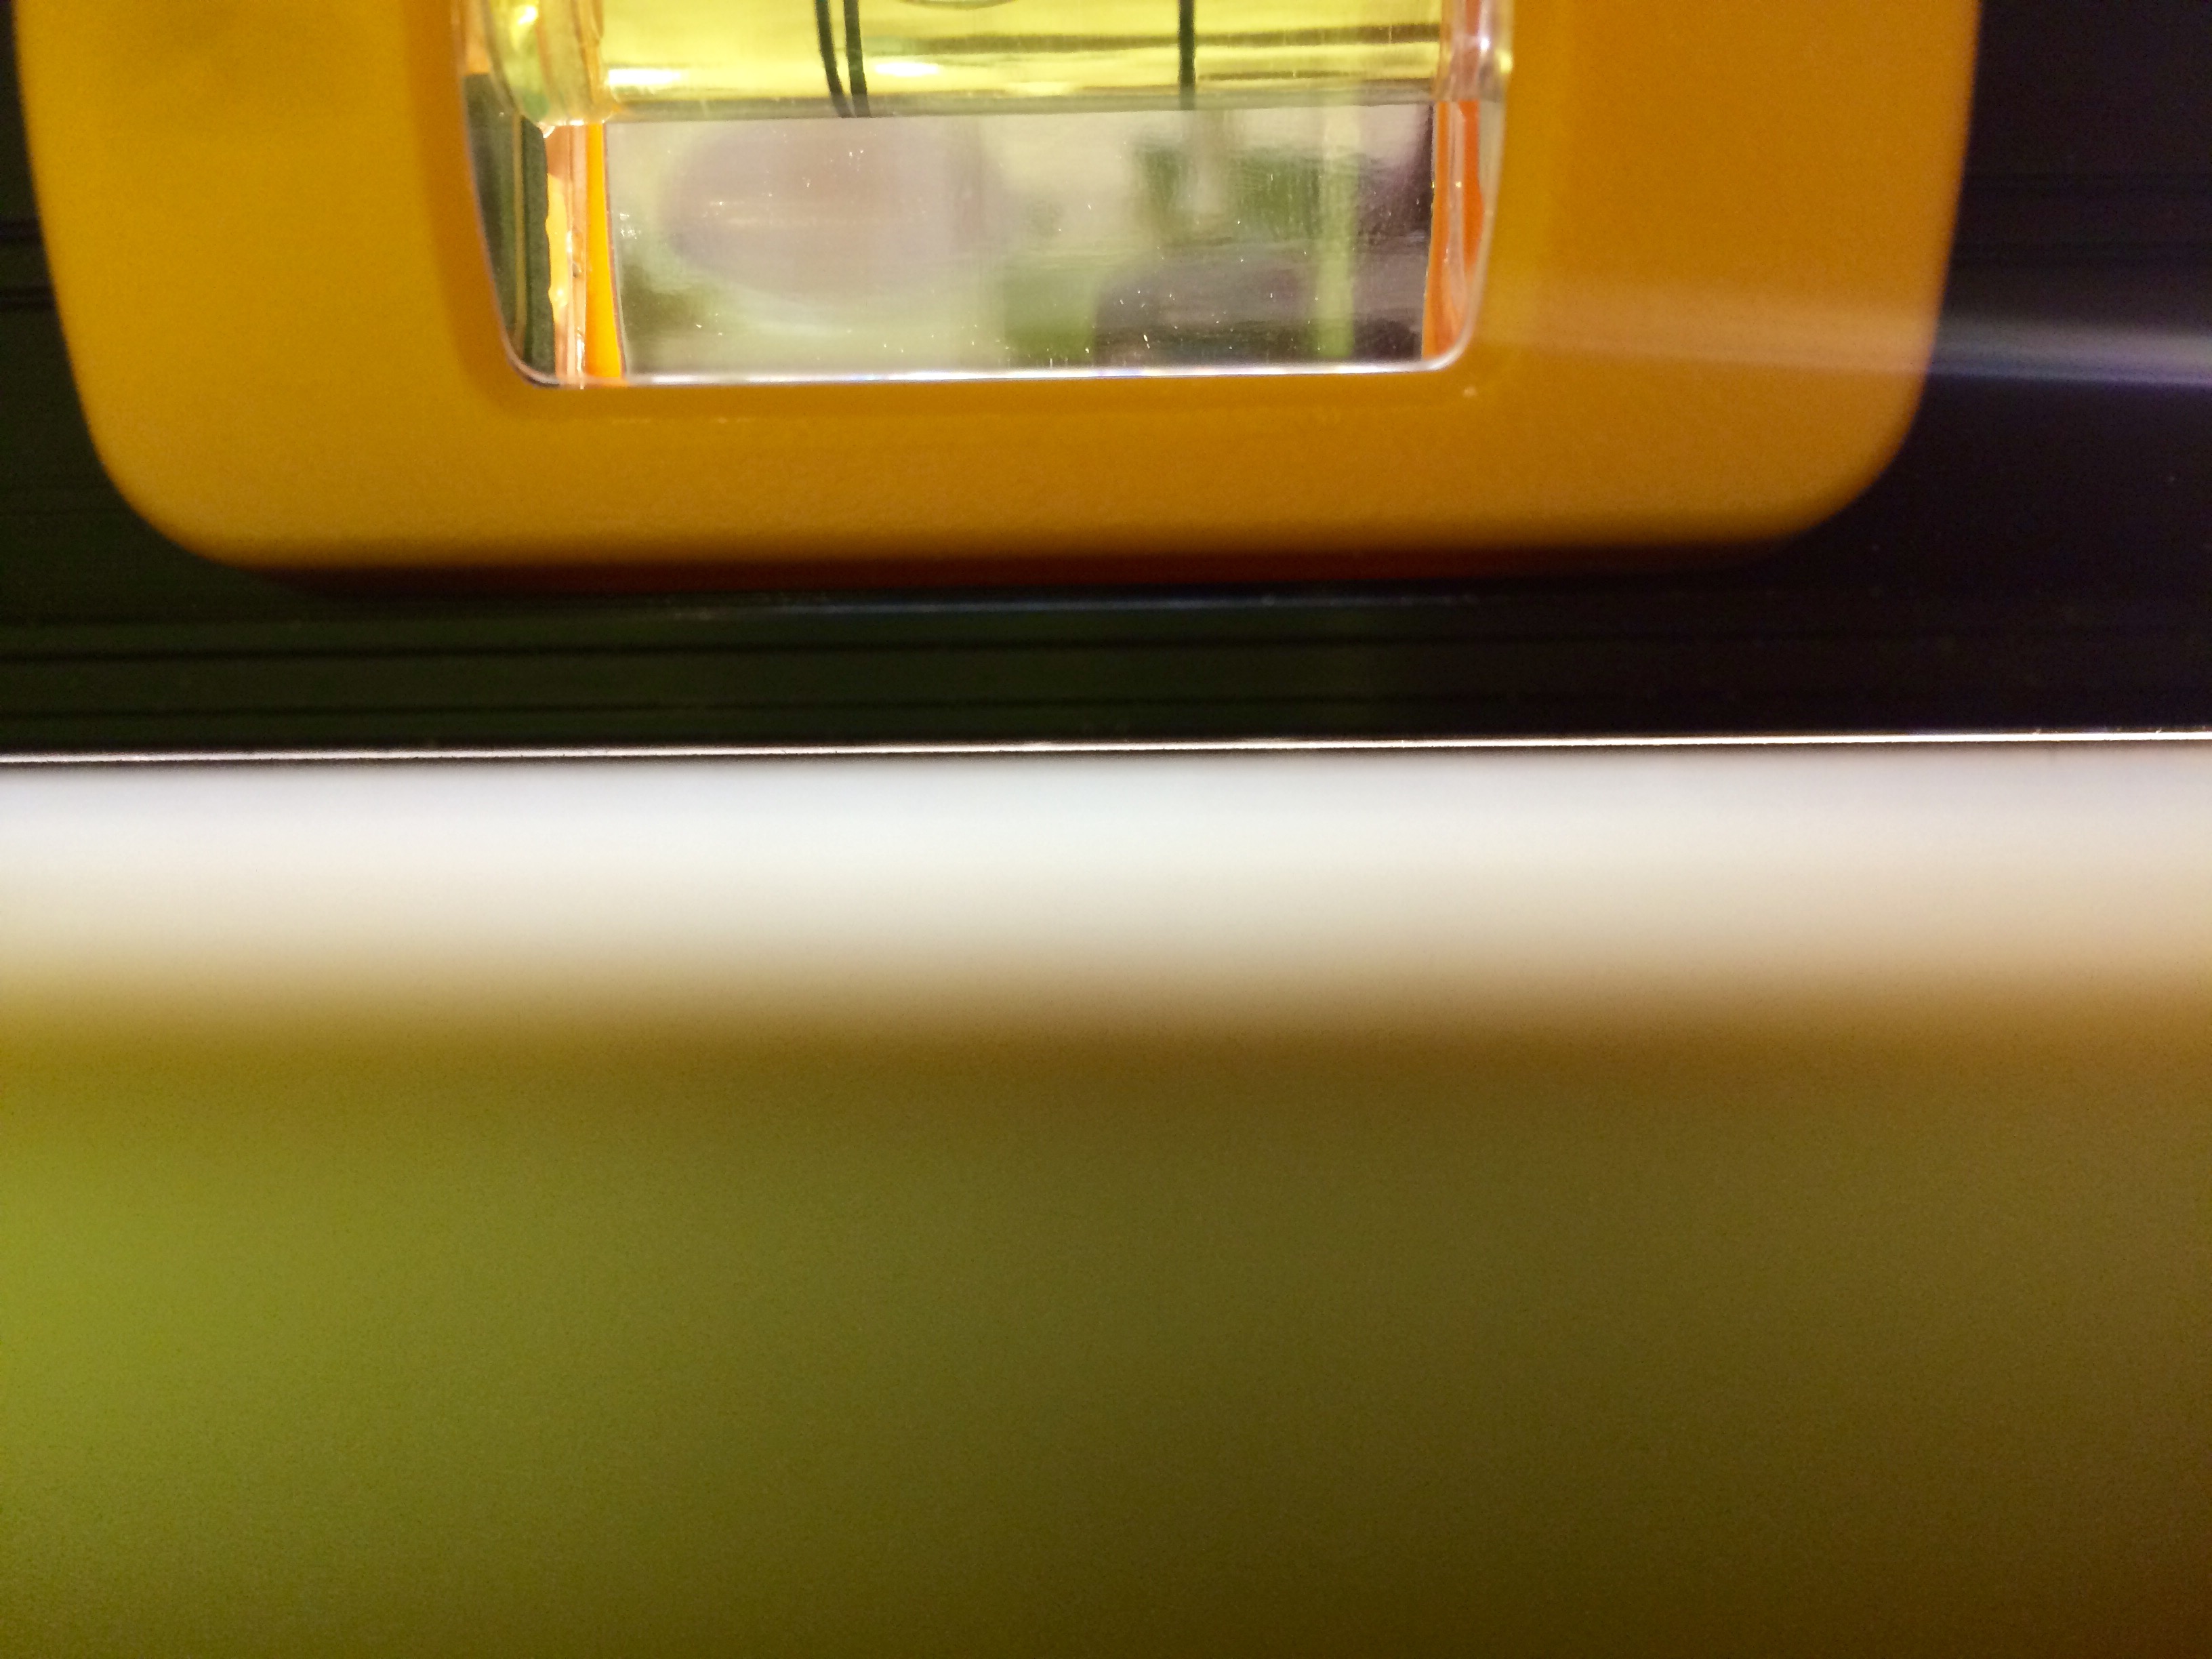
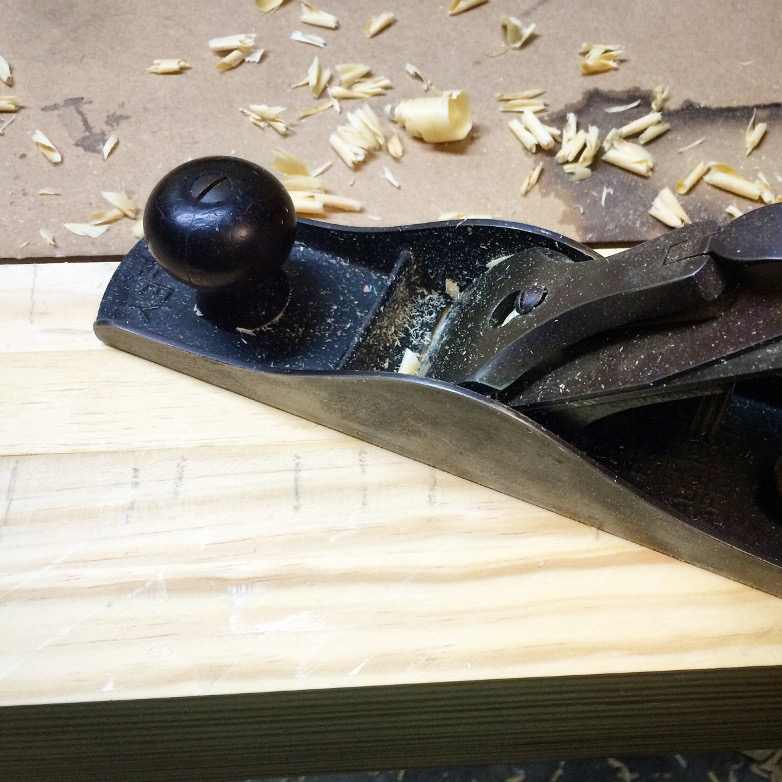
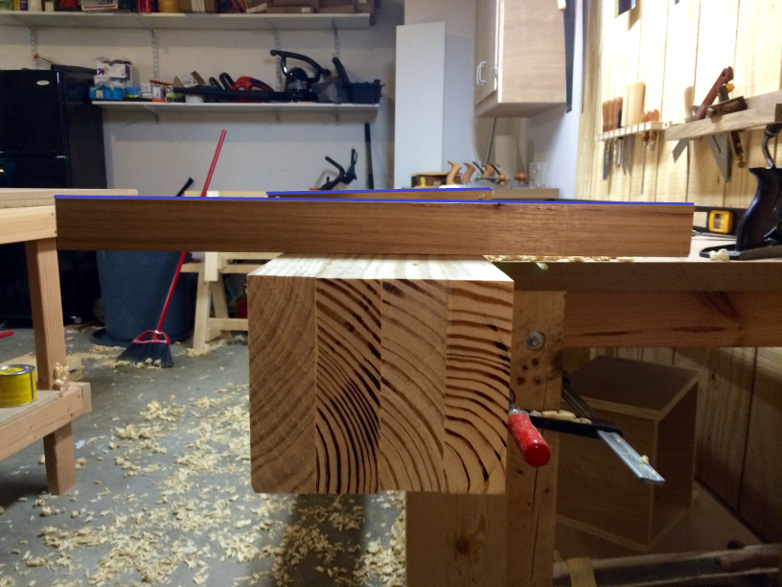
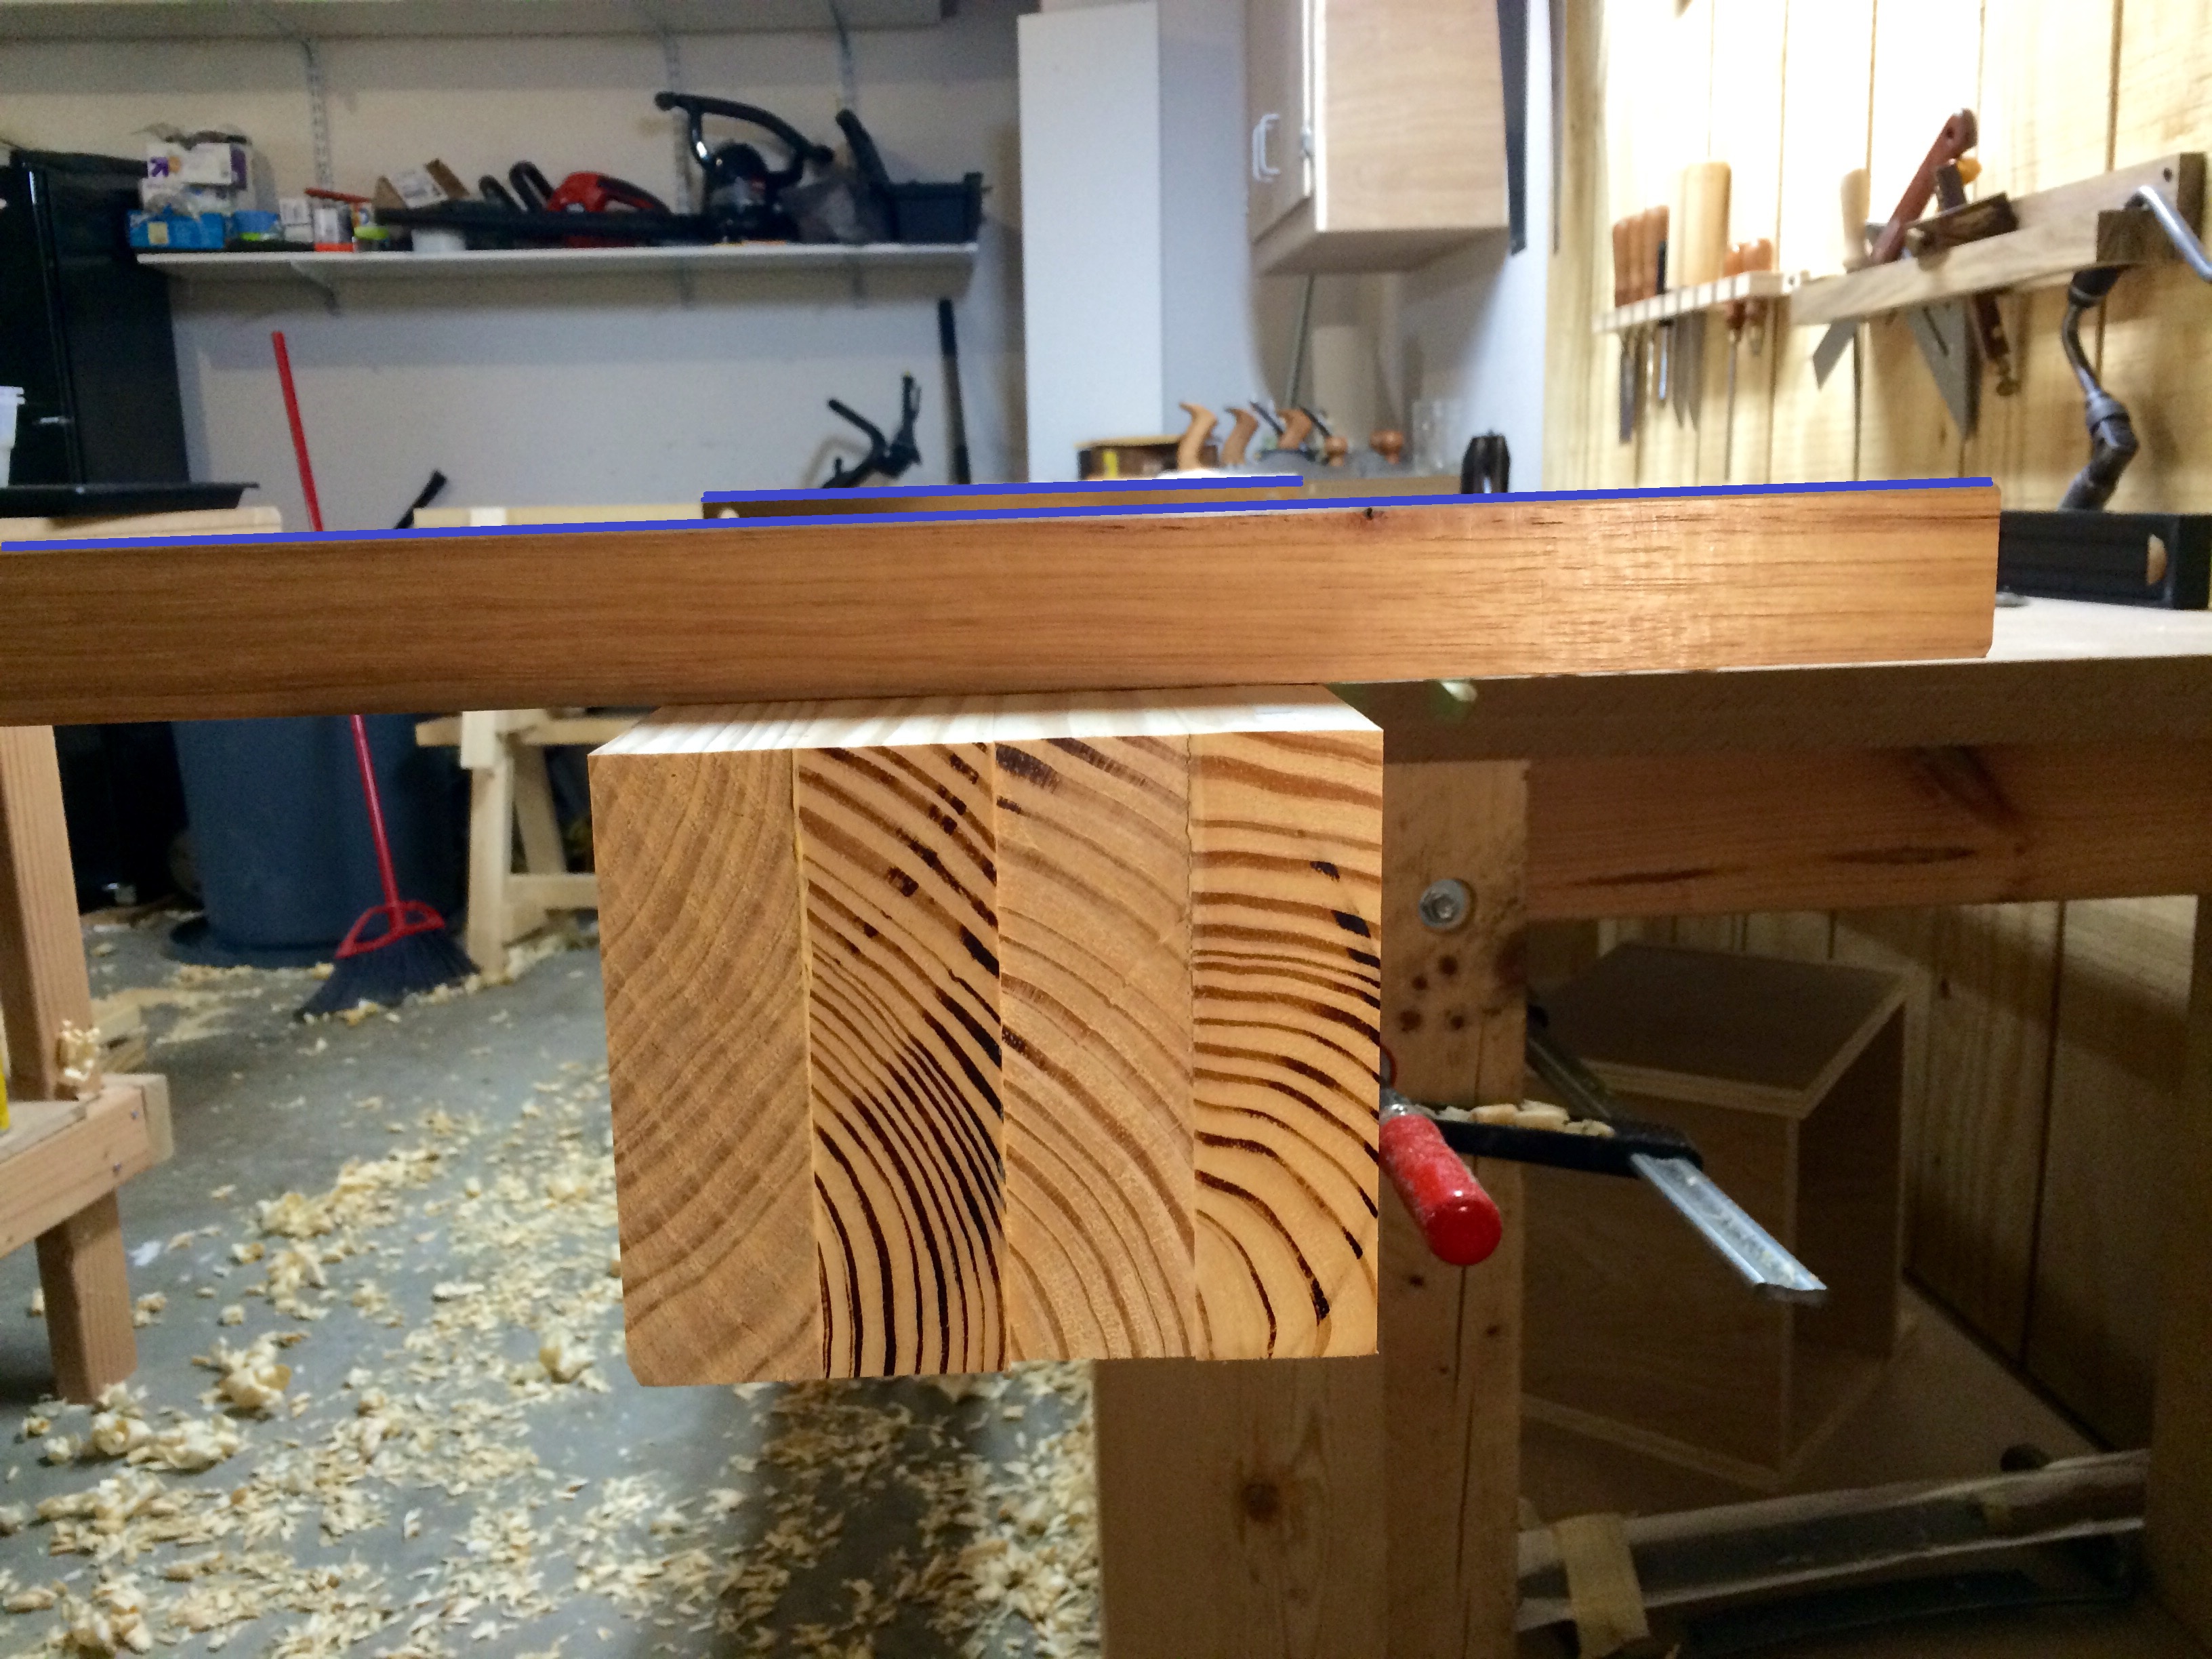
Checking for straightness along the length of the beam
In my case, there was some significant bowing. I measured about 1/16th of an inch in the middle of the board using a 48 inch straight edge. The edge was also significantly out of square. I chose to tackle the bow first. I removed the high-ends of the board by taking overlapping diagonal passes with my No. 7. When I was close, I started taking overlapping passes along the length of the board. Start from the outside and work your way towards the center of the board. I continued until there was less than 1/64th of error.

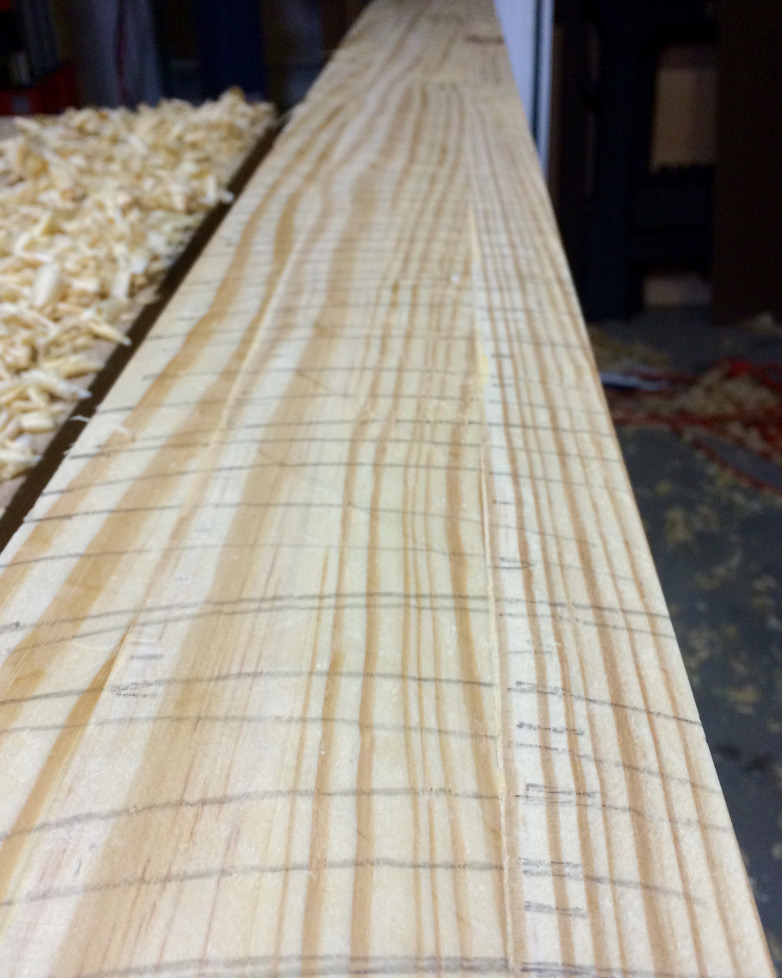
When jointing along the length, take overlapping passes starting from the outside
With the bow removed, I started working on getting the edge square to my reference face. I reassessed the board and mark the low spots with a pencil. Take a shaving from each edge, being careful to avoid your pencil marks. Then work your way inwards taking full-length shavings. Reassess the board every couple of passes. If you’re lucky, one side will be high for the entire length of the board.

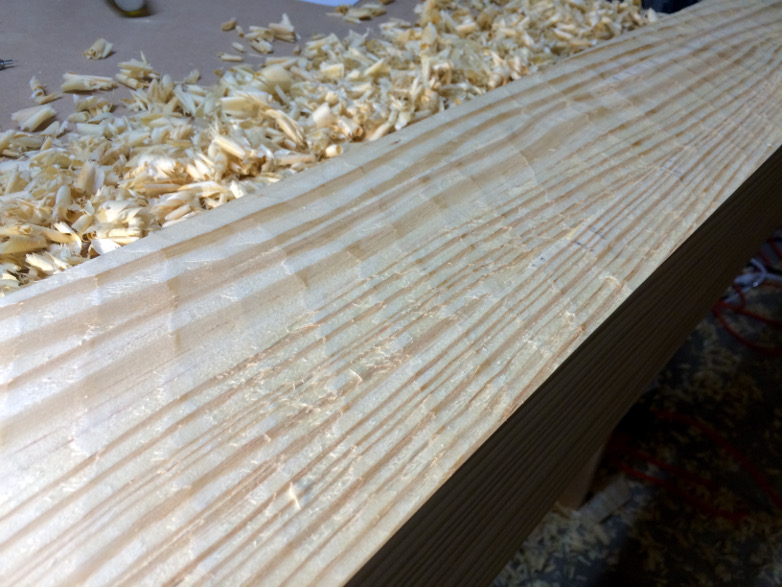
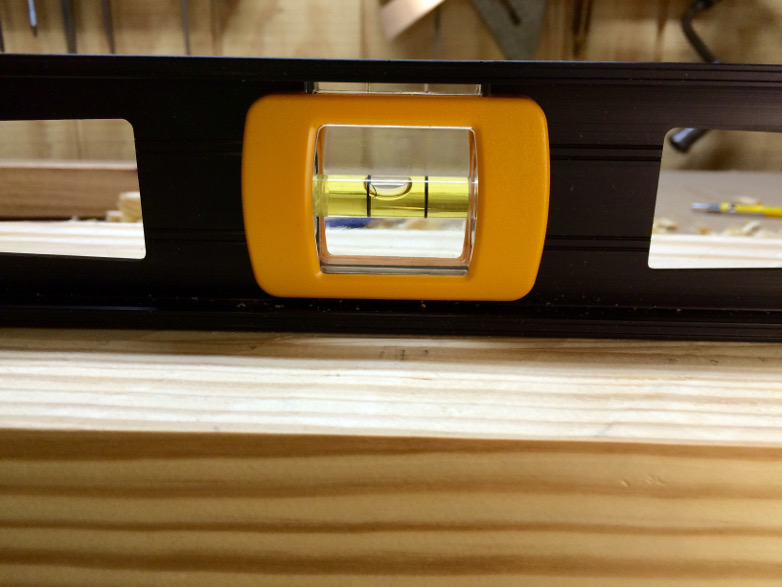
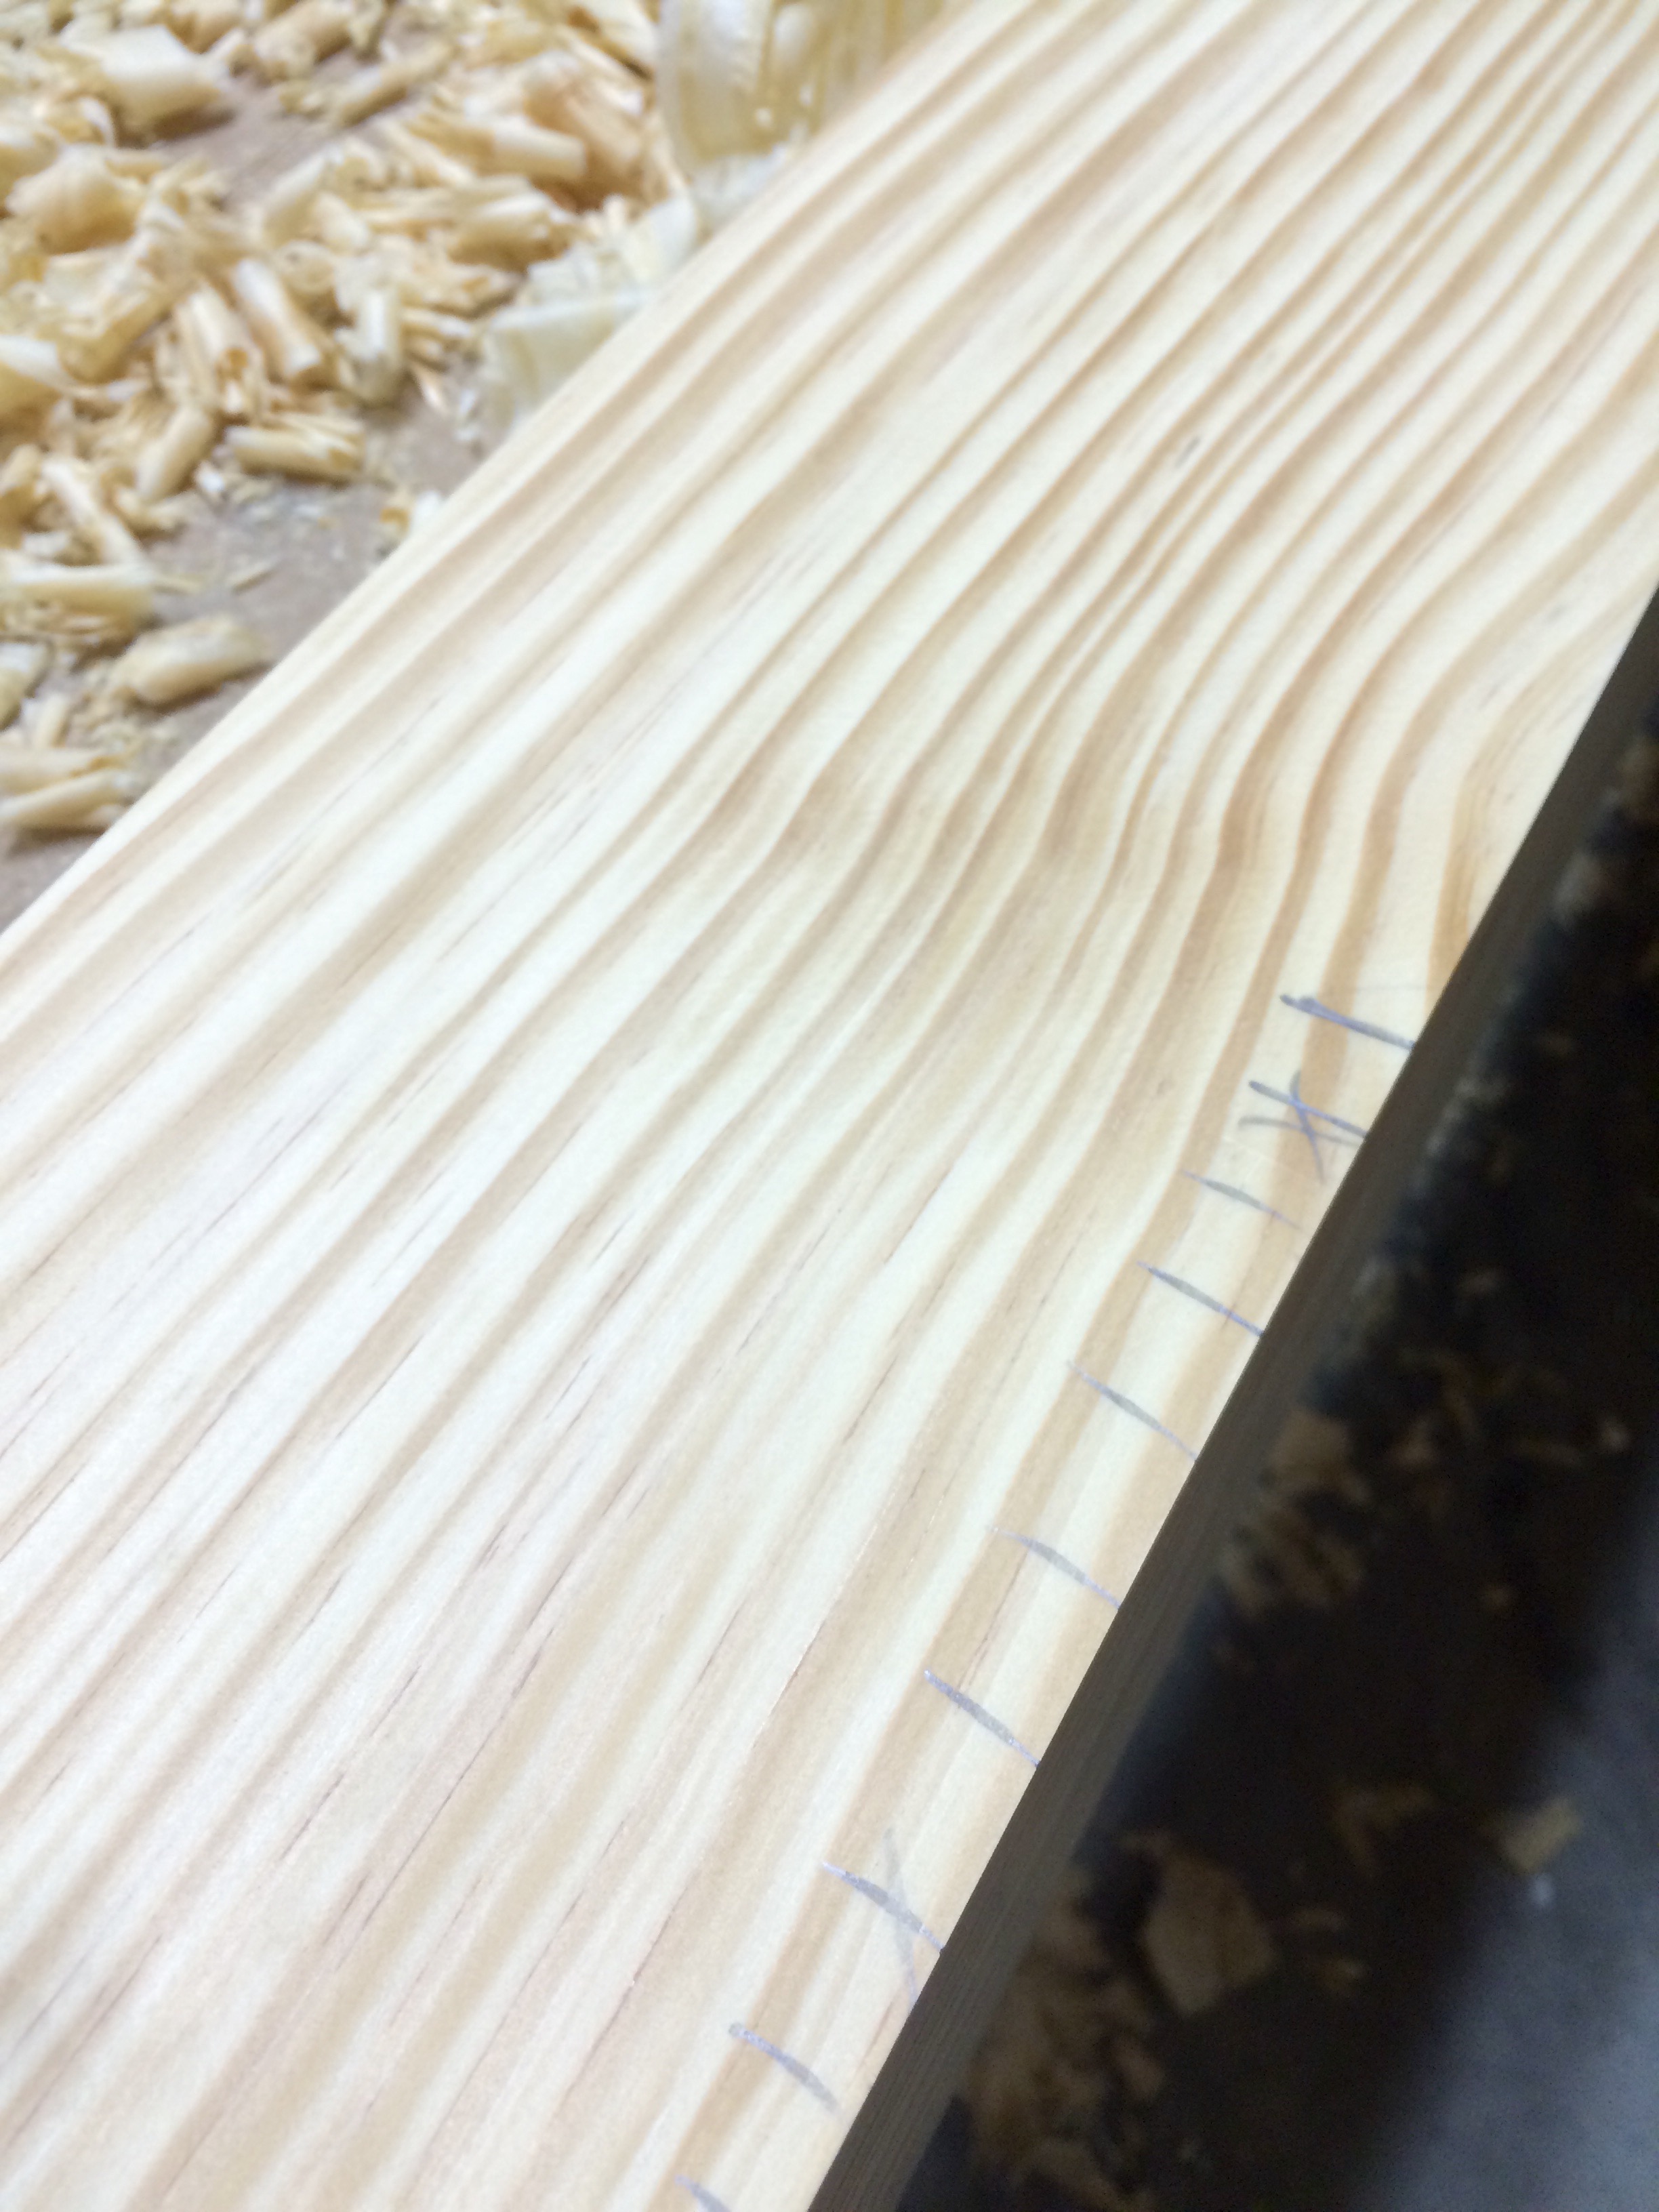
Checking for squareness of the edge using the face as a reference
Stop planing just before you reach your low marks
In my case, the board was square for the first 6 inches on one end, high on the right side throughout the middle, and high on the right side for the last 6 inches. Here is how my routine went.
- Take a stopped shaving on the left side until I reach my low spot.
-
Take another shaving on the left starting just after my low spot on the far end
- Take a stopped shaving on the right until I reach my low spot on the far end.
- Work my way towards the middle with full length shavings.
- Reassess the board and repeat

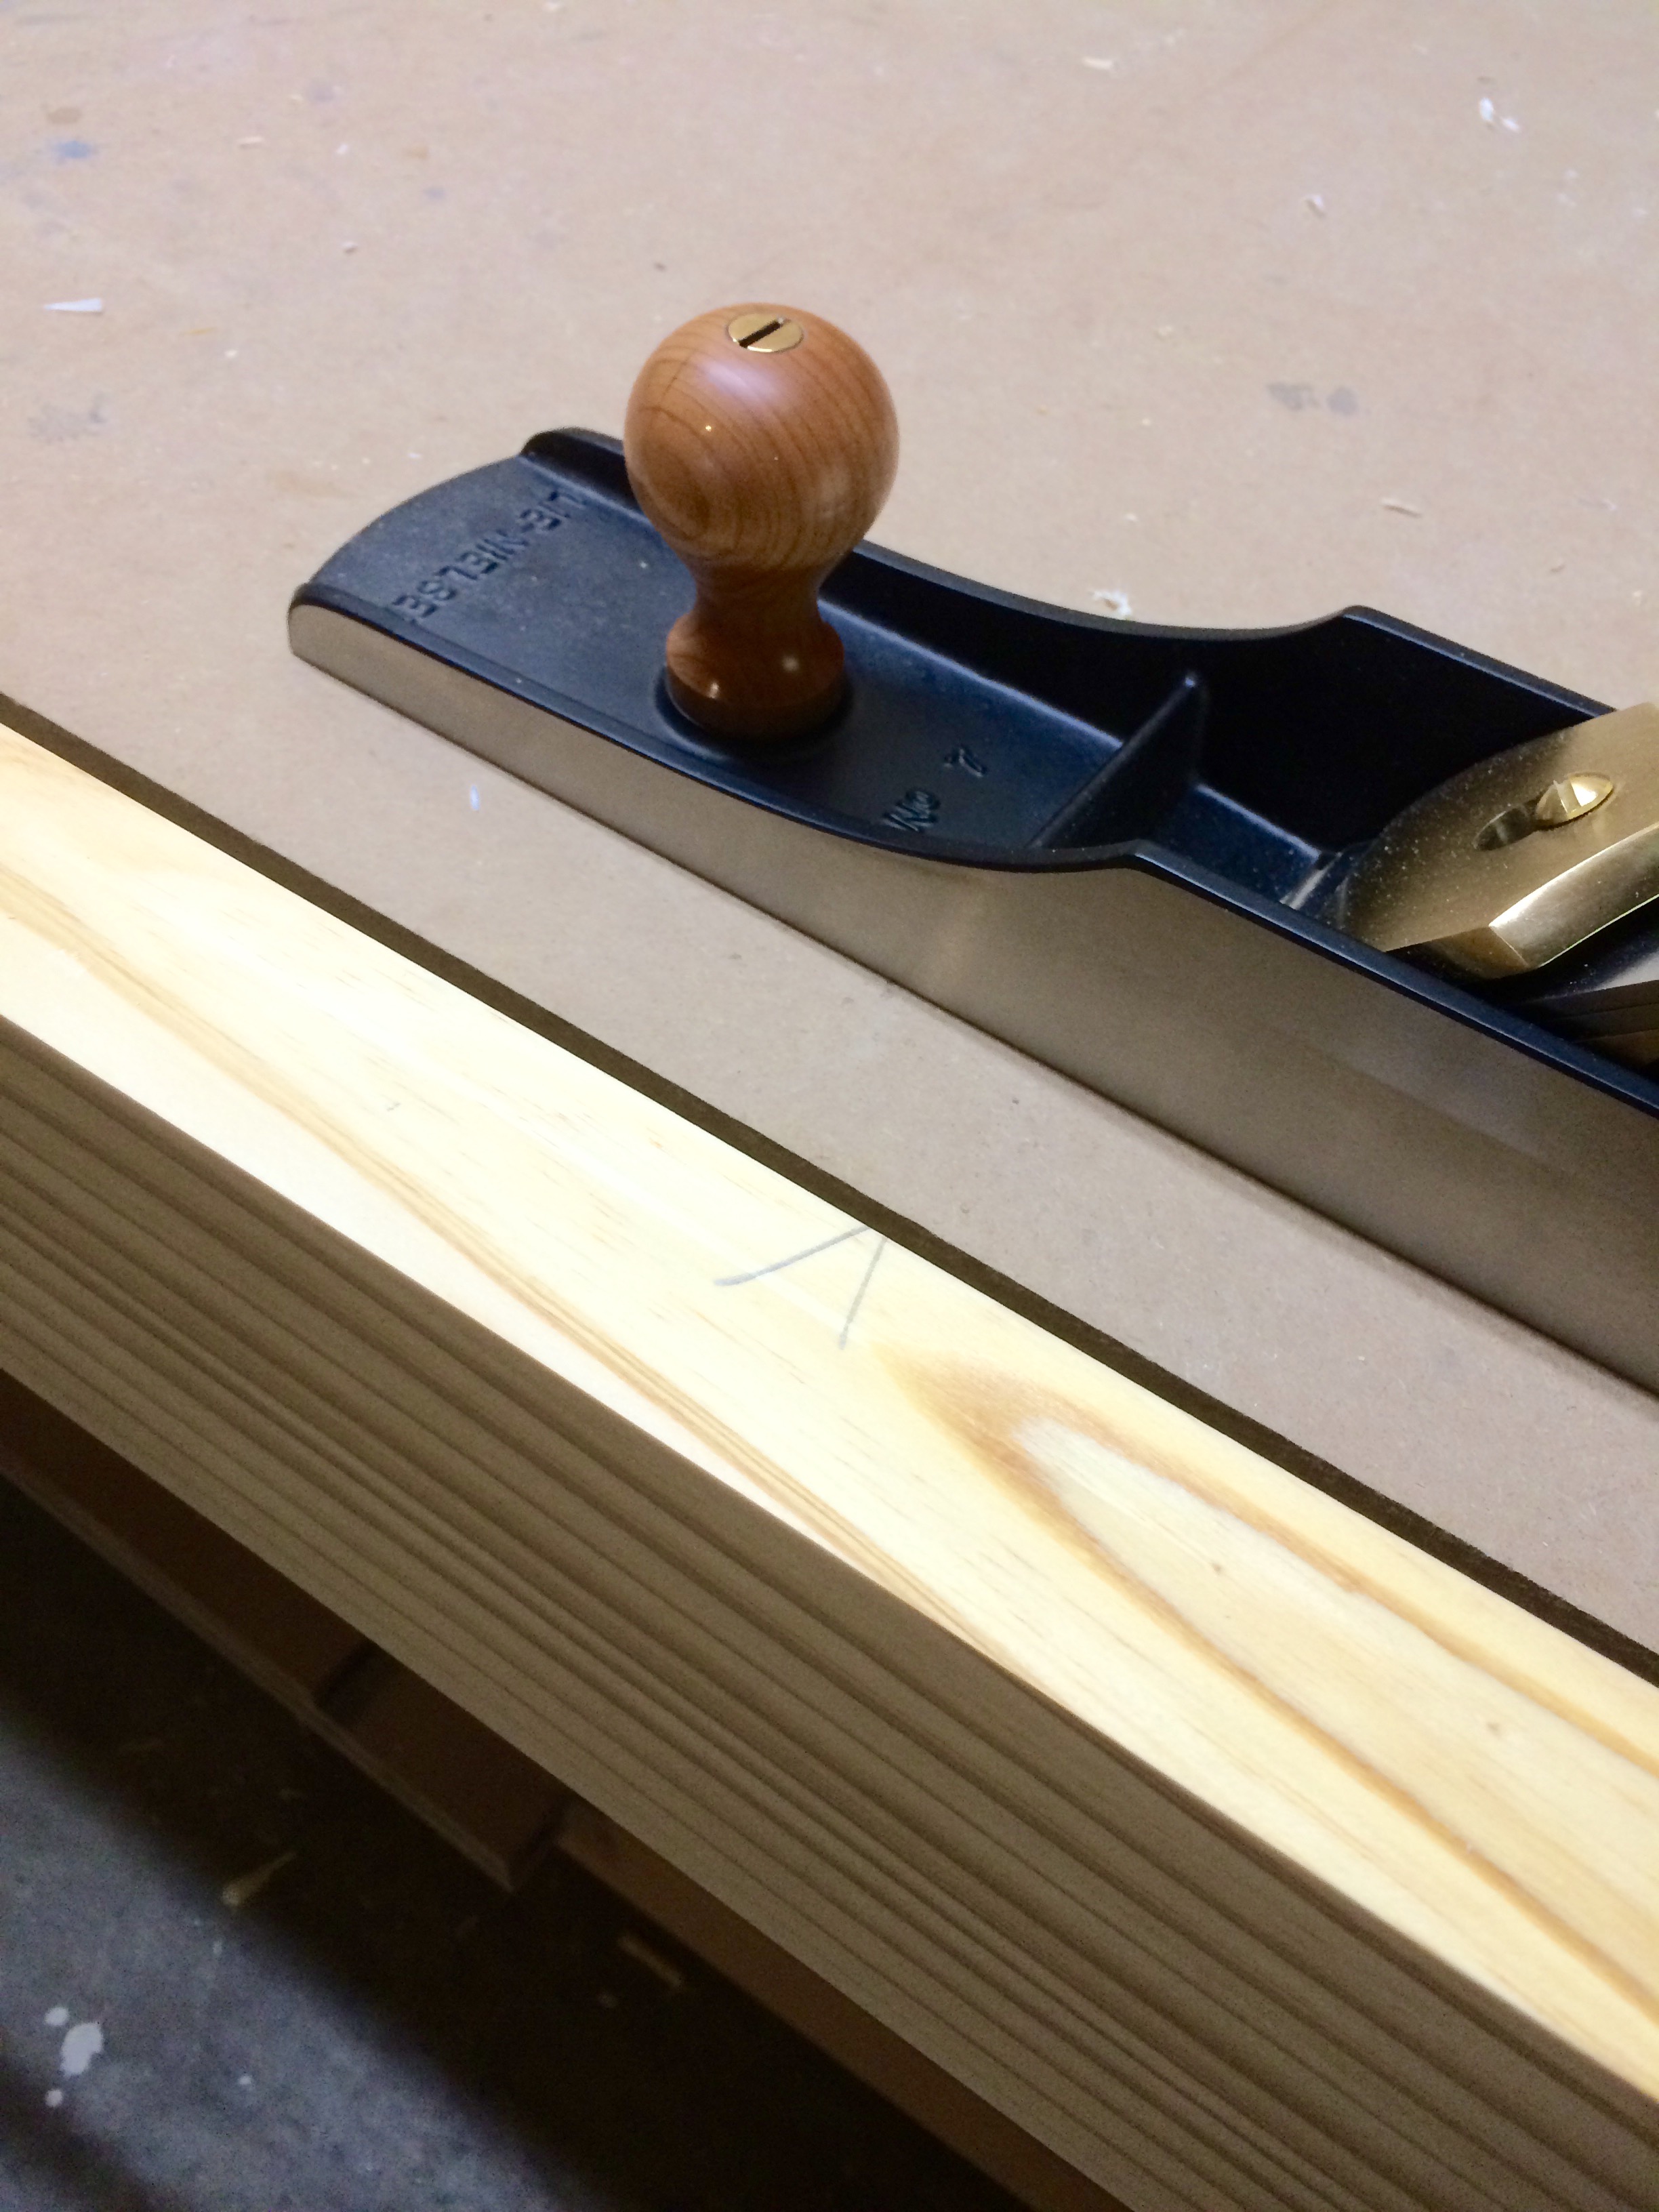
Mark out your edge with an arrow that points to your reference face once you achieve a square edge
It sounds complicated, but I can assure you it’s not. Just go slow and check your work frequently. Don’t hesitate to ask any questions. Feedback is welcome!
You can find links to my other Roubo posts here: Project Index