Blood, Sweat, and Sawdust

Going against the grain

Tag: syp roubo

Bench Top Lamination without Lamentation

Bench Top Lamination in Clamps

Bench Top Lamination in Clamps

This was the first time I’ve ever attempted a large bench top lamination. To say that I was a bit nervous would be an understatement. What if I experienced delamination? What if I couldn’t get the boards aligned properly? What if I ended up with miscellaneous items accidentally glued to my laminated assembly?  In the end, my fears were put to rest, and careful planning resulted in a successful lamination.

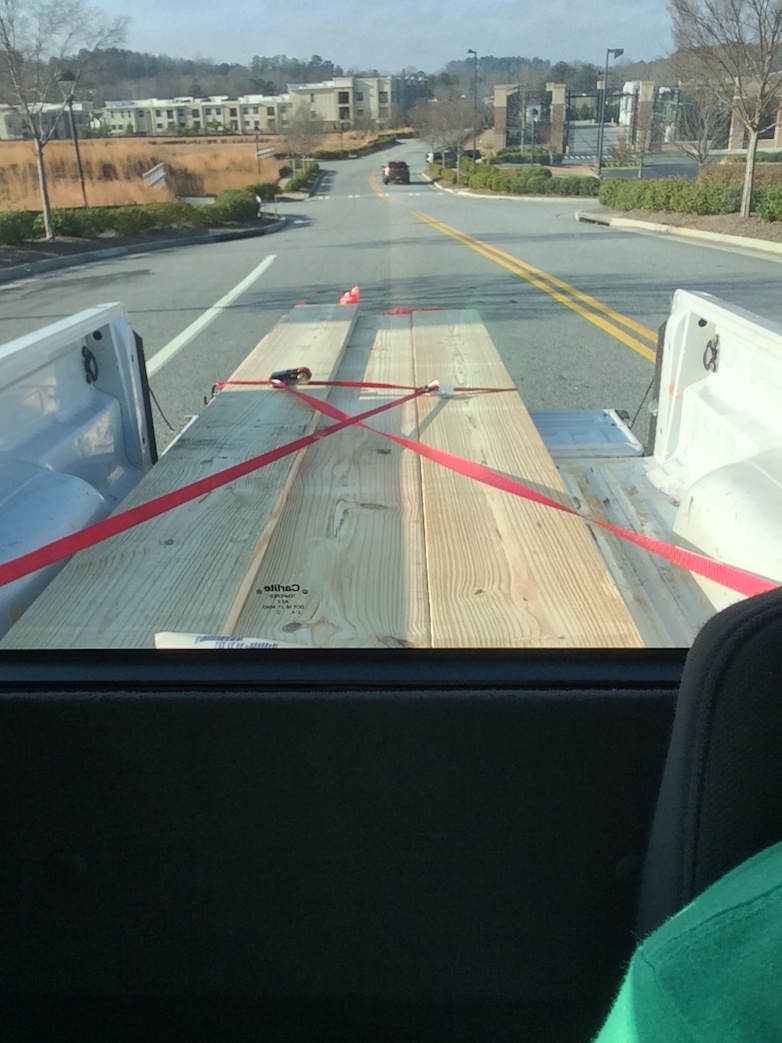
With the individual boards ripped to width, I just need to finish milling them.  Most of the boards were quartersawn with little cupping or twist.  I didn’t see much benefit in jointing a face, so I just ran both sides through my lunch box planer.  I marked grain direction on the edge of each board, so that I could ensure the grain would run in the same direction for the entire assembly.  Next, I did a dry run to figure out the best location for each board.  I wanted the outside boards to bow inwards, so that I would end up with a spring joint.  I also wanted to make sure that I could close up any gaps by hand.

After a deliberate rehearsal, It was time to get started. I double checked to make sure that everything was in its right place. I made sure that my workbench and floor surfaces were protected. Then, I laid out several clamps, placed my boards on top, and made sure they were in the correct order. Next, I wiped down the surface of each board with acetone. This will remove any resin and help the glue penetrate better. Using a small 6″ paint roller, I carefully rolled on Titebond Extend wood glue on one face of each board. I carefully aligned the boards and started clamping down the outermost clamps. I proceeded to add clamps every 6″ or so, alternating top to bottom. I ended up using 12 clamps total. The only thing left, was to wait.

I decided to leave the assembly in clamps for approximately 24 hours. I was terrified that I would release the final clamp, only to have the assembly explode in a shower of splinters and sawdust. Fortunately for me, this was not the case. Everything held up very well. The glue lines are nice and tight on both sides.

There are only two things I will do differently for the next assembly. I will apply glue to both faces of every joint, and I will scrape the excess glue off before it fully hardens.

Stay tuned.

You can find links to my other Roubo posts here:  Project Index

Jointing and Ripping

FullSizeRender

Jointing the long boards for the top ended up being a little more work than I expected. Yellow pine planes nicely, but it’s resinous nature creates a lot of friction. It also required spending a little extra time cleaning my tools free of the resin.

My current workbench couldn’t support the long boards for edge jointing. I worked around this by cutting a scrap board to the approximate height of my vise and clamping that to the opposite leg. This allowed the other end of the board a place to rest.

FullSizeRender2

From there it was just a matter of ripping these boards to width on the band saw. These narrow boards gave much less fuss than the original 11″ wide boards. The resulting boards end up being nearly quartersawn. The board shown above was the worst of the bunch.  As a result there’s no need to joint the faces of these boards. I’ll just run both sides through the planer and glue them up.

Stay tuned.

You can find links to my other Roubo posts here:  Project Index

Jointing Long Edges by Hand

fullsizerender

Jointing long edges by hand ended up being a little more work than I expected. Yellow pine planes nicely, but it’s resinous nature creates a lot of friction. It also required spending a little extra time cleaning my tools free of the resin.

My current workbench couldn’t support the long boards for edge jointing. I worked around this by cutting a scrap board to the approximate height of my vise and clamping that to the opposite leg. This allowed the other end of the board a place to rest.

fullsizerender2

From there it was just a matter of ripping these boards to width on the band saw. These narrow boards gave much less fuss than the original 11″ wide boards. The resulting boards end up being nearly quartersawn. The board shown above was the worst of the bunch.  As a result there’s no need to joint the faces of these boards. I’ll just run both sides through the planer and glue them up.

Stay tuned.

You can find links to my other Roubo posts here:  Project Index

The Tension Builds…

Ripped and stickered

Ripped and stickered

I decided to go ahead and rip all of my 2×12 stock in half to speed up the drying process. I knew there would be some tension built up in some of the boards, but a few of them where downright scary. I had one split for the last two feet of the board. This caused one half to slide off my roller stand. The back end kicked up and hit the blade guards fairly hard. No damage was done, but it gave me quite a scare. The split shifted the cut a few inches, making one have too narrow to use for my top. I’ll save this for my long stretchers.

I sorted and labeled all of my boards, saving the best for the front and back of the top. If you’re ripping construction lumber, keep a few extra roller stands handy. Also, be prepared to clean your tools free of pitch when you’re finished. You might even consider buying an extra band saw blade for this project.  Simple Green took care of the blade and a ruler scraped the tires free of debris.

You can find links to my other Roubo posts here:  Project Index

2015 Roubo Build

I’ve been very unhappy with my workbench for quite some time. The MDF top sags due to the weight of the vise. The top is too thin for holdfasts. And the work holding is generally subpar.

I’ve struggled over designs to the point of exhaustion. I eventually settled on the French Roubo with dovetailed through tenons as seen in infamous Plate 11. After much thought, I decided that building furniture was more important to me than a stunning workbench. I dropped the dovetails in favor of stub tenons. This will allow me to build the bench in significantly less time.

There is no desire for rock hard or exotic lumber here. I settled for cost-effective, Soutern Yellow Pine. I had to sort through an entire stack of 2×12’s at the local Borg, but I was able to find enough suitable boards to supply an 8 ft long, 4″ thick top. This left me enough greenbacks in my budget for a Classic Bench Crafted leg vise.

Stay tuned!

Hauling SYP

Hauling long, heavy boards in my short-bed pickup always makes me nervous

You can find links to my other posts regarding the Roubo build below:

Part 1: The Tension Builds

Part 2: Jointing and Ripping

Part 3: Lamination without Lamentation

Part 4: Sketchup to the Rescue

Part 5: Benchtop Lamination Followup

Part 6: Milling the Beams for the Top

Part 7: Sketchup Design Completion

Part 8: Jointing Wide Edges

Part 9: A Quick Roubo Build Update

Part 10: When Things Come Together

Bonus: Crap Wood for Good Workbenches

Bonus: Jointing Wide Edges by Hand: Companion Video

The Roubo Workbench Build

Roubo Workbench Sketchup

Roubo Workbench Sketchup

I’ve been very unhappy with my workbench for quite some time. The MDF top sags due to the weight of the vise. The top is too thin for holdfasts. And the work holding is generally subpar.

I’ve struggled over designs to the point of exhaustion. I eventually settled on the French Roubo with dovetailed through tenons as seen in infamous Plate 11. After much thought, I decided that building furniture was more important to me than a stunning workbench. I dropped the dovetails in favor of stub tenons. This will allow me to build the bench in significantly less time.

There is no desire for rock hard or exotic lumber here. I settled for cost-effective, Southern Yellow Pine. I had to sort through an entire stack of 2×12’s at the local Borg, but I was able to find enough suitable boards to supply an 8 ft long, 4″ thick top. This left me enough greenbacks in my budget for a Classic Bench Crafted leg vise.

Stay tuned!

Roubo Workbench Lumber

Lumber Haul

You can find links to my other posts regarding the Roubo build below:

Part 1: The Tension Builds

Part 2: Jointing and Ripping

Part 3: Lamination without Lamentation

Part 4: Sketchup to the Rescue

Part 5: Benchtop Lamination Followup

Part 6: Milling the Beams for the Top

Part 7: Sketchup Design Completion

Part 8: Jointing Wide Edges

Part 9: A Quick Roubo Build Update

Part 10: One Stout Bench Top

Part 11: She’s Got Legs

Part 12: Squaring End-Grain

Part 13: Cutting Tenons

Part 14: Chopping the Mortises

Part 15: The Stretchers

Part 16: Completing the Roubo Workbench Base

Part 17: Installing the Bench Crafted Leg vise

Part 18: Draw Boring Everything Together

Part 19: Dead-men Tell no Tales

Part 20: Making the Roubo Workbench Shelf

Part 21: Holdfast Holes

Part 22: Roubo Workbench Completion

Bonus: Crap Wood for Good Workbenches

Bonus: Jointing Wide Edges by Hand – Companion Video

Roubo Sketchup File