Blood, Sweat, and Sawdust

Going against the grain

Category: Workshop

Drywall for the Garage Workshop: Part 1

This is my first time hanging drywall and it ain’t easy doing it by yourself.

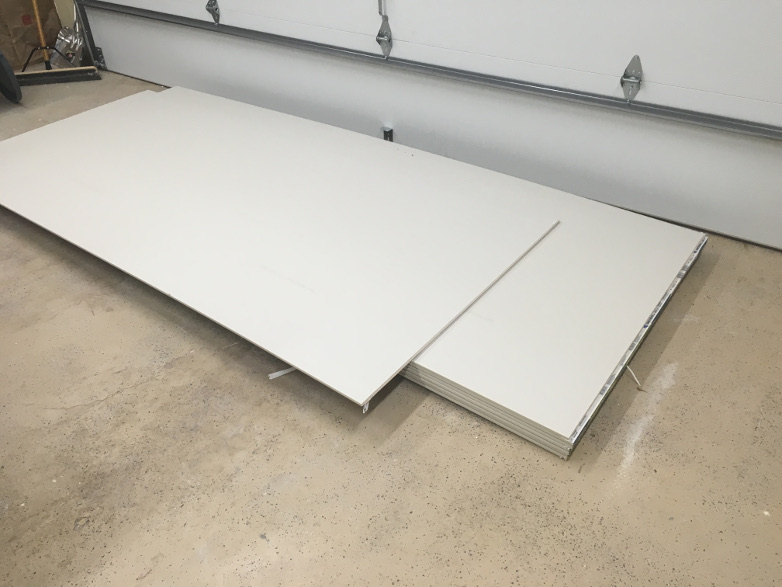
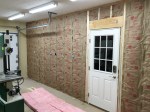
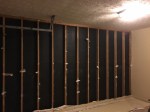
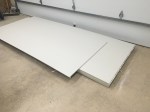
My ceilings are over 8 feet high.  So, I purchased 9′ sheets, and hung the drywall vertically.  This way, I will avoid as much necessary work as possible.  Now that I’ve hung 10 sheets all by myself, I have a few tips and lessons I’d like to share for the first time drywaller.

Use the Right Tools for the Job

If you were to buy only two tools for hanging drywall, I would suggest a good razor knife and drywall square.  The razor knife is pivotal for getting crisp lines and the drywall square makes cutting sheets to length easy.

The easiest way to do this, is to lay the sheet horizontally on the ground.  Hold the square against the top edge with your hand.  Use your foot to hold the bottom of the square against your sheet.  Now, just run your knife along the square and break at the cut.  With the break folded back, you can run your knife along the fold to release it.  Always cut from the show face of your sheet.

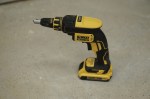
The other tool I found extremely useful was the drywall gun.  It looks like your average screw driver, but it has a few added features.  First, it uses an adjustable dimpler which prevents you from driving screws too deep.  You want your screws just below the paper.  The other important feature is that the head won’t engage until you put pressure on it.  This allows you to lock the trigger for speed and keeps you from stripping screws once they reach the desired depth.

I picked up the bare tool for just over $100.  Since I saved around $700 doing the job myself, this was an easy decision.  If you can’t afford the screw gun, invest in a set of cheap dimpler bits.  You can usually get four for just a few bucks.

A drywall saw and drywall rasp are also useful and inexpensive.

Measure Right Twice, and Cut Right Once

What good is measuring twice if you measure twice incorrectly?

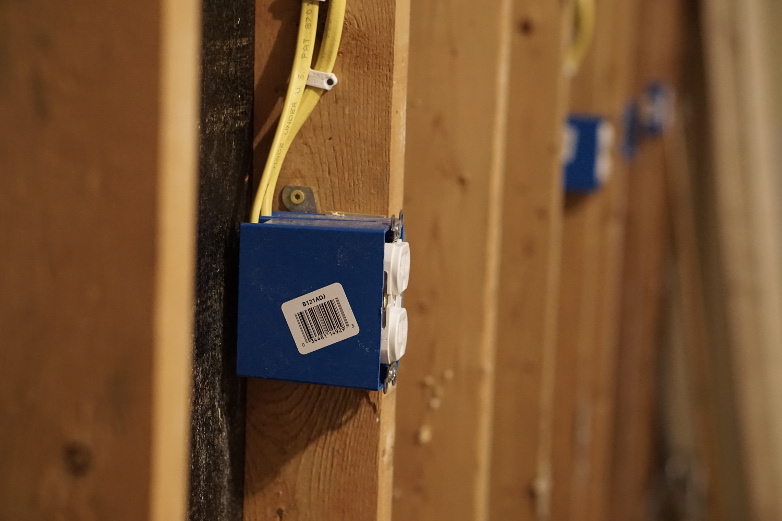
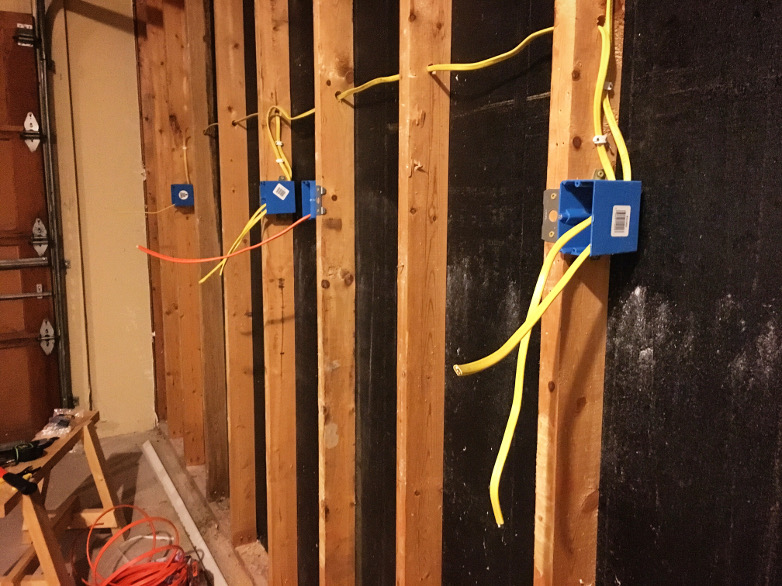
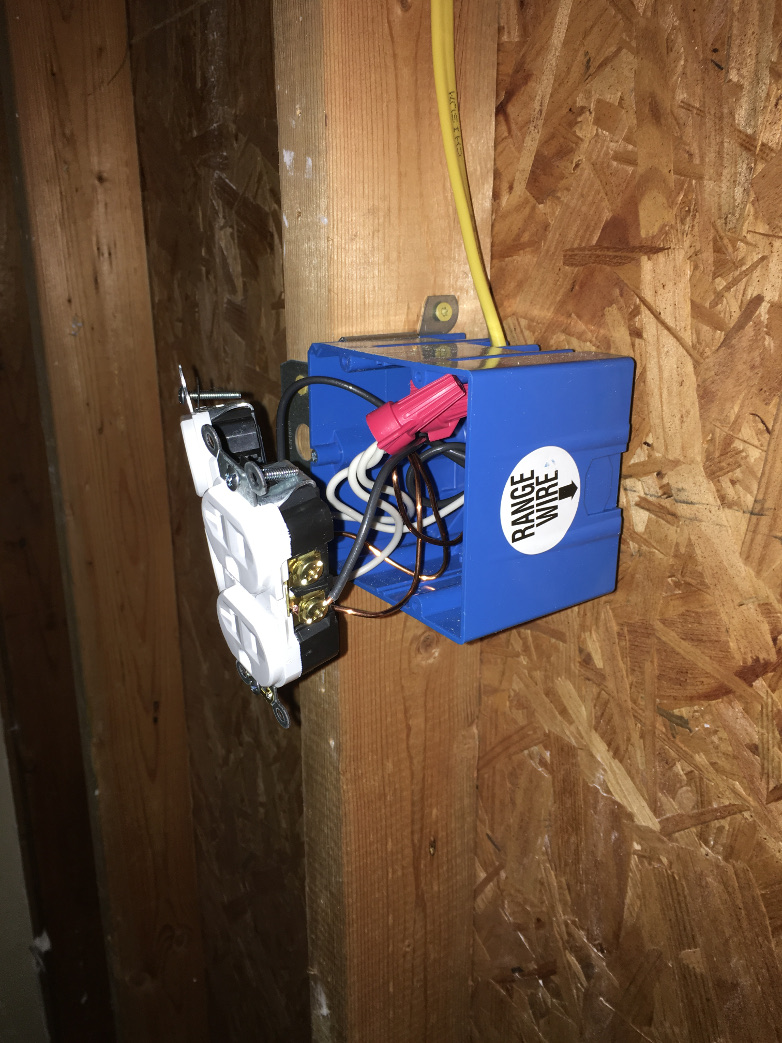
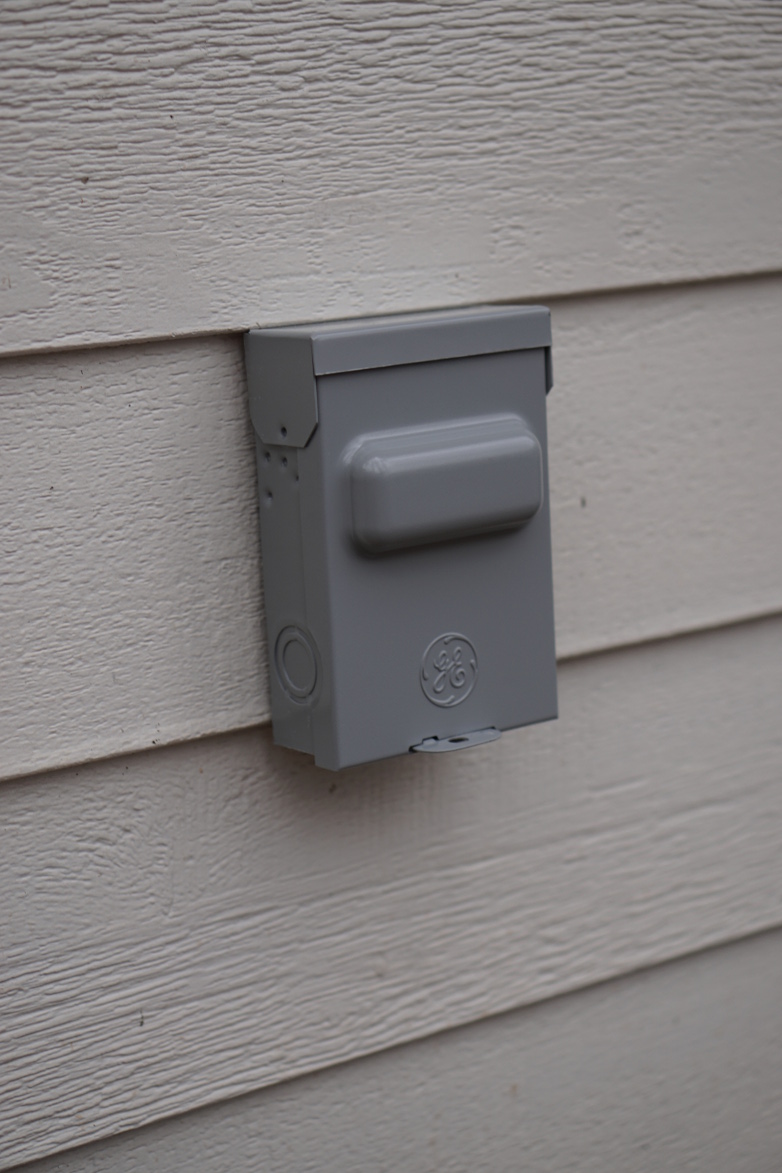
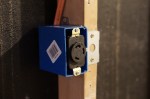
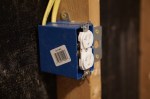
Pay extra attention to the first sheet you hang.  You don’t want to have to trim a sheet after it’s already been cut to size.  Your sheets should butt together tightly.  A large gap can make it difficult to secure the edge of a sheet to the stud.  Be extra careful with your receptacle boxes.  Misplacing one, could ruin an entire sheet.

Minimize Work by Working Smart

I hung my drywall vertically, because this allowed me to maintain tapered edges for all of my seams.  Mudding and taping tapered edges is easier than butted edges.

Since I will run trim at the bottom of my walls, I maintained a half-inch gap.  I did this by using a piece of scrap to support each sheet when screwing them to the wall.  I was also able to use the scrap to measure the height of my electrical boxes.

Another great tip I discovered involved the drywall square.  I could measure the sides of each electrical box from the previous sheet and mark them on the square with a pencil.  Then I could transfer the measurement directly to the sheetrock.

With the sheetrock hung, I am looking forward to getting it all taped and mudded.  Stay tuned.

For the rest of the workshop build, check out the garage workshop build index.


Workshop Update

There haven’t been any large developments over the last week.  However, there have been several small ones.

With the help of my lovely wife, I hung my air filtration unit.  We almost died in the process, but we did get it up there.  It was difficult to see above the unit, and we accidentally knocked a couple of the s-hooks loose during the installation.

Air Filtration

After removing the old garage door opener, I discovered signs of arc-flashing on the ceiling receptacle.  I replaced the receptacle and added an extension cord reel.

Extension Reel

I added two additional soffit vents and may add a vent fan to the gable vent.

Soffit Vent

Oh, and the drywall arrived.  I’ve started hanging sheet rock and I’ve already learned a few tricks.  Stay tuned for the full write-up.

Drywall

For the rest of the workshop build, check out the garage workshop build index.

Garage Workshop Lighting

No more stubbed toes.  The workshop lighting is complete.

workshop lighting


I hung eight, dual-bulb fixtures for a total of sixteen T8 LED bulbs.  I wanted to secure the fixtures to the joists, but that wasn’t possible.  I secured the fixtures using several drywall anchors.  The drywall in the ceiling is 5/8th-inch thick and the fixture/bulb combo is very light.  This shouldn’t present a problem.

Placing the fixtures was straight forward.  I used some 1×3 scraps to evenly space each one.

There were two small fixtures in the garage when I inherited it.  I used these fixtures to tie in the new lights, and placed a cover over the opening of the old light box.  This light box is now my junction box.  It is difficult to take direct pictures of the layout, so see below.  I had to change my original layout due to the attic access stairway.   This will work better, because my only dark spot is an area that isn’t used for critical work.

I shot for 100 lumens per sq-ft, and I think I got close.  The new workshop lighting is bright and even.  I purchased all my lighting from www.beeslighting.com.  I highly recommend them.

Stay tuned for more of the workshop build.

For the rest of the workshop build, check out the garage workshop build index.


Insulating a Garage Workshop: Part I

The light at the end of the tunnel, finally!  My hands are a little sore from securing around 400 staples.  However, insulating a garage workshop was one of the easiest tasks I’ve completed so far.  I suggest you try this yourself as opposed to hiring it out.

Before installing the batts, I sealed all the seams in the sheathing with spray foam.  I also patched a few large holes with plywood.  After struggling with the disposable cans, I opted for the professional gun.  It allows you to control the bead of foam with precision.  You’ll finish the job with cleaner hands.  I also sealed the gaps between the door jamb and frame.  Here, I used a low expanding foam specifically designed for windows and doors.

With the workshop air tight, it was time to install some insulation.

I cleaned off a large section of the floor for a work area and got to work.  I’m not too keen on being itchy, so I used some long gloves while working with the fiberglass.  I decided to use rolls on kraft-faced R13 installed of pre-cut batts.  I measured my stud bays and cut the rolls using a utility knife.  I found that compressing the roll over a 2×4 scrap made cutting in a single pass a breeze.  I used an engineering square to make sure my cuts were square.  I also used the story stick from when I ran electrical to score part way through the back of the insulation where I had horizontal cable runs.  You want your wires to fit into the insulation as opposed to compressing it.

I waited until my batts were installed before I cut out for my electrical boxes.  Then, I secured the batts to the studs using staples.  The rolls have flanges that fold out to make sure a continuous vapor barrier along your wall.  I overlapped the flanges and stapled.  And I stapled, and stapled.  My hands are still sore today.  I should have invested in one of the hammer style staple guns.

I still have to decide on what to cover the walls with.  I’ll probably go with 5/8 drywall.  Then it’s on to conditioning the space.  Stay tuned!

For the rest of the workshop build, check out the garage workshop build index.


Opening New Doors: Installing an Exterior Door

I started installing an exterior door several weeks ago.  However, bad weather and other projects sidelined me.  With the door installed, I couldn’t imagine the shop without it.

I completed the door framing about two weeks ago.  I purchased the door before getting started, so I could take measurements and test fit the door in the new opening.  I installed my jack-stud / king-stud combinations before removing any of the existing framing.  The gables run parallel to this section of the wall, so a temporary wall wasn’t necessary.  Still, I hurried to install the header and cripple studs.  I made the header ahead of time using two pieces of 2×10 and half-inch plywood.

Removing the old studs was the most difficult part of framing.  I couldn’t cut the old nails from behind the studs without destroying the sheathing.  I ended up cutting through the studs in several places with a reciprocating saw.  Then, I carefully pried them away from the wall.  The siding wasn’t in the best shape, so a few nails pulled all the way through.  More on this later.

With the framing complete, it was just a matter of cutting the opening and installing the door.  Rarely, are things this simple.  The discovery of some bad siding, resulted in hiring a professional to complete the job.

The crew started cutting the opening from the inside using the frame as a guide.  Then, the door is temporarily installed in the opening.  Using the brick-mold as a guide, they traced around the door frame with a pencil.  Then, they used the pencil marks as a guide to cut the siding, so that the brick mold sits flush with the wall.  We used Z-trim, flashing, and a ton of caulk to make sure the door is water tight.  The bad siding was replaced with Hardie Plank.

With the new door secured to the framing, I installed the lock-set and door-latch.  I decided to go with an electronic keypad dead-bolt.  The interior half of the lock was too wide and I had to trim some of the window molding with a razor.  Aside from that small hiccup, everything went well.

Exterior Door Complete

The natural light and easy access to the outside were well worth the effort.  Installing an exterior door isn’t usually difficult if you do your research.

Stay tuned.  The photos are courtesy of my beautiful wife Melissa.  Check her blog out at http://sewsassycreations.com/

For the rest of the workshop build, check out the garage workshop build index.


Power for the Shop: Workshop Electrical on a Budget

Garage Workshop Electrical

Houston, we have power!

The new garage workshop finally has real power.  I will never have enough outlets.  However, I did my best to ensure adequate coverage, while sticking to a budget.  I’m relatively proficient with residential electric, so I did most of the leg work to keep costs down.  Then, I hired an electrician to check my work, connect the breakers, and test the outlets.

I’ll share with you exactly what I did.  I hope this will help others proceeding along a similar path.

Warning: I am not a certified electrician.  Proceed at your own risk.  Consult your local code and a qualified professional before starting any workshop electrical projects!

First, I marked my box locations.  I planned this out earlier here: Workshop Planning

Then I made a story stick from a scrap 2×4.  I used this to mark the height of each box and my horizontal wire runs.  I planned the bottom of each box 50″ from the ground.  This will allow me to clear any benches and full-sized sheets of plywood laid against the wall.

New Work Box-Web

Once everything was laid out, I secured each of my boxes to the proper stud.  I used adjustable boxes.  This allows me to dial in the box perfectly once drywall is up.

Next, I drilled a 3/4″ hole through the studs using a cordless drill and an auger bit.  Finally, I drilled similar holes through to top plate to route the wiring through the attic.

Electrical Rough Wiring

Staples-Web

I pulled my horizontal wire, taking care to leave 12″ of extra cable at each box.  Then, I secured each wire using a staple within 12″ of the box and at least every 4.5′ after that.  Next, I began the arduous task of pulling wire through an attic filled with obstacles and engineered trusses.  Blech!

Rats Nest-Web

Running Wires Across Joists

A good part of my runs through the attic are within 7 feet of the access ladder and perpendicular to the joists.  My local code requires that I make a raceway to protect the wires from be trampled on.  I used furring strips, but 2×4’s may have been better.  Straighten out as much of your wire as possible before pulling it into the attic.  Straightening 10/2 NMb wire in the attic is not fun!  I pulled 8 feet of extra wire for all of my circuits to give the electrician plenty of extra wire to work with.

Electrical Pigtails

With the wires ran, I started making up my boxes.  First, I stripped off the wire jacket and removed the paper from the ground wire.  Leave about an inch of jacket remaining in the box.  Then, I stripped about 1″ of sheathing off each wire and made pigtails using scraps.

Double Duplex-Web

With the pigtails made, it was just a matter of connecting all of my outlets and securing them to the box.

Run to AC Disconnect-Web

AC Disconnect Box

The last thing I did before calling the electrician, was connecting the AC disconnect box outside.  I secured the box directly to a stud and used duct seal around the screw holes and cable penetration point to prevent water intrusion.

Connecting Breakers-Web

Connecting all of the circuits to the panel was uneventful.  It only took a few hours and we didn’t encounter anything unexpected.  Everything tested correctly on the first try.  Pulling the cables through the top plate and into the box took the most amount of time.  There wasn’t enough room at the top of the box to insert the cable clamps, so we had to pull them through the top-plate holes on the cable.

Now, I can install insulation in the walls and keep out some of the cold.  Stay tuned!

For the rest of the workshop build, check out the garage workshop build index.


A Serious Garage Door for the Garage Workshop and Other Updates

Garage Door Outside

Did I need a new garage door?  No.  However, adding insulation and conditioning won’t do much good if I kept the drafty uninsulated door that came with the house.

This was a long time waiting.  I ordered the door the day after Thanksgiving.  A representative called me the day before the scheduled installation and informed me that the door was backordered.  No worries.  They upgraded me from the R13 door I had purchased to an R18 door, at no extra charge.

Garage Door Inside

The door sections are two inches thick and filled with polyurethane insulation.  Everything about the door is beefy.  Oh, and the windows are nice too.  I haven’t yet decided if I like the cross inserts yet or not.

Garage Door Assembly

Unfortunately, I couldn’t be there for the installation, but my wife did and excellent job of supervising.  These door sections are very heavy.  I’m not sure how the installer got them into place all by himself.

I am very happy with the new garage door.  It’s of higher quality than I’m used to.  The new seals excel at keeping out the drafts.  The natural light is greatly welcome.  The polyurethane insulation keeps out the noise.  And I’m sure that it will make the mini-split’s job a lot easier down the road.

In addition to the garage door, I was able to frame in a side door and get started on my electrical.  More on that later.

Side Door Framing

Electrical Rough Wiring

For the rest of the workshop build, check out the garage workshop build index.


A Few Tips for Workshop Demolition

Workshop demolition isn’t difficult.  Hell, it’s downright fun.  However, have a plan before you get started.

I removed all the drywall on two exterior walls of the workshop to make my life easier.  With the drywall removed, installing electrical, insulation and a new exterior door is much easier.  Here’s a few tips I discovered along the way:

  1. Have a plan for waste disposal.  Dumpster rentals are often expensive.  My cheapest option was to take a truck load to the local dump.
  2. Be ready for the unexpected.  I discovered several sizable holes in the exterior sheathing that needed patched.
  3. Don’t go Wreck it Ralph.  It works for the home-improvement shows, but it will make more work for you….especially if you’re working with drywall.
  4. Use a utility knife and cut the drywall tape in all of your corners.  Not only will this make removal easier, but it will also prevent you from damaging any surfaces you aren’t demoing.
  5. Expect critters, especially in a garage.  Have some bleach and water in a spray bottle, ready for cleanup.

Have a plan and your workshop demolition will be a success.  With demo work complete, I framed in an exterior door and roughed in my electrical.  More on that to come.

For the rest of the workshop build, check out the garage workshop build index.

Planning a Garage Workshop

Planning a garage workshop is intimidating.  Working with limited space is frustrating.  Knowing where to compromise is the key to success.

Create drawings.  Create many of them.  Make one for each of your key systems: structural, machine locations, electrical, dust collection, lighting, etc.

Planning a garage workshop

Drawing 1 – Initial Layout

First, I created a two-dimensional structural drawing.  I drew it to scale and included both existing and future doors, windows, etc.   Then, I added all of my current and future machines.  Any demo work might show more hangups, so don’t hesitate to revise your drawings  if anything comes up.  Keeping things up-to-date will make sure that problems don’t snowball later.

Planning a garage workshop

Drawing 2 – Revised Layout

In my case, removing drywall revealed a sheer wall in a location where I had planned a new exterior door (bottom left of Drawing 1 ).  Moving the door meant relocating a few machines.  This opened up a space close to my workbench at the bottom for hand-tool storage (Drawing 2).

Planning electrical

Drawing 3 – Electrical

With the structural work outlined and machine locations established, I started outlining my electrical needs.  I included power for each of my existing machines as well as machines I plan on purchasing in the future.  If you plan on using an electrician, this drawing will give a clear picture of your expectations.  If you plan on doing the work yourself, it can help you create a shopping list.

workshop light plan

Drawing 4 – Workshop Lighting

Good shop lighting is often overlooked when planning a workshop.  Shoot for around 100 lumens per square foot at the work surface.  I am using 8 x dual-bulb T-8 led fixtures.  This will nearly quadruple the light I had in my old workshop.

Workshop 2-Ducting

Drawing 5 – Dust Collection

Finally, I plan on adding a stationary cyclone dust collection system in the future.  All of my drawings reflect this.  I created a drawing that included duct work for this future system.  This affected the layout of machines, electrical, and lights.  Creating this drawing illustrated just how important it was to plan out every system and check how each system worked together.  Without it, implementing a ducted dust collection system in the future could have been much more difficult.

I used Grizzly’s workshop planner to create my initial drawings, and then edited them in MS Paint.

For the rest of the workshop build, check out the garage workshop build index.