A Serious Garage Door for the Garage Workshop and Other Updates

Did I need a new garage door? No. However, adding insulation and conditioning won’t do much good if I kept the drafty uninsulated door that came with the house.
This was a long time waiting. I ordered the door the day after Thanksgiving. A representative called me the day before the scheduled installation and informed me that the door was backordered. No worries. They upgraded me from the R13 door I had purchased to an R18 door, at no extra charge.
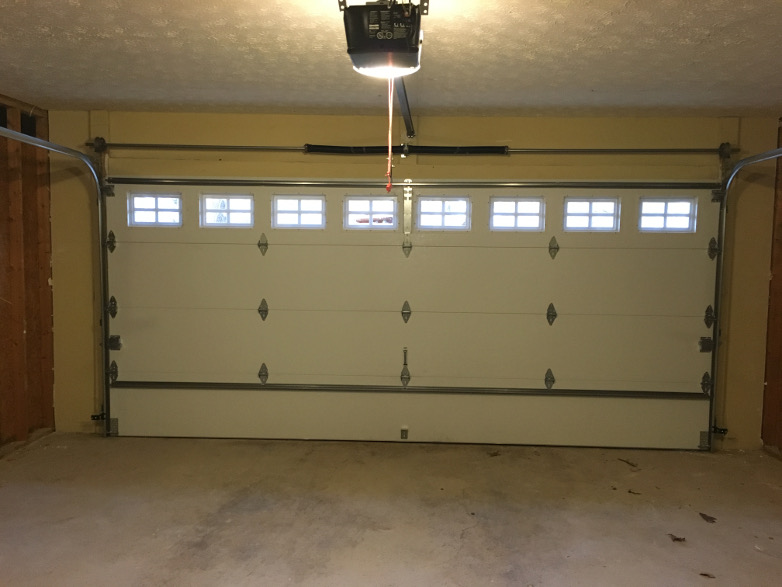
The door sections are two inches thick and filled with polyurethane insulation. Everything about the door is beefy. Oh, and the windows are nice too. I haven’t yet decided if I like the cross inserts yet or not.

Unfortunately, I couldn’t be there for the installation, but my wife did and excellent job of supervising. These door sections are very heavy. I’m not sure how the installer got them into place all by himself.
I am very happy with the new garage door. It’s of higher quality than I’m used to. The new seals excel at keeping out the drafts. The natural light is greatly welcome. The polyurethane insulation keeps out the noise. And I’m sure that it will make the mini-split’s job a lot easier down the road.
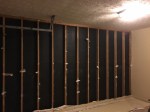
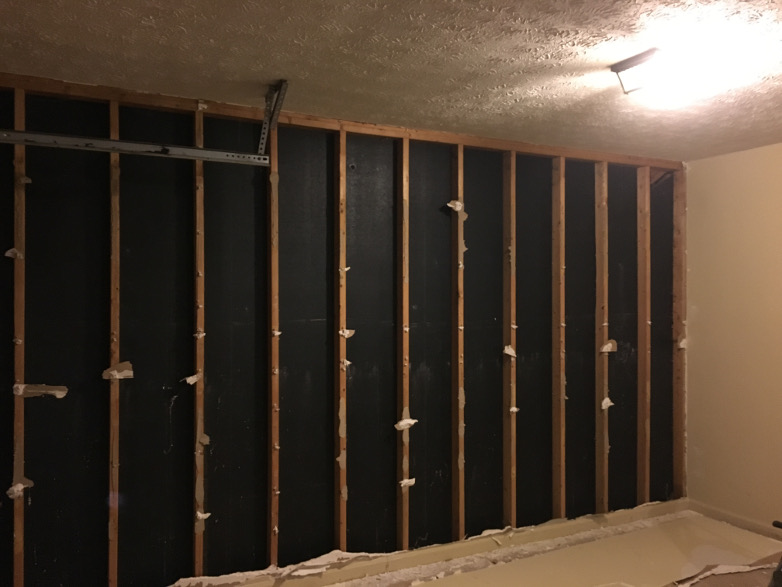
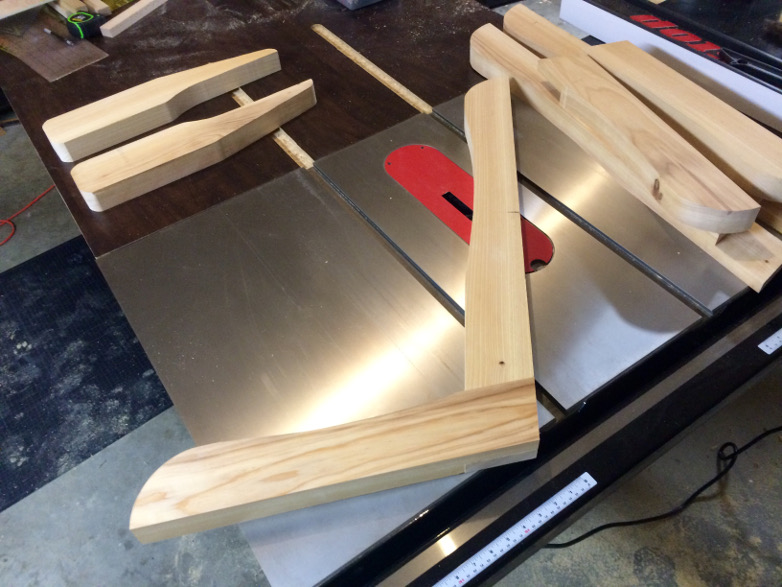
In addition to the garage door, I was able to frame in a side door and get started on my electrical. More on that later.

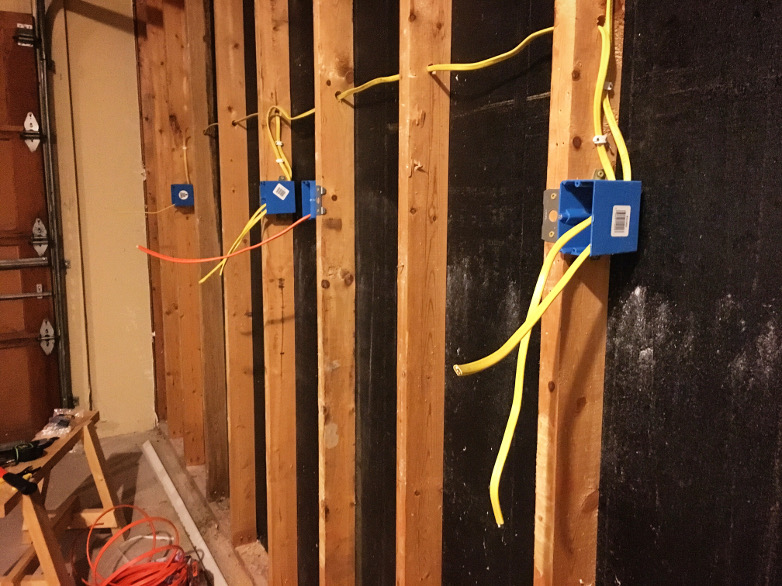
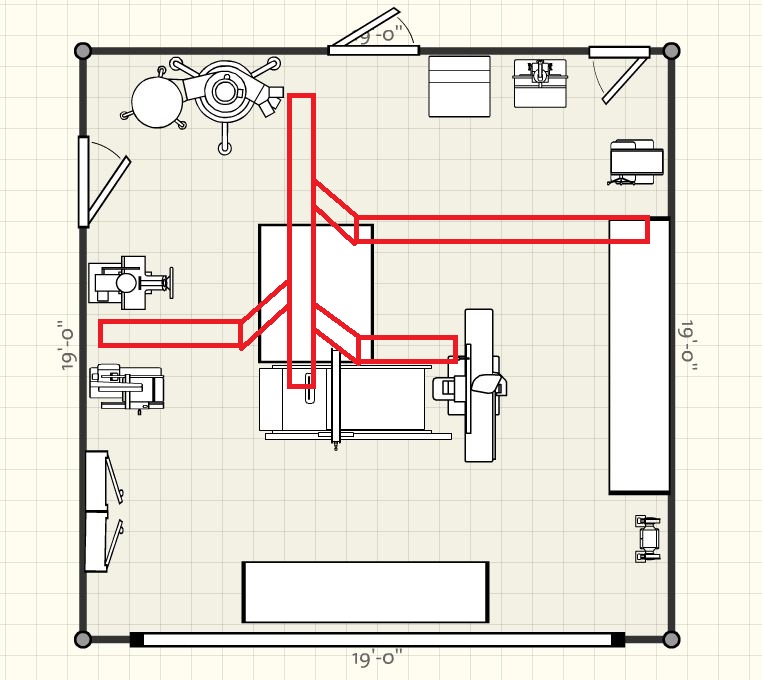
For the rest of the workshop build, check out the garage workshop build index.